
Making a Smart Home Caravan
For years, Sue has been asking me to make a post or two about some of the projects I tinker with while we’re on the road. To keep myself busy, I like doing geeky stuff but I’ve learned not to talk about it too much in real life, because I usually spot that glazed-over look in people’s eyes the moment I start getting excited about my latest smart caravan feature.
That’s probably one of the reasons it’s taken me so long to actually write about any of it. So for this post, I’ve decided to keep things simple. I’ll mention the main concepts in plain English for the less technically inclined, and then include separate “tech section”. If you’re keen to dive into the nerdy bits, feel free to read those parts but if you’d rather stick to the more user-friendly overview, you can stop when you get to that section without missing the story.

When you’re on the road full-time, there are days between bakery visits and checking out your 200th waterfall where you feel the urge to do something, anything. Some folks might read a book, others might do victory laps around the caravan park trying to lose last night’s 5 o’clock beer belly.
For me, it’s all about challenging myself to learn something new and making something happen in the real world based on a random thought I had.
When we first got our Jayco Starcraft, the factory had clearly put Limited thought into how the light switches were laid out. The bench top light switch was above the sink and the sink light switch was above the bench top. The awning light and outer light were also back to front. Every single time, I’d flick the wrong switch.
So I had this thought:
“How can I change this setup to make it more user-friendly and maybe even press just one button when I go to bed to turn off all the lights?”
Well… that thought kicked off years of geekiness. It started with adding Wi-Fi light switches (which were cutting-edge at the time) and quickly spiralled into all sorts of things: water tank level monitoring, automatic water transfers, turning the AC or heater on from anywhere in the world, voice-activated lights—in fact, voice-activated everything, right through to monitoring the pee level in the composting toilet.
And not to forget… I ended up self-teaching myself computer programming so I could take things even further bringing my own personalised ideas into the digital age and making them work in real life.
Our Latest Light Control Hub
As time went on and my knowledge expanded (with no nearby bakery to distract me), the whole Wi-Fi light switch project that had been working great for years was no longer enough to satisfy my nerdy needs. So, I levelled up again.
Our Jayco came with a standard Drifter panel that shows battery voltage and water tank levels. But let’s be honest, it’s dull, grey, boring, and doesn’t show the things I want it to show. So I started thinking:
“I want my own LCD wall panel that shows what I care about, in colour, on demand. How do I make that happen?”
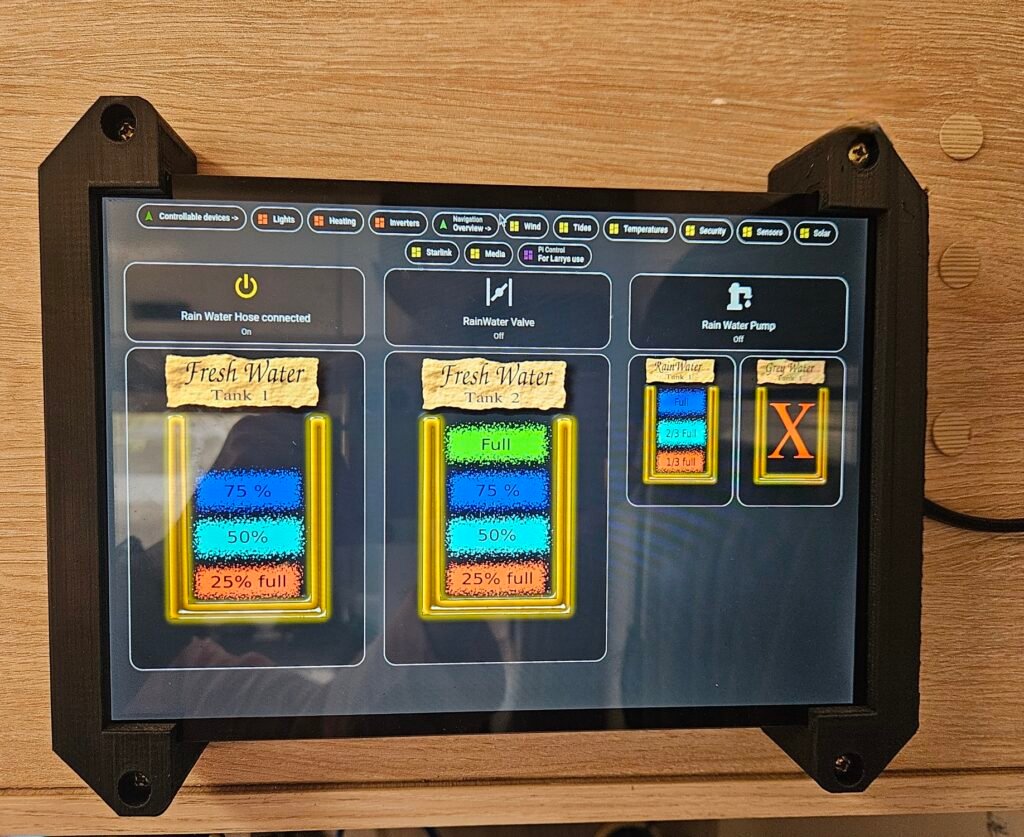
Fast forward a bit, and now we’ve got a 10.3-inch Waveshare LCD display mounted to the wall, replacing the physical switches for the outside lights. I should also mention at this point that in order to mount the display, I also had to design and print a 3D bracket using my creality 3d printer, but anyway, This touchscreen display gives us complete control and visibility into almost every aspect of our caravan, including:
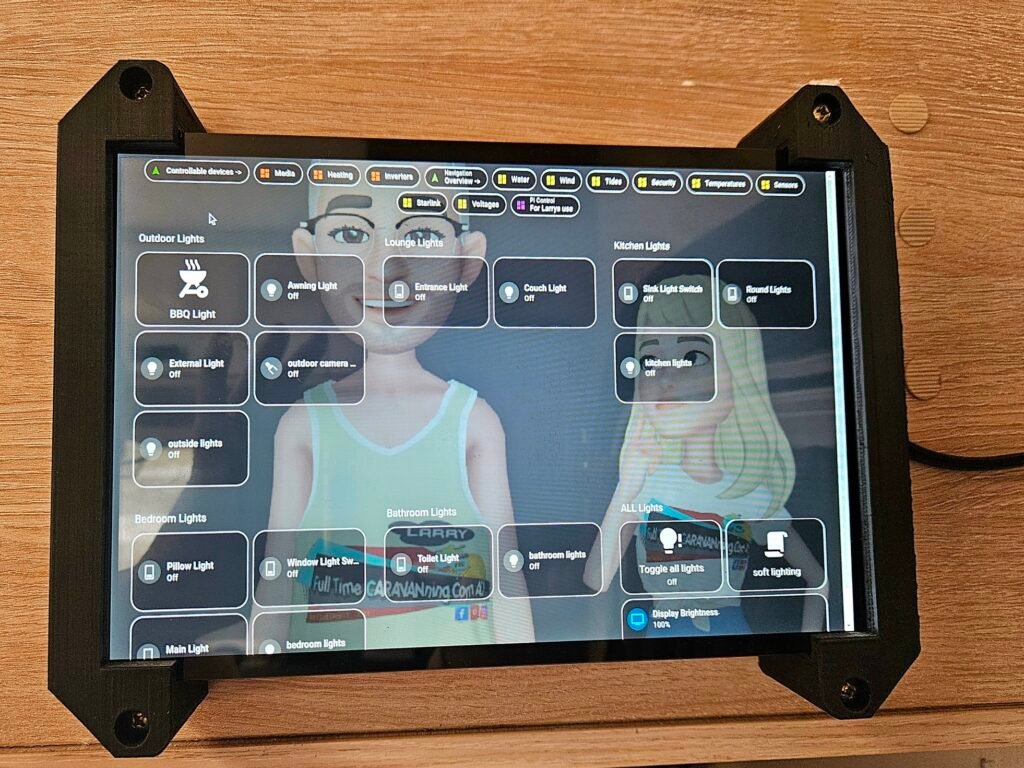
– Lights Control: One screen to control all lights. Turn one light on, turn ’em all off, or hit special buttons like “BBQ Light” which turns on the awning light and boosts the brightness so we can see what we’re cooking. Tap it again, and it dims back down to avoid attracting half the bug population of Queensland.
– Water Tab: Shows water levels for the main tanks and the rainwater catchment tank. It also lets me turn pumps on or off but the whole system is automated. If the rainwater tank is full and there’s space in the main tanks, it’ll pump water over automatically and shut off when done. Too easy.
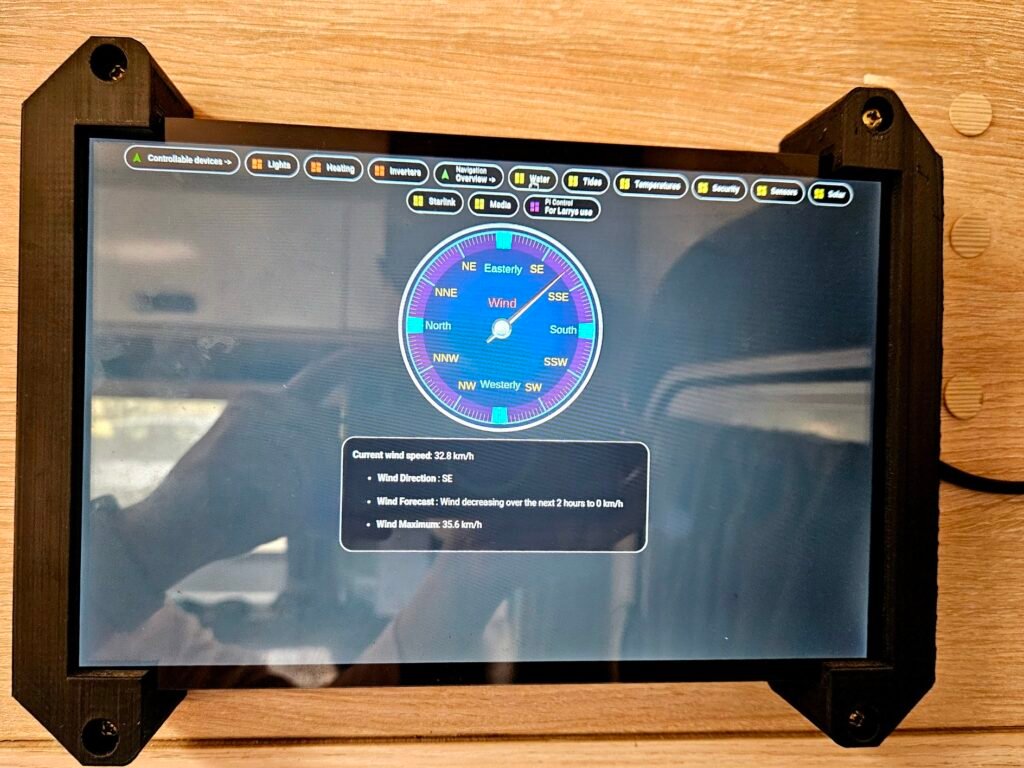
– Wind & Tide Data: Pulls in live data from the internet and shows graphs for our local wind and tide conditions, super handy considering we’re about 40 metres from the ocean right now.

– Heating Tab: Controls the AC and the diesel heater under the bed. I chucked sensors on the heater so I can control it remotely. As you do.
– Inverters Tab: Lets us turn the inverters on and off without lifting the seats and playing caravan yoga.
– Temperatures Tab: Shows inside and outside temps (which also trigger the heater or AC automatically), as well as graphs for the fridge and freezer, plus a few other sensors.
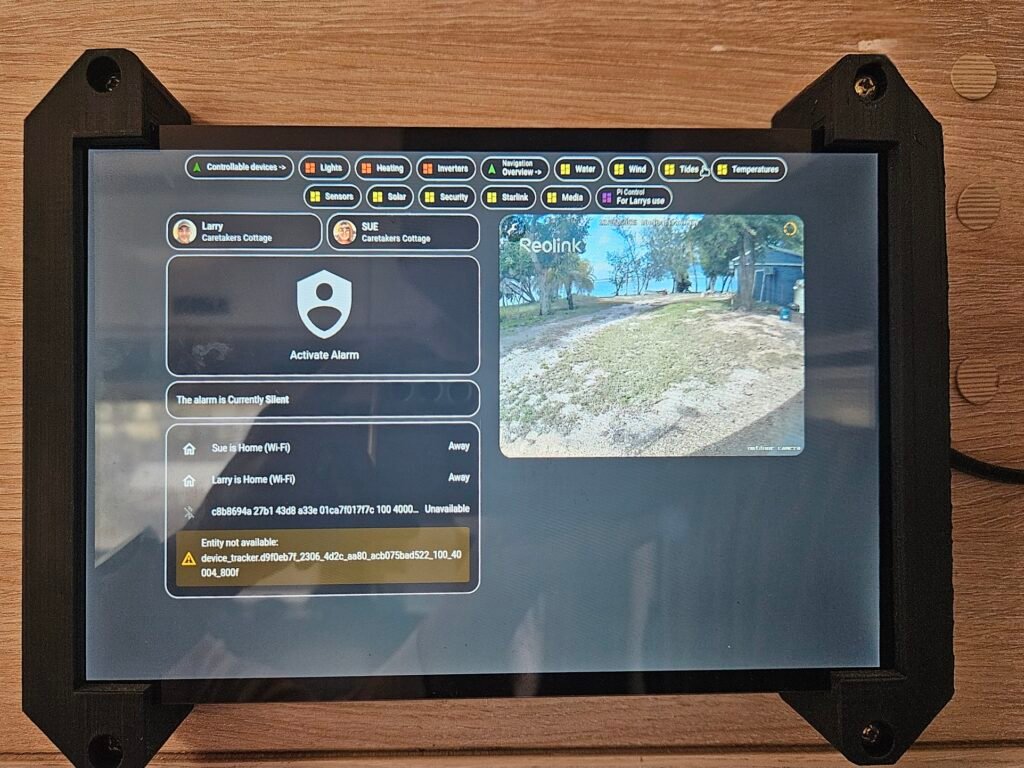
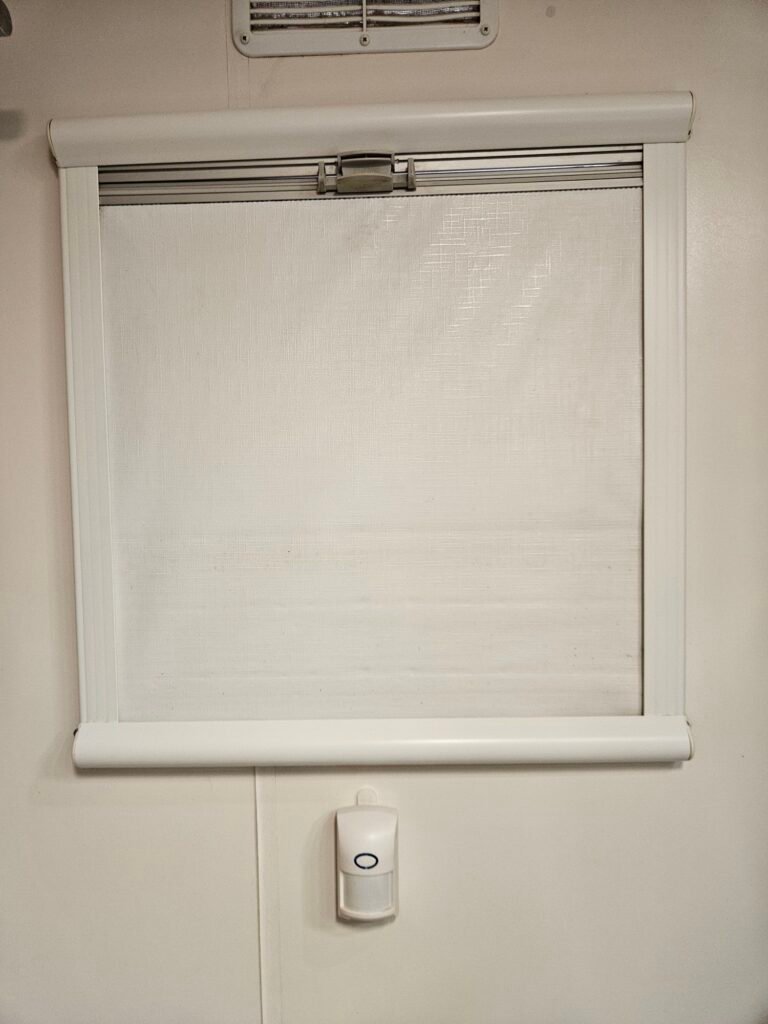
– Security Tab: Shows whether Sue or I are home. If neither of us are, the WITI caravan alarm arms itself automatically.
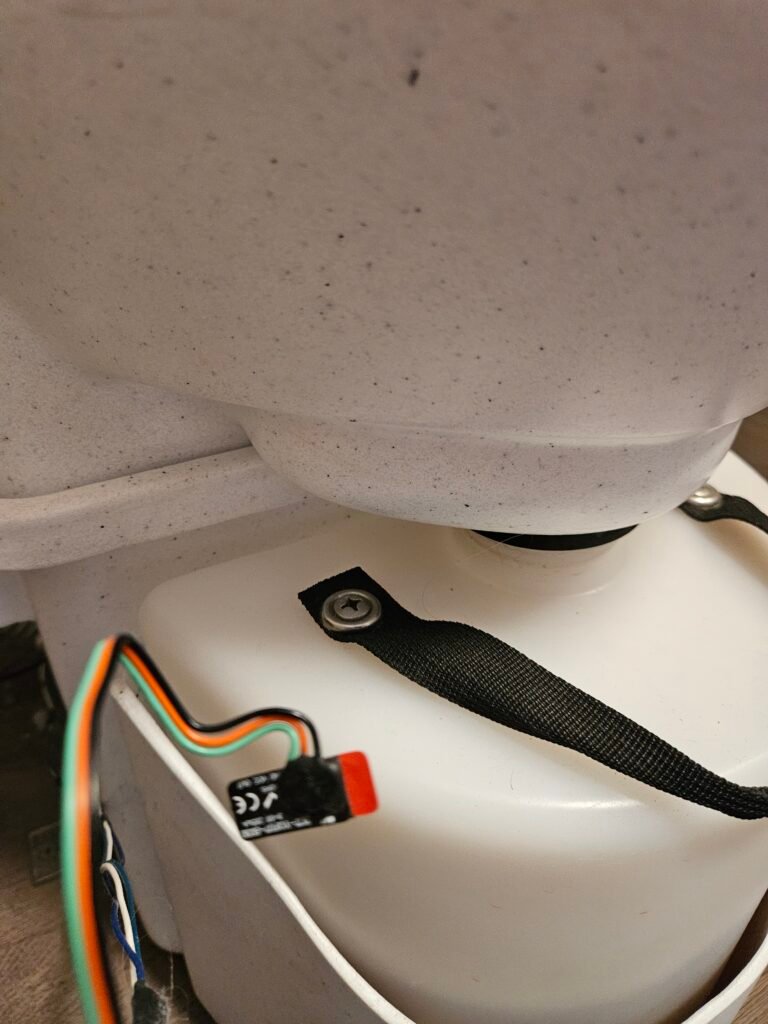
– Sensors Tab: Displays general sensor data like how much current we’re drawing on 240V, the battery voltage in the ute, and the current state of the composting toilet pee sensor (yep, that’s a thing I also made). It also displays a counter for the cans that Tipsy Tina records.
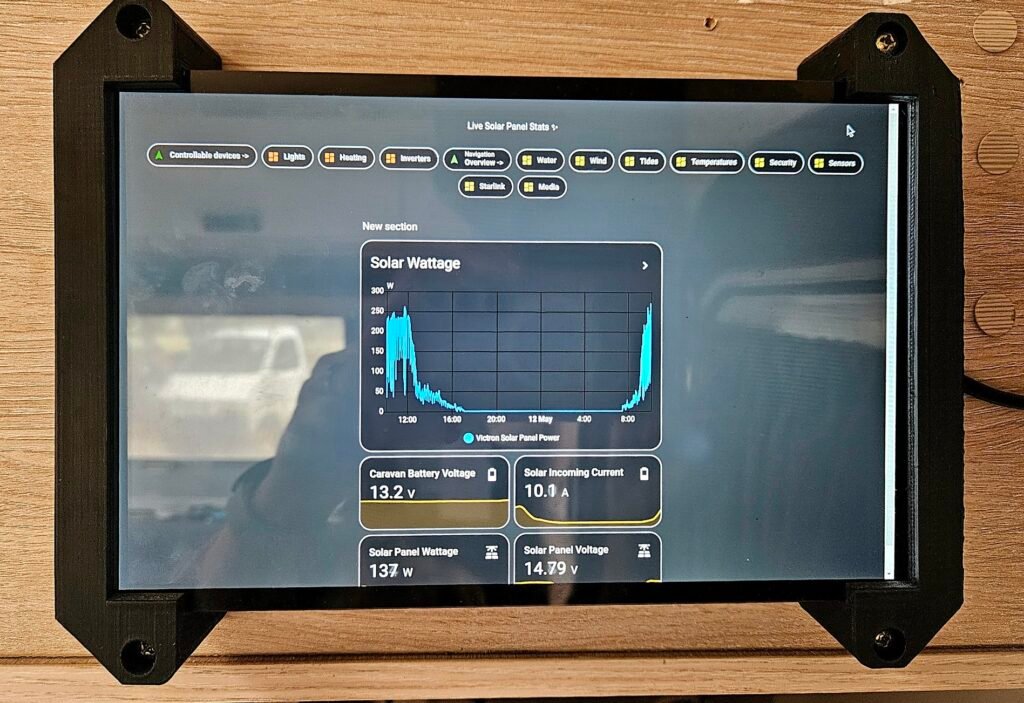
– Solar Tab: Displays real-time wattage, current draw, solar input, and house battery voltage.
– Starlink Tab: Pulls live Starlink status data so I can keep an eye on our internet uptime.
– Media Tab: Just a simple control for adjusting the volume of our voice assistant (Polly).
– For Larry’s Use: A handy screen for rebooting the panel or other behind-the-scenes tweaks.
Overall, the panel shows everything I need and in glorious colour. Of course, I’m always adding to it, because I constantly think of new things to monitor or automate.
🍻 Project Spotlight: “Tipsy Tina” the Talking Bin
Let me walk you through my latest “because I can” project. (Mildly techie talk ahead, but nothing too scary.)
We were sitting out on the porch, overlooking the ocean, watching dolphins cruise by. After a couple of drinks, Sue says:
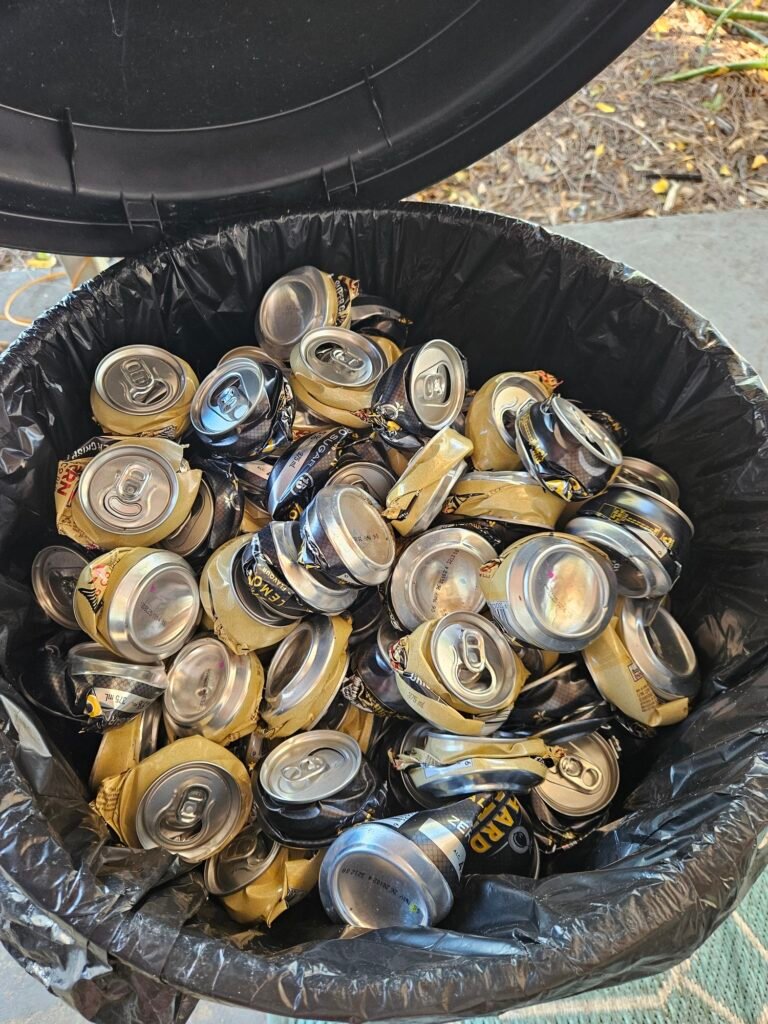
> “It’d be good to count how many cans and bottles go into the bin—so when we go to the recyclers, we know we’re not getting short-changed.”
Well… that was the spark I needed to go down another rabbit hole. 😄
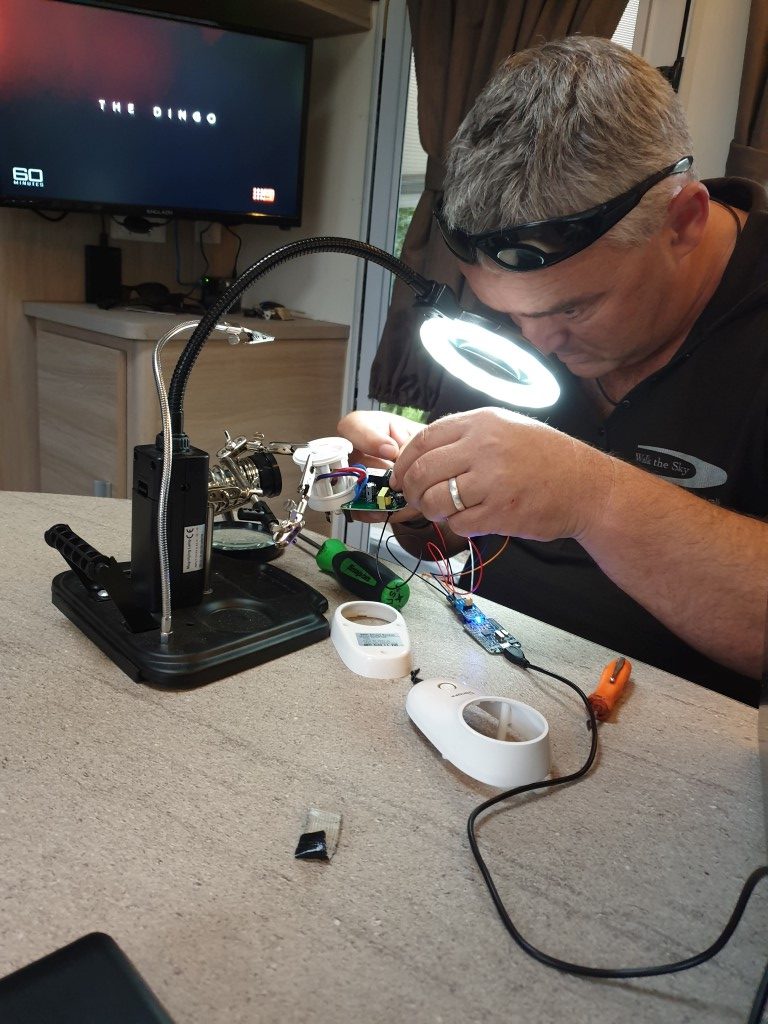
So I went out, grabbed a few parts, and started wiring it all together with the goal of programming it to do exactly what I wanted with a twist, of course.
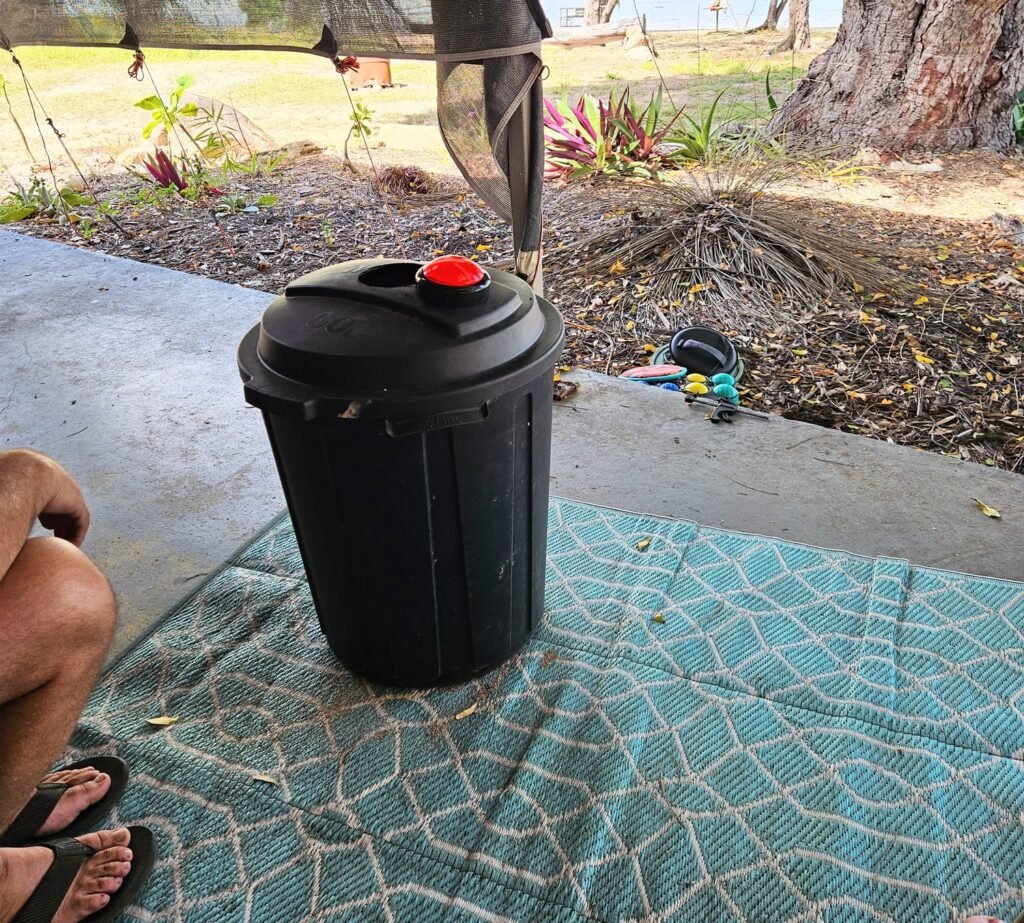


🎤 The Outcome: Meet *Tipsy Tina*
We now have a bin called **Tipsy Tina**. Here’s what she does:
1. Every time we put a can or bottle in the bin and push the big red button, she:
– Increments a counter
– Sends that count to Home Assistant via MQTT
2. Then, she sends a request to ChatGPT for a quirky trivia question and answer (while she’s sober, of course).
3. That response comes back as text, which is converted to speech using Piper TTS, then sent to the bin via HTTP for playback.
4. During a button press: Tina asks a trivia question
she then waits a minute and provides the answer and flashes the button until she’s given the answer
But wait—it gets better.
I wrote her logic in Python so the drunker the bin gets, the funnier her responses become. Based on how many people are drinking (set in the config), Tina’s “state” changes throughout the day:
– **Sober:** Friendly and informative
– **Tipsy:** A bit cheeky
– **Drunk:** Slurred, occasionally dramatic
– **Legless:** Totally unhinged, starts rambling about how her ex-boyfriend left her, but how he was “built like a red kangaroo” 🦘
🤷 Why Did I Do This?
Main Reason:
Because I can.
Is it cost-effective?
Nope, Not really.
But is it worth it for the laughs and the bragging rights of having a bin that talks back?
“Absolutely.”
🧠 Final Thoughts
These projects keep my brain active, and in a lot of cases, they actually make life easier. The LCD wall panel alone has been a game-changer for both Sue and me. And other projects, like Tipsy Tina just keep things interesting and fun.
So whether it’s for convenience, entertainment, or just to see if I “can” pull it off, I reckon it’s all worth it.
Future geeky posts may include some details about my other smart projects such as :
1. When sue gets up in the morning and triggers the auto sensing toilet light it automatically turns on the Tv, Sets the tv volume to her (almost dog like) sensitive hearing level and changes it to the news channel
2. When the composting toilet’s pee bottle gets full, it flashes the toilet lights three times, sends a notification to both our phones and displays a warning message on the LCD display of a man sitting on a flooded toilet.
3. When the sun goes down and the light levels get to a certain state, three lights turn on and get auto dimmed to the comfortable “movie night” mode or when its night time and the van detects our presence after being away it turns on the outside lights automatically
4. How and why i made my own “cloud” using an old one tera byte laptop to do away with the ever popular “running out of space” message from Google or One Drive etc 😄
that and more may come in later posts …. maybe 😄
—Larry
⚙️ Techie Corner – For the Curious Minds
For those who want to know a bit more about how all this works behind the scenes, here’s the techie section. Feel free to flick me a message if you want me to elaborate on any part of it, maybe you’re in the same boat and love this kind of stuff, but no one around you wants to hear about it? Well then, drop me a line, we’ll chat MQTT over a virtual cuppa.
Sue’s been awesome at nodding and pretending to care when I start rambling about MQTT brokers or “if-then-else” statements, but I genuinely enjoy sharing and helping others who want to learn or geek out a bit.
🧠 The Heart of the Process
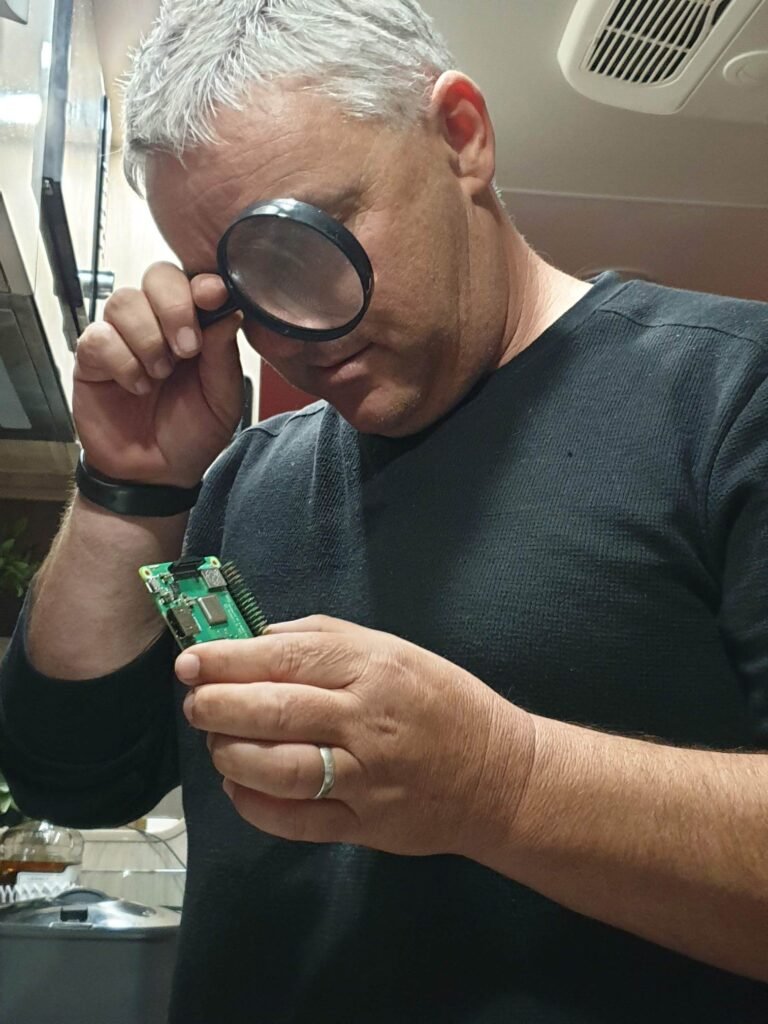
At the centre of all this is Home Assistant, it’s my go-to platform for tying everything together. It’s a community-driven, open-source automation system that runs on a Raspberry Pi.
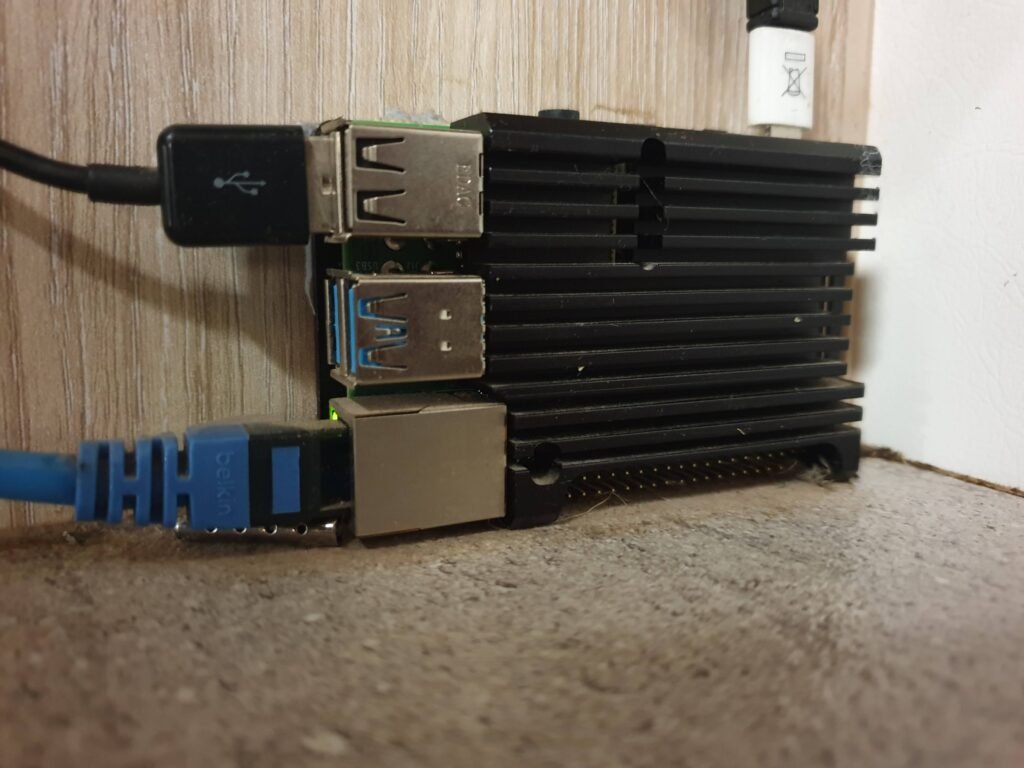
A Raspberry Pi (RPI) is basically a mini Linux-based computer without a screen. It costs around 100 bucks and can quietly run multiple programs in the background without chewing up power or space.
I’ve currently got 3 RPIs doing their thing:
– One runs Home Assistant (the central hub)
– One powers the Waveshare display
– And one runs the voice assistant (for voice control and sassy feedback) an alexa alternative
📡 How It All Talks: MQTT
Home Assistant listens to sensor data using MQTT, which is a lightweight protocol for sending data wirelessly. It’s like texting, but for devices.
Take my sink light for example:
– When it’s off, it sends an MQTT payload over the network saying “OFF” via a topic of something like “/homeassitant/sink_light/”
– Home Assistant subscribes to that topic and starts listening for events happening on that topic. When it receives a message it updates the dashboard accordingly.
– When I tap the light on the LCD screen (or use a manual switch), it sends a new MQTT message with a payload of “ON.”
– The light switch controller receives that, and boom, the light turns on.
Now, because that MQTT signal is just data, you can build automations around it. Here’s a silly, but totally possible example:
> “When the sink light gets turned on between 6am and 8am, turn on the coffee machine “and” trigger Alexa to play the morning news.”
That, in a nutshell, is how Home Assistant works. It starts simple, just wanting a light to turn on and before you know it, you’re automating your entire van (or house… or resort) and wondering how you ever lived without it.

🧠 DIY Tech: From Wemos to Weird (and Wonderful)
These days, there are heaps of off-the-shelf smart home products. And that’s great, but for me, a lot of them either don’t do what I want, or they’re overpriced for what they offer.
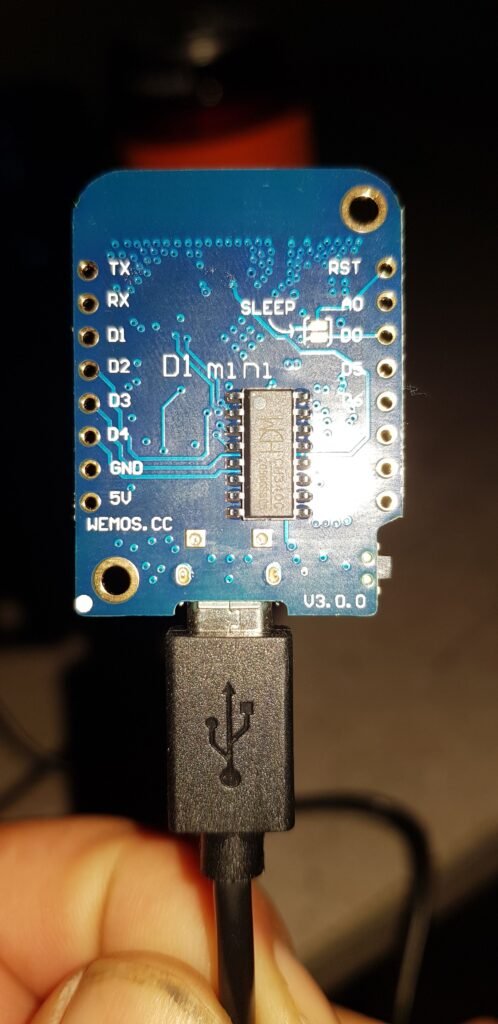
That’s what led me down the rabbit hole of microcontrollers and learning to code. I started out with Wemos D1 Minis, which are cheap little ESP8266 Wi-Fi boards you can solder and program yourself. You tell it:
> “If XYZ happens, send power down the red wire. If ABC happens, use the green wire.”
Then you just connect those wires to whatever you want to control—like my water tank sensors, for example.
Since those Wemos days, I’ve also used ESP32 modules and Pi Zero 2s. But when I want something that just works without solder fumes and late-night bug chasing, I lean towards Shelly devices. They’re:
– Affordable
– 12V-friendly
– Packed with features (like voltage monitoring, switching, and sensor inputs)
– And best of all, they integrate seamlessly with Home Assistant
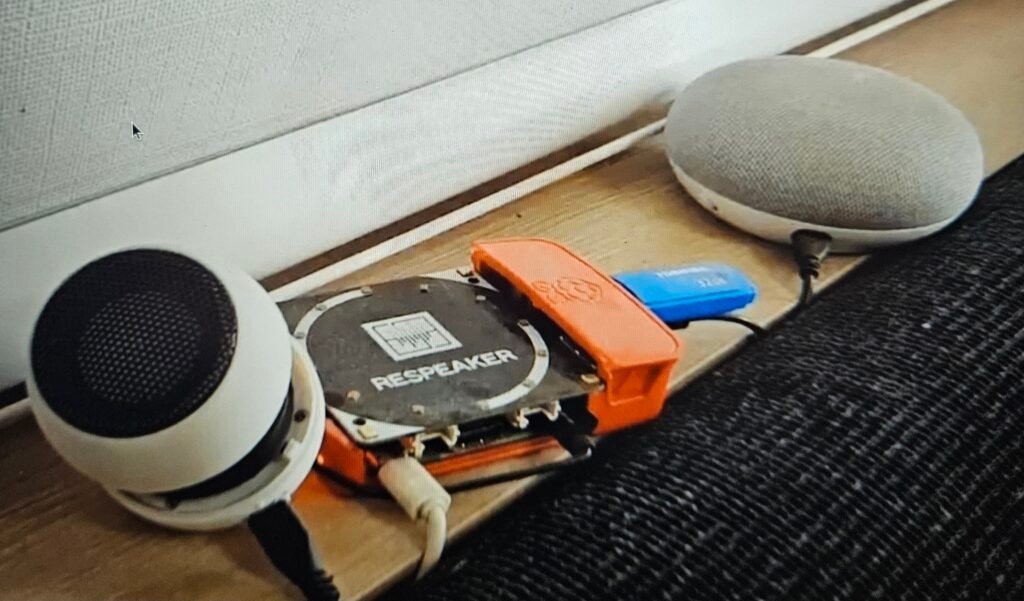
🧰 Tech Breakdown: How *Tipsy Tina* Actually Works
Here’s What I Bought:
– 1x BIG RED “end of the world” push button (that lights up, obviously)
– 1x Amplifier board + speakers
– 1x Charger board
– 1x ESP32 DevKitC3-S2 module
– 1x 18650 lithium battery
– A few other bits and bobs from the magical junk drawer
These parts make up the guts of Tina’s hardware. But I also made use of one of my existing Raspberry Pis (the one running my voice satellite) to do the heavy lifting, because the ESP32 doesn’t have enough storage or processing grunt to handle things like TTS generation.
So here’s what actually happens behind the scenes:
1. The ESP32 in the bin detects the button press
2. It sends an MQTT message to the Pi (running an MQTT broker)
3. My custom Python script picks up that message
4. It sends a request to ChatGPT asking for a trivia Q&A
5. The Pi receives the text response, runs it through Piper TTS to generate an MP3
6. That MP3 gets sent to a local web server
7. The ESP32 fetches the MP3 via HTTP and plays it back instantly
All of this happens in the background, so the button press feels responsive and smooth. Press once and You get a question. Whilst that’s playing it converts an answer to mp3 so its ready to instantly play in a minutes time, whilst its playing the answer it pulls down the next trivia question and answer pair so it’s all primed for the next button push. All this while Tina gets progressively more sloshed depending on how many cans you’ve logged. 🍻
The point is, if you can imagine it, and you’re willing to tinker a bit, you can build just about anything.
—
Anyway, if you made it this far, yay, thanks for reading! (Unless you nodded off somewhere around the MQTT part, in which case… fair enough.)
You Might Also Like
- Smart Caravan Features: such as: phone, WIFI or voice activated light,
- Automated Rainwater Catchment
- Tips & Tools including, water saving, finding work on the road, toilet tips, battery and solar calculator
- Caravan Maintenance & Tips including, hot water service, installing our IBIS 4 Air conditioner
- Caretaker Work Around Australia

Aussie House Sitters are our choice of house sitting sites. Use our Coupon Code “AHS15%off” for 15% off your joining fee
Hello Larry and Sue
Once again you have informed the caravan world of your talents , don’t change it’s great and good to hear from you , we will get back to our travels when Tracey recovers and gets stronger,
Keep up the good work
Kevin and Tracey
Thanks Kevin, As you can probably tell this stuff is Larry’s happy place. I’m sorry to hear about Tracey, Sending hugs.
Take care
Sue and Larry