
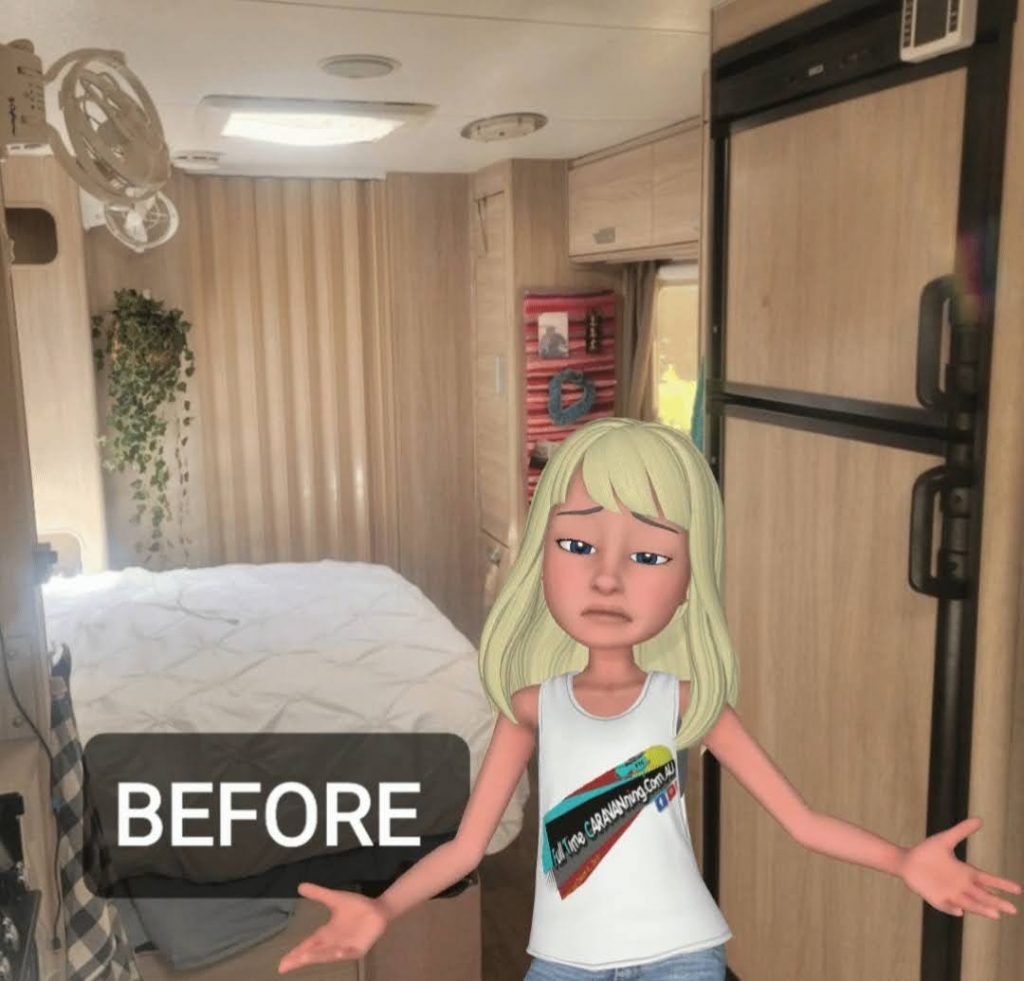
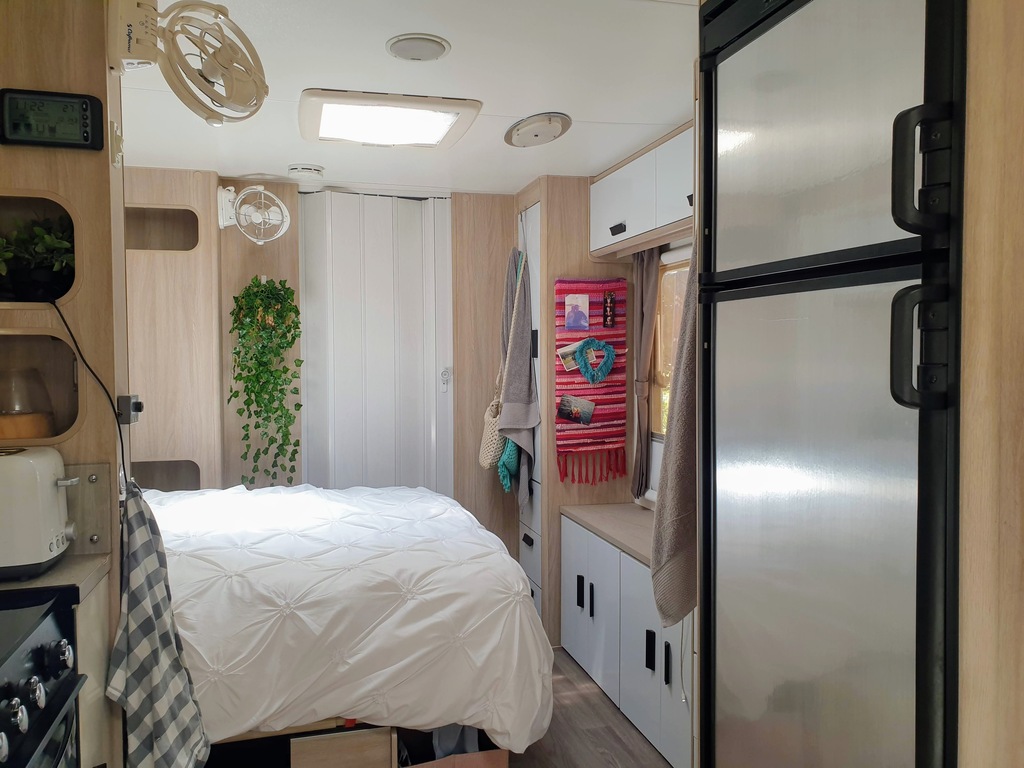
Our caravan cupboards makeover started with covering our cupboard doors & fridge with peel and stick contact paper. As well as spraying our caravan door handles another colour. Then we swapped our original on-suite bathroom concertina door, for a white oak looking one.
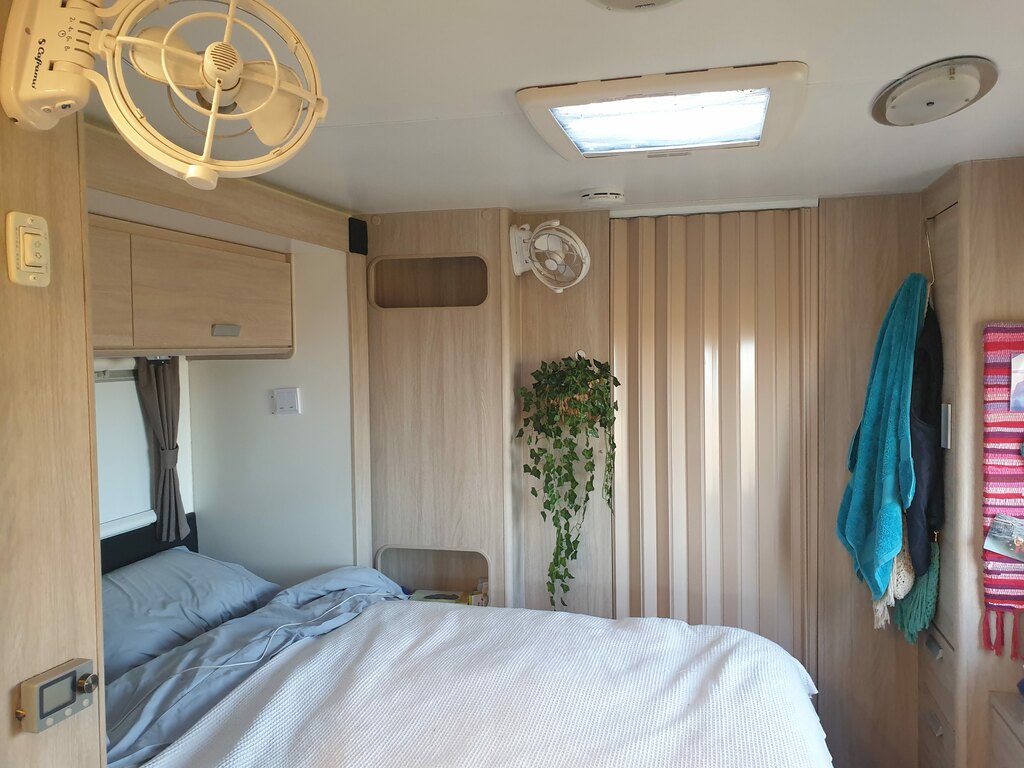
Finally (well almost finally) I wanted our home on the road to be more modern, colourful and brighter than the original brown, all wood look. With that in mind, we also decided to add some colour by adding some sage green peel and stick contact paper to a couple of walls as well as adding a few square mirrors. Oh yes, and some plants 🙂
And, we have now upholstered our caravan club lounge
Make sure you check out our makeover YouTube video at the end of the post


Initially we contacted Jayco and the Jayco dealer that we purchased our 2016 Starcraft from, to see if they could supply new white doors to fit. We had upgraded our kitchen and on-suite cupboard doors on purchase but there wasn’t an option at the time to upgrade all of the doors. Unfortunately, at the end of the day it couldn’t be done.
Caravan Cupboards Makeover – Matt Finish
Having thought about how we could change the doors ourselves we took the plunge and ordered a roll of matt white contact paper from Amazon. I didn’t want to order heaps in case it wasn’t the right colour or hard to use. Also, I was only thinking of just doing certain doors.
After waiting a couple of weeks for the contact paper to arrive, Larry started our caravan cupboards makeover on one of the doors. I was pleased to see it looked smooth and was so much easier than we thought it would be to put on. After taking our time to stand back and look at what a great job Larry did, I felt the matt contact paper was to flat and more like wall paper than the shinier doors of the kitchen and bathroom sink areas.
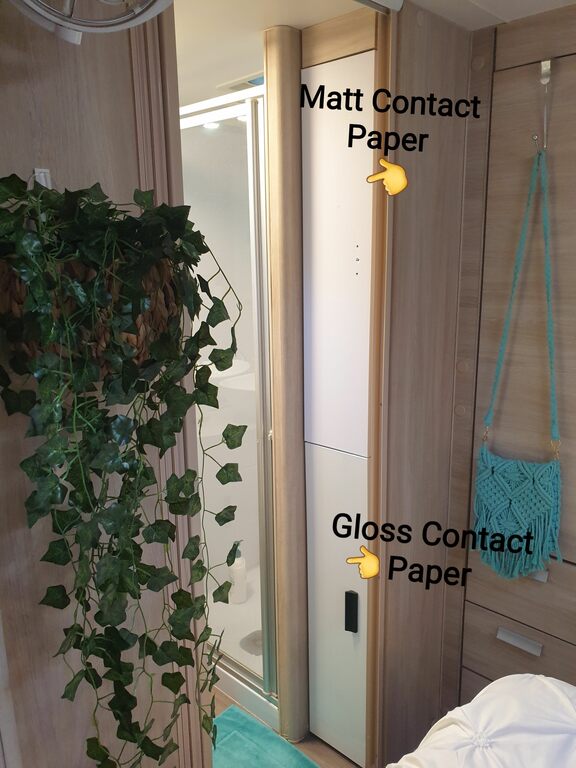
Having felt the first roll was an easy product to use for our caravan cupboards makeover, we ordered a couple of gloss rolls. Choosing to purchase them from the same brand. It said it come with a metal flake which was a little bit of a worry. Reading one of the reviews, it mentioned that they thought it “would be sparklier”. With that in mind we new it wouldn’t be to bad.
Caravan Cupboard Makeover – Gloss Finish
As soon as we opened the new rolls I knew ordering the gloss was a good choice. They are a cleaner white than the original upgraded kitchen and bathroom doors but still a great choice for us. Larry was eager to get the new contact paper on a door and was doing the first gloss caravan cupboard makeover before I knew it.

Thinking about covering the back of the doors was something of an after thought. As we still had a large roll of matt paper left we started to back the doors with it. This did change as we did more doors. Moreover, doors we use a lot. Having now decided to do all the cupboard doors we we’re going to order more more gloss paper.

Now we started using the gloss to back the doors, until it ran out. Two more gloss rolls were ordered to finish the left over doors and our six draws.

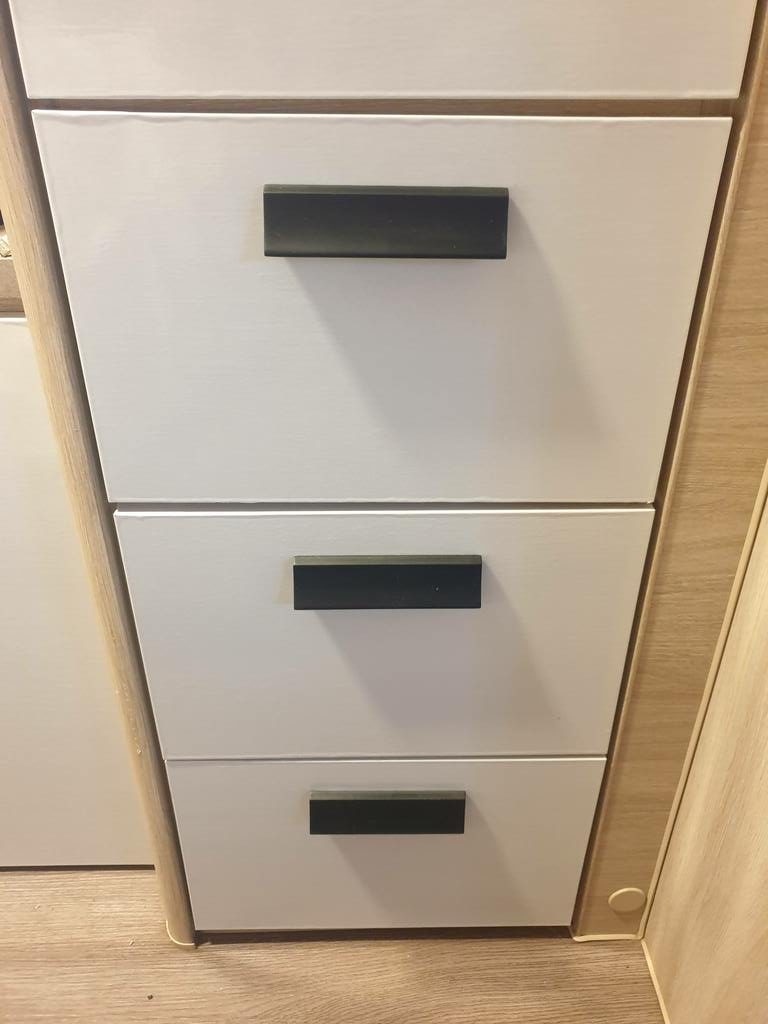
Caravan Cupboards Makeover – Door Handles
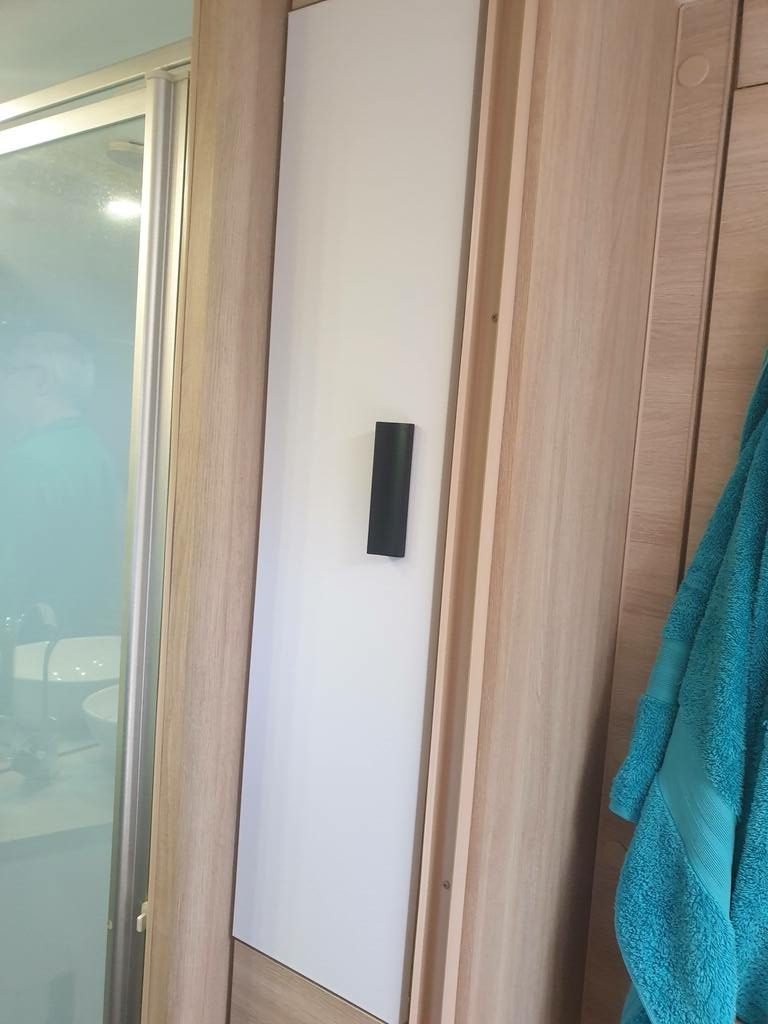
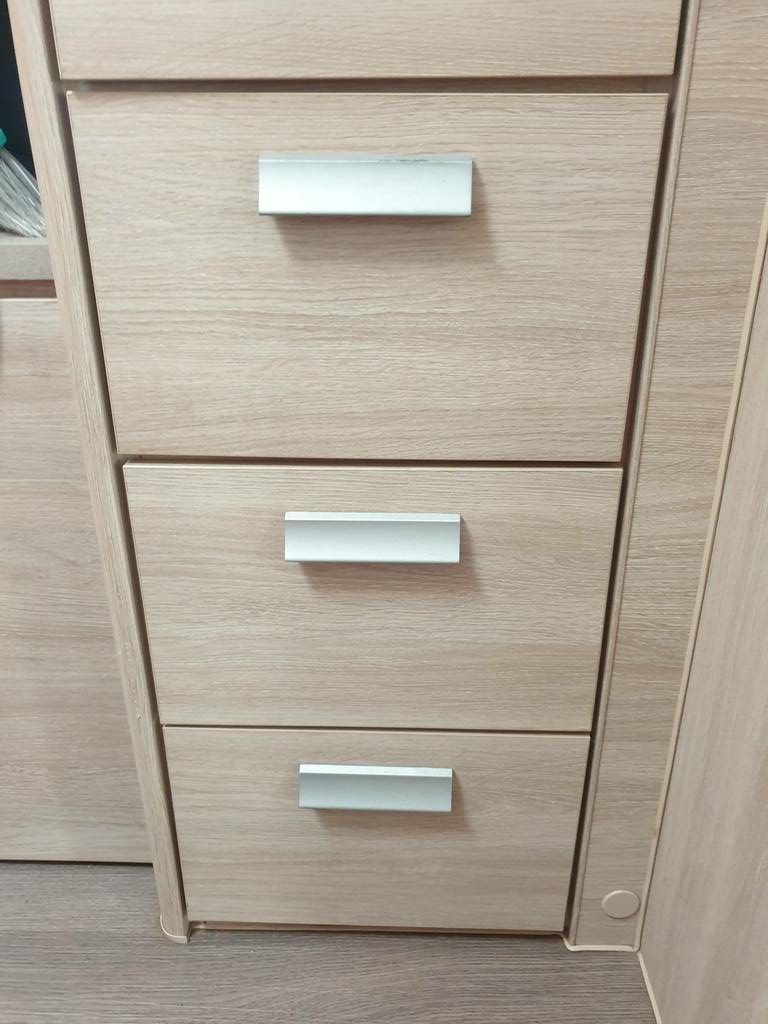
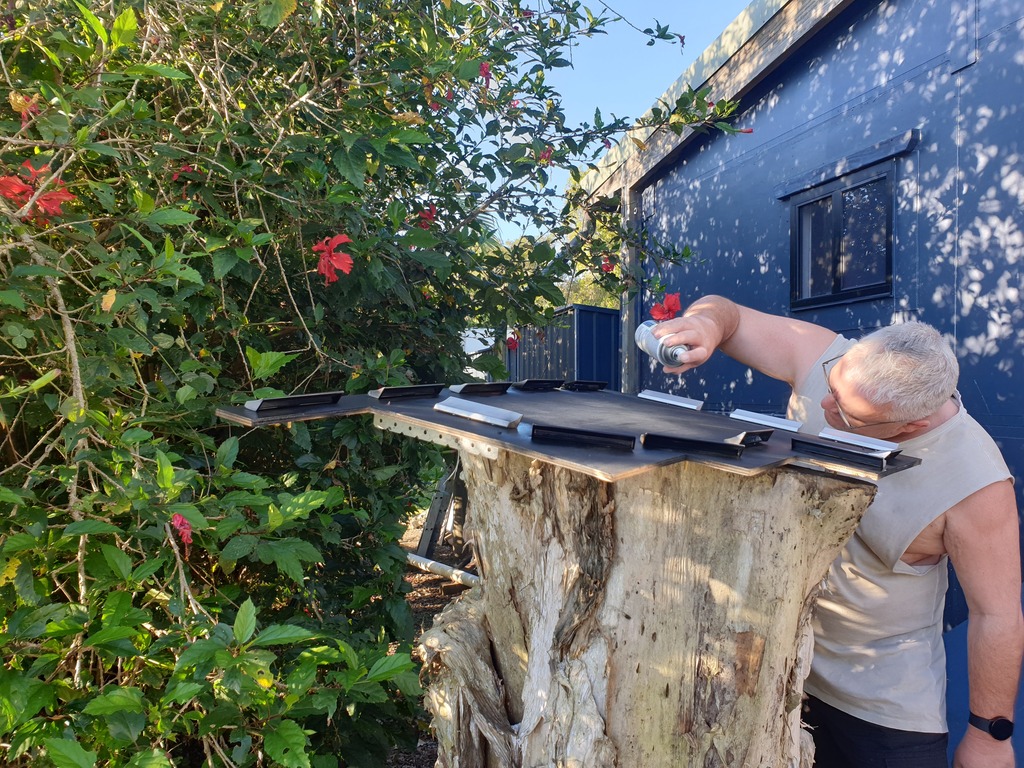
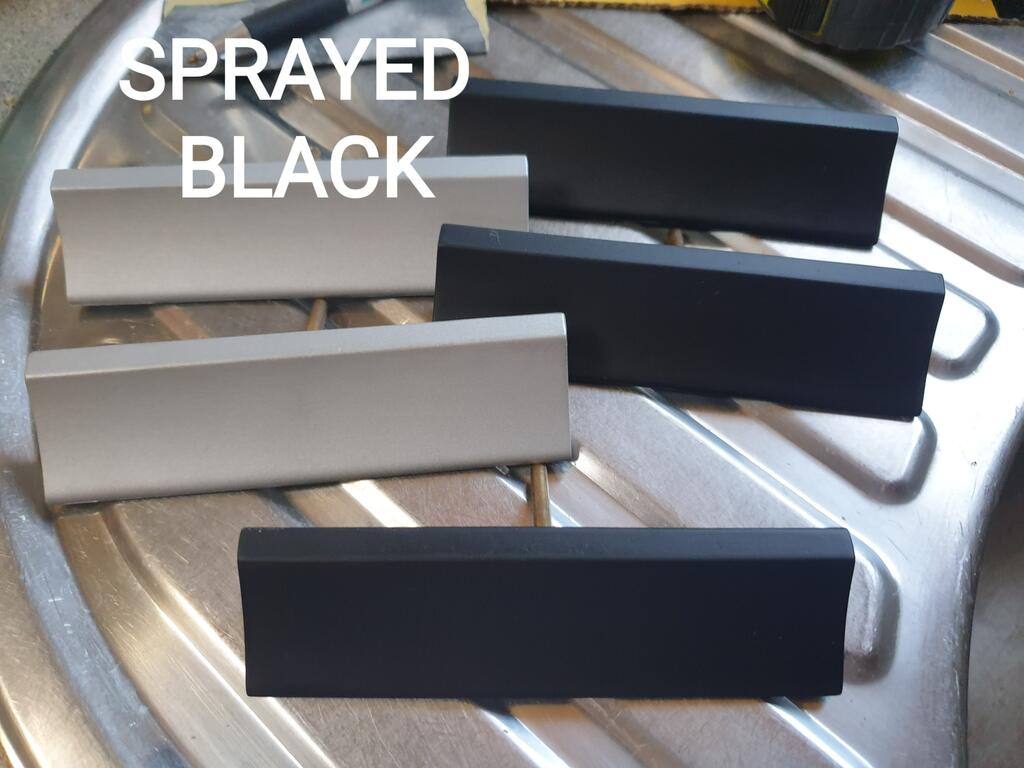
While doing the doors I thought it might be nice to change the handles for some new ones. Looking at the price, I thought again. We discussed spray painting them and chose black for a bold change. We had used a can of matt black spray on the BBQ Arm that Larry made and decided to go for the same look.

Larry drilled holes in some old timber we had, sitting the handles on it, making them easier to spray. We gave them a light sand before giving them a coat of spray. Leaving them for 24 hours before giving them a second spray. The end result is a bold black handle that matches our black couch and fridge surround.
For our Caravan Cupboards Makeover
Just to note, one handle was left on the ute roof and is now on a highway somewhere, ooppss. To replace one black handle is around $16 whereas to spray 40 odd handles black was around $13. Spraying them black was a much cheaper option than buying new ones.
Caravan Fridge Door Makeover
Once we decided to do all the cupboard doors, we also started thinking about the caravan fridge door. The front insert on the fridge are also wood. We decided to order some brushed stainless steel looking contact paper to modernise it. Larry filled a little dent in the wood before sanding back. Then he removed the wood panel off the freezer section to cover it.
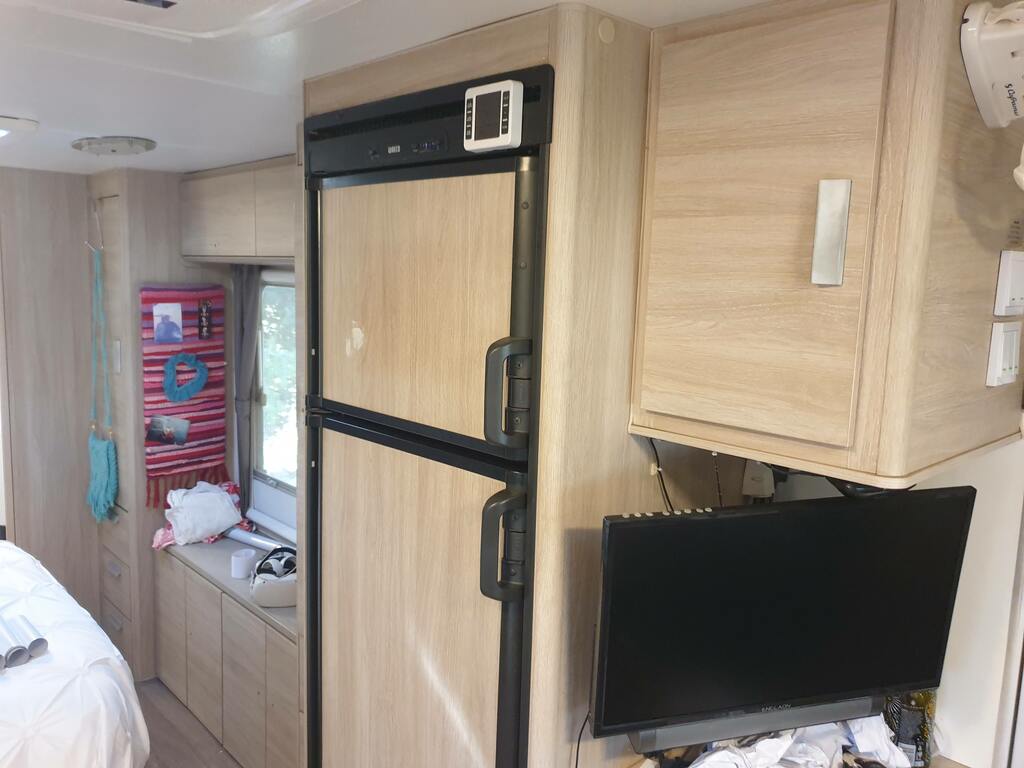

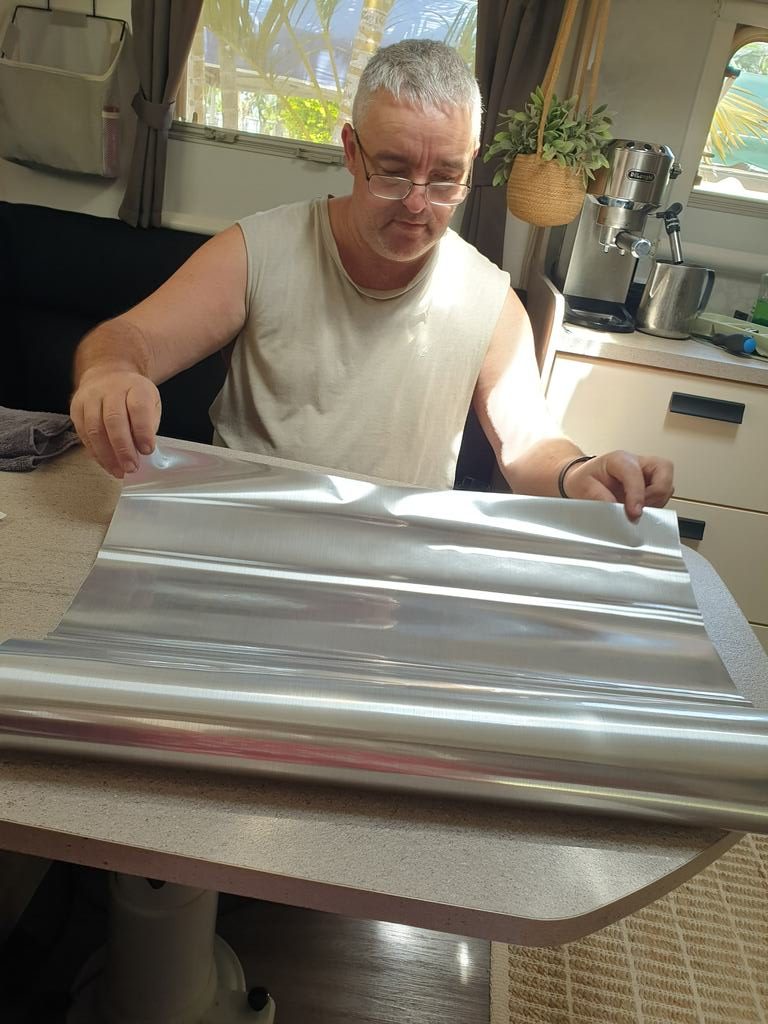
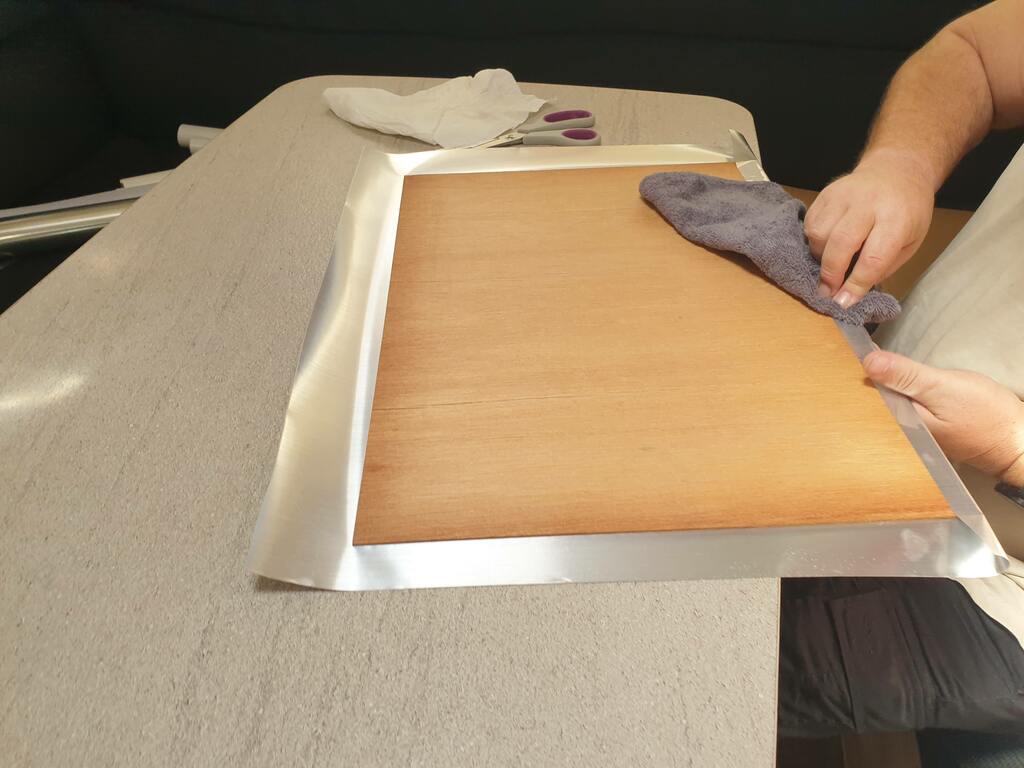
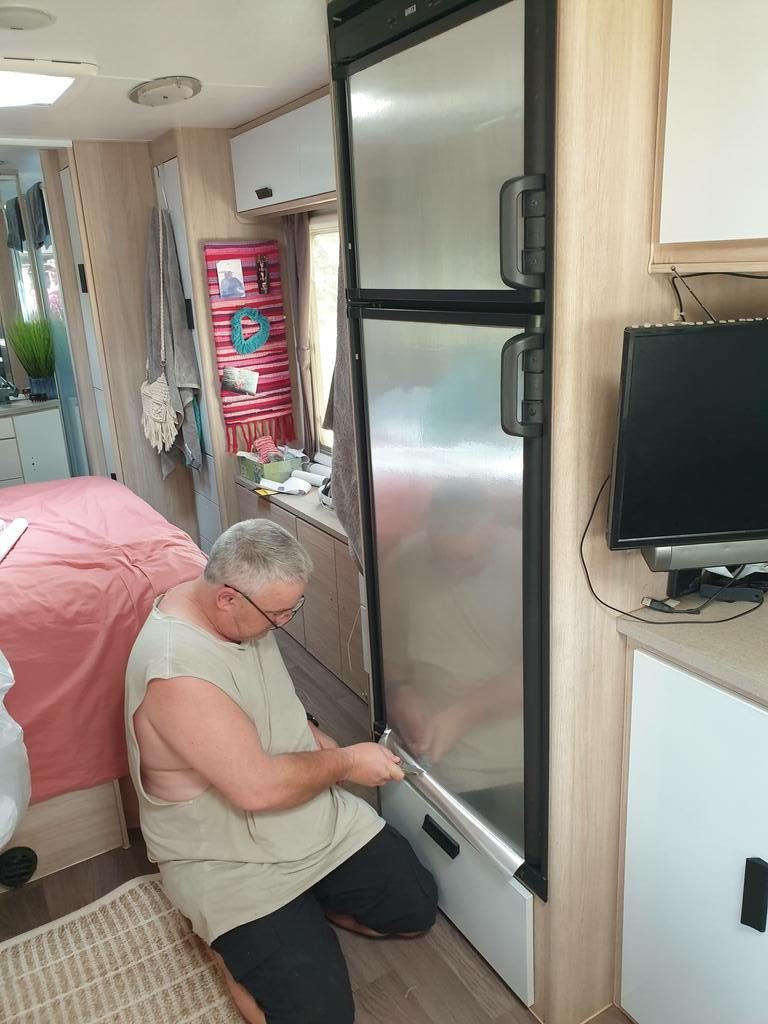
I believe the stainless steel contact paper is a little thinner than the white cupboard paper but it still worked just as well. After trying to remove the wood on the larger fridge area and failing, we put the contact paper on it while still in place.
Starting at the top and working our way down, we initially had a bit of a hiccup. A bubble appeared so we lifted it off again. Smoothing it back down again it began to crease. I think this was because when we pulled it back, we pulled from the side not back straight to the top. It may have stretched the paper a little? We decided to continue putting it on as we didn’t have enough roll left to do it again. Thankfully the rest went on perfectly.


As Part Of Our Caravan Cupboards Makeover
As with the white contact paper, it does show up any blemishes. It’s not perfect but it’s been a few weeks and we don’t notice the crease that much. If we decide to replace it, we’ll try again. Next time though, we’ll wait till we remove the fridge to clean the compressor, then take the wood off to cover it. Doing the fridge feels like we have upgraded it without spending the money and we’re glad we added it to our caravan cupboard makeover.
How We Covered The Doors
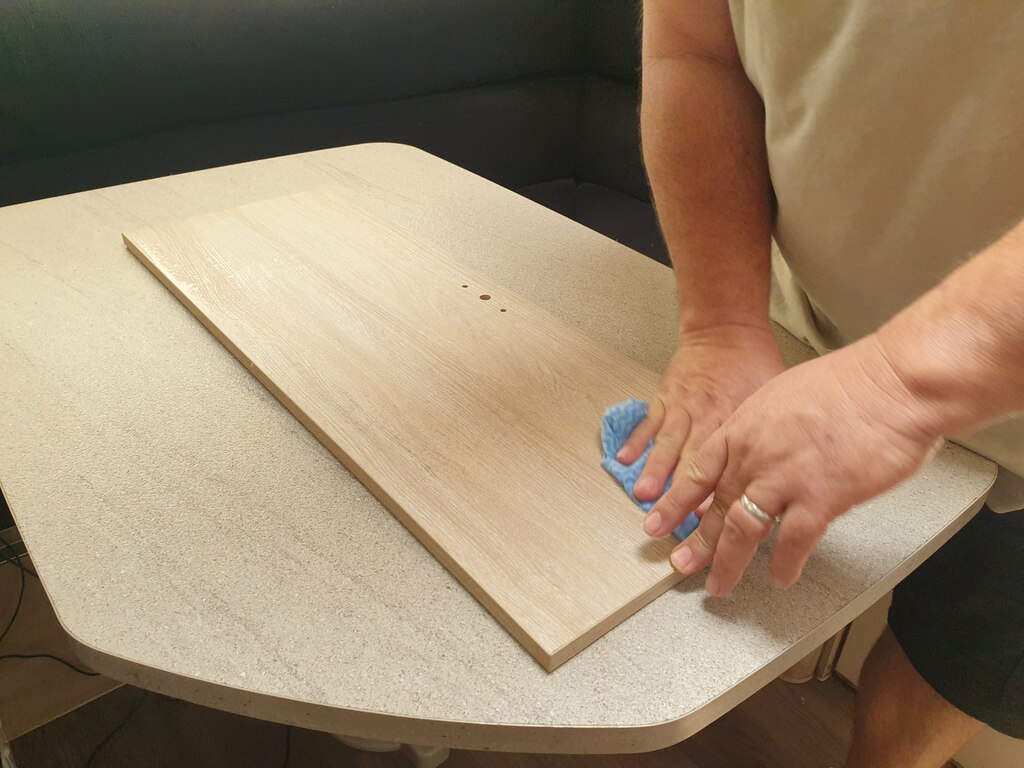
- One door at a time was taken off, wiped clean and sanded slightly if needed. For example, one of our cupboards had a scrape on it from the hook that goes over the door.
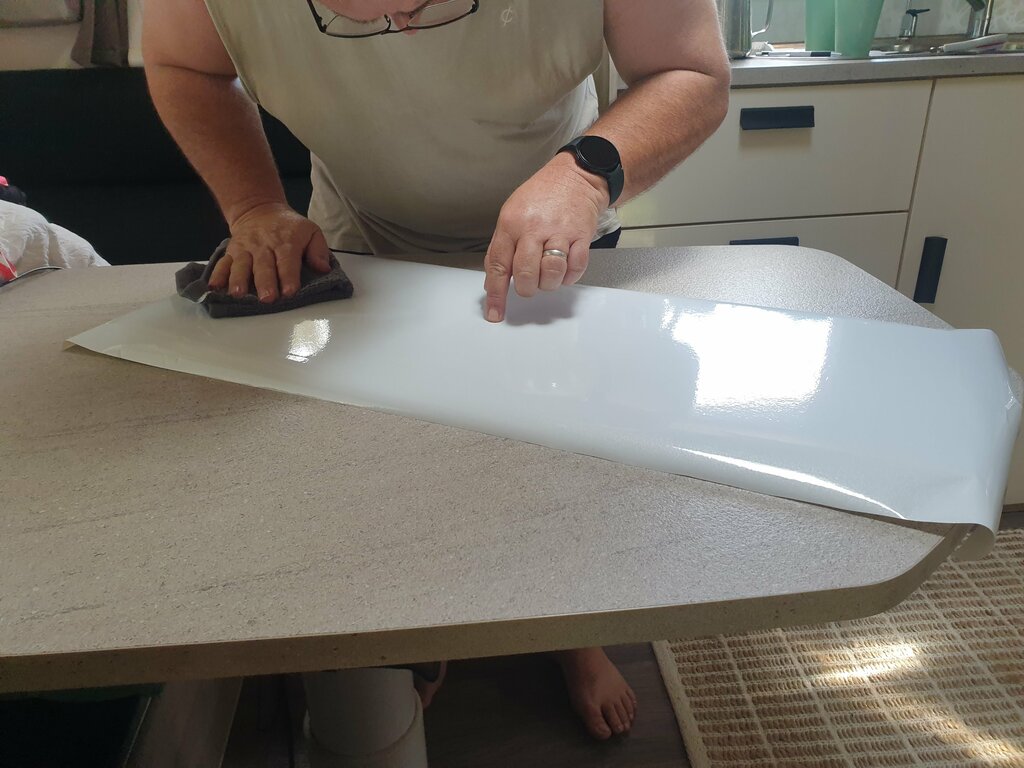
2. Contact paper was lay out on our table, reverse side up, before putting one of the doors on top, face side down. Marking out the size needed.
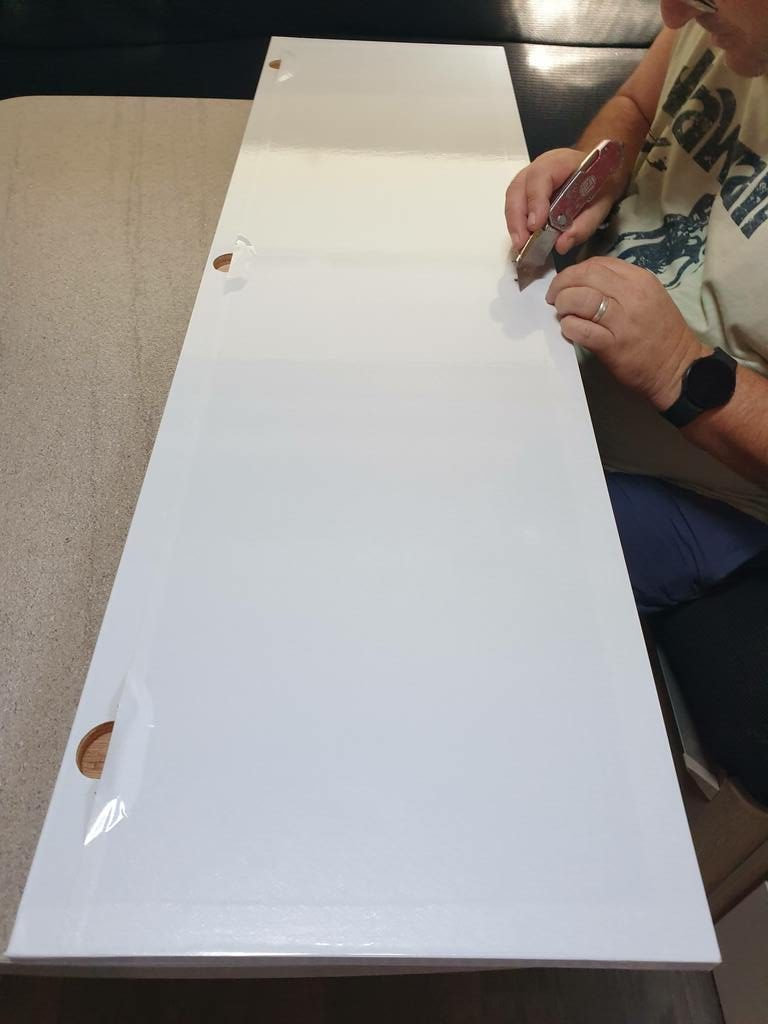
3. Once cut to size, Larry peeled back the contact to where he had marked (a couple of inch) Pressing the top of the door face down to stick to the contact paper.
4. After Turning the door over, I then pulled the backing off very slowly as Larry pressed the contact paper down in a side to side motion with a face cloth.
5. Larry folded the edges of the paper over to the back of the door, around an inch each side. Cutting the corners so that it fitted neatly.
6. On our initial doors we added left over matt paper to back the doors. Where as we used gloss paper to back the cupboards we use more often.
7. Cutting out the sections for the hardware was next as well as the screw holes
8. Finally, for our caravan cupboard makeover, we put our sprayed matt black handles back on.
Removing the self-adhesive contact paper is easy if you make a big mistake or change your mind. Larry removed the matt contact paper from the first cupboard door with ease. It was a little sticky on the sides but nothing a gentile clean or sand cant fix.
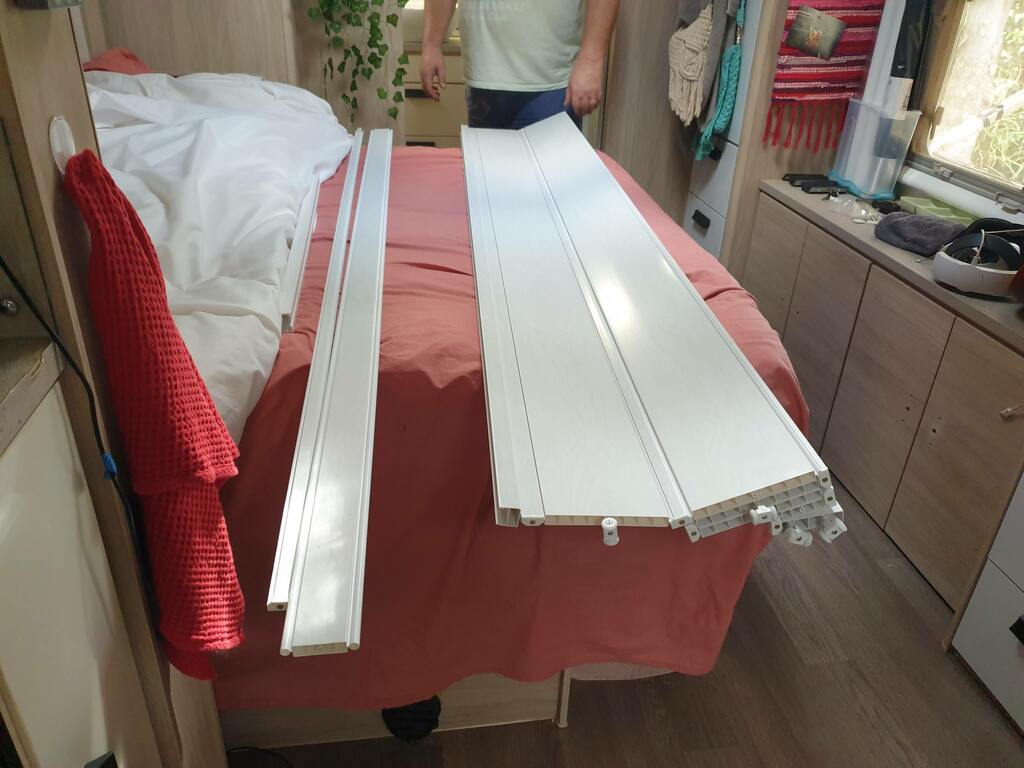
Concertina On-suite Bathroom Door
Replacing our concertina bathroom door seemed like the logical next step while doing our caravan cupboards makeover. I had seen a concertina door that looked like white oak from Bunnings and decided to give it a try.
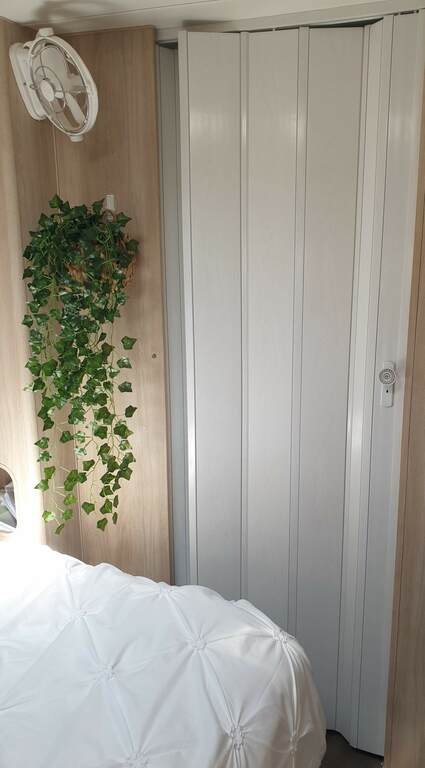
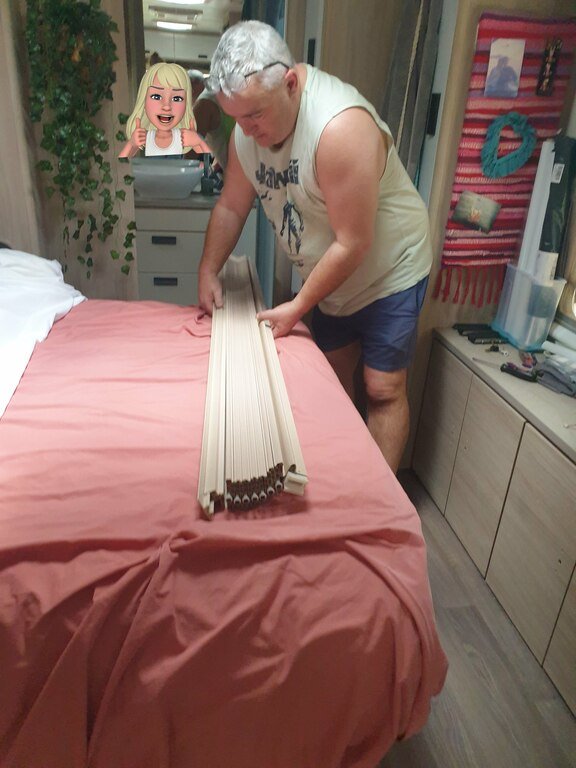
Taking the old door off I realised that the new door was a little lighter in weight, that was an unexpected bonus. And our old door didn’t go to waste as we gave it to one of our travelling friends.
Replacing The Concertina Door
- Taking the original concertina door off, Larry unscrewed the side and top rail. He then used a screw driver to prise the side that attaches to the wall off. That side had been screwed and glued.
2. Next Larry measured the length of the old door and cut the new door to size with a jigsaw.
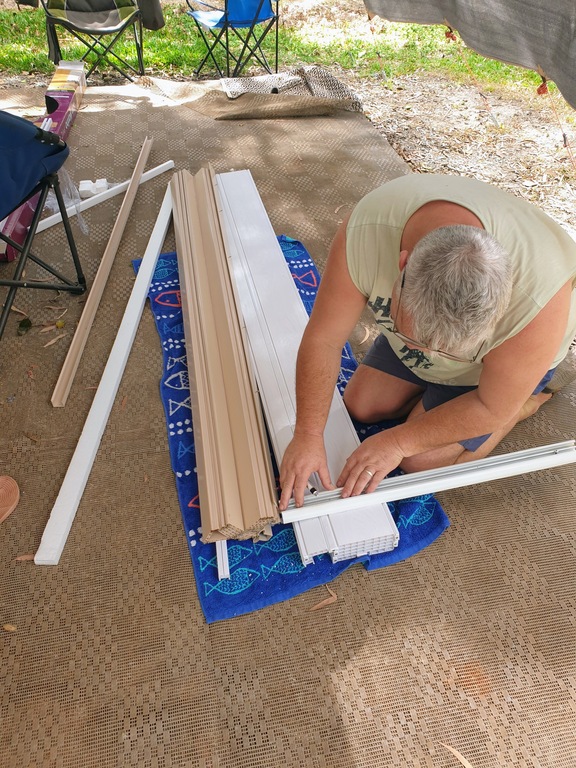

3. After screwing the new top rail in place we threaded the new door onto it, to see how it looked.
4. As the panels are bigger than the last door we thought it was a little to wide as there was a small gap on top.
5. We took off a small section, then a bigger section, placing the door back on each time to check out the width and fold ability. After a few tries of different combinations, we finally put it back on the way it came due to width and hinges.
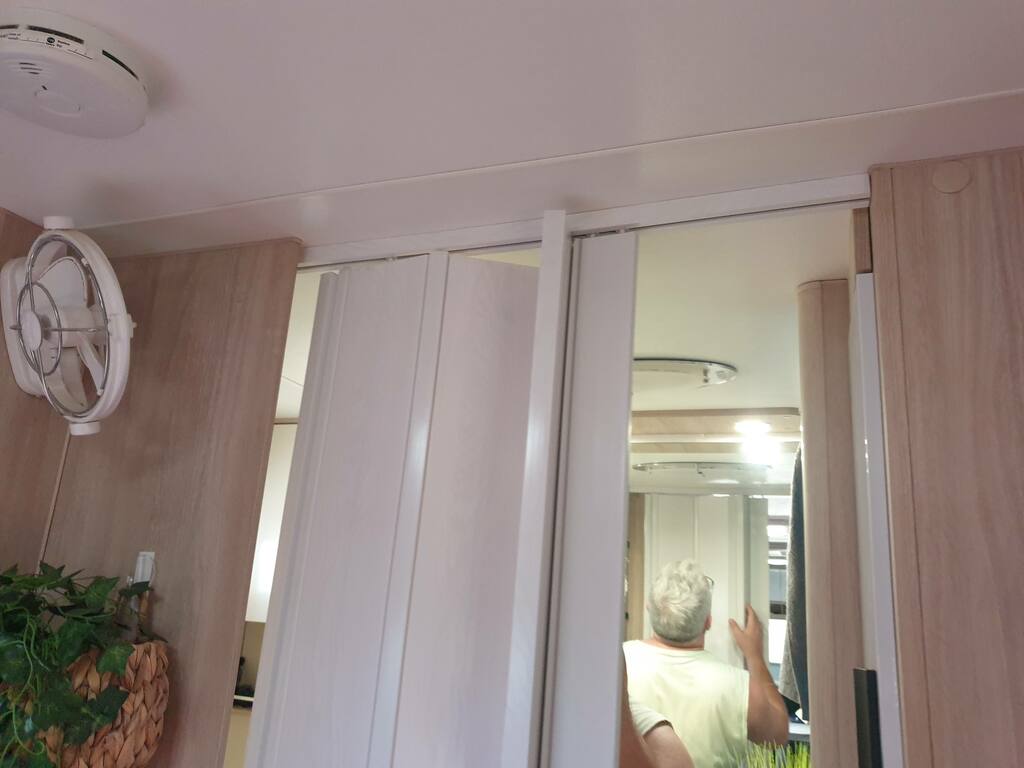
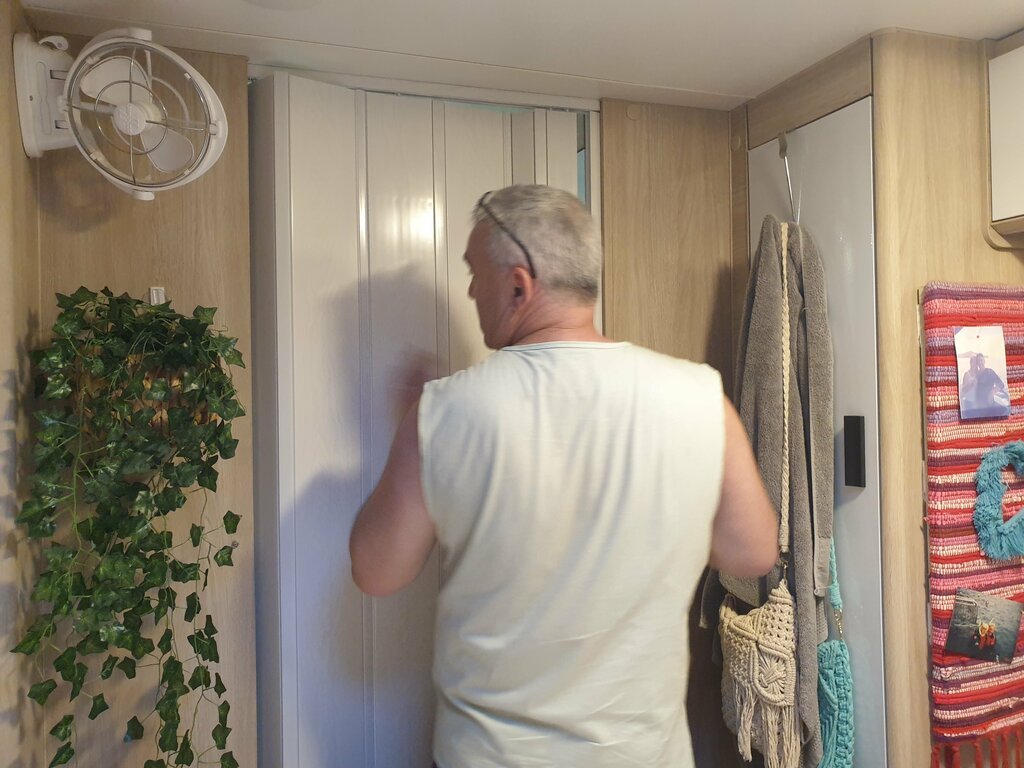
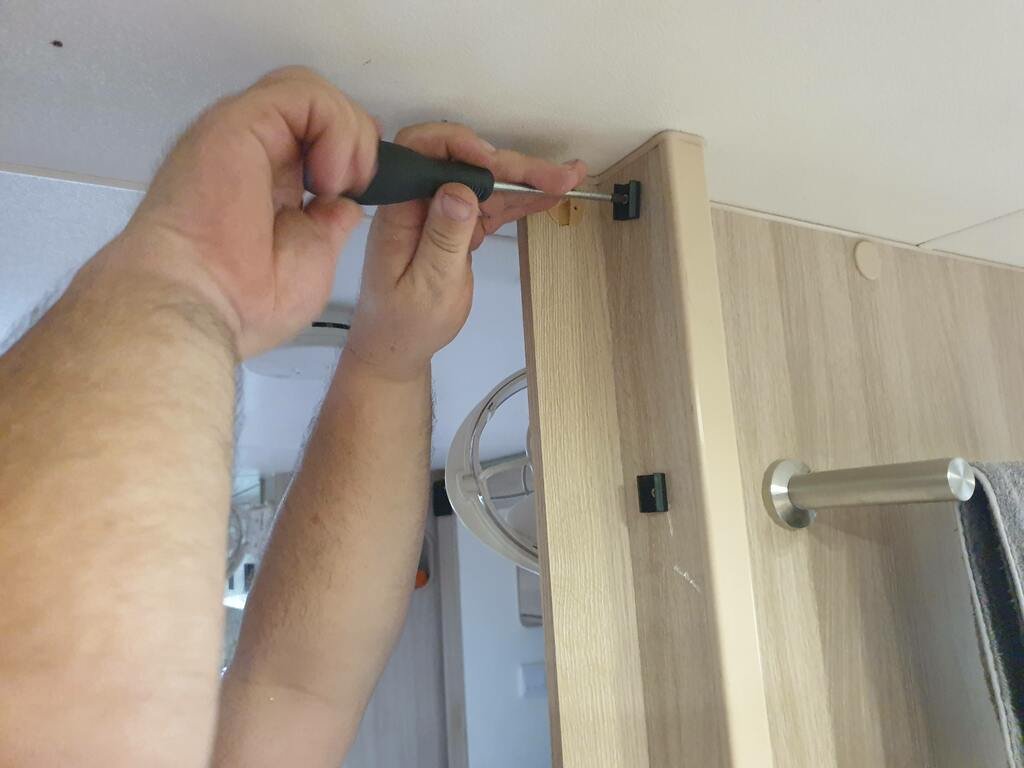
6. After we slid the concertina door back onto the head rail (back in its original width) Larry screwed the side rail on. Lastly he attached the door by pressing the door onto the square clips he had screwed on.
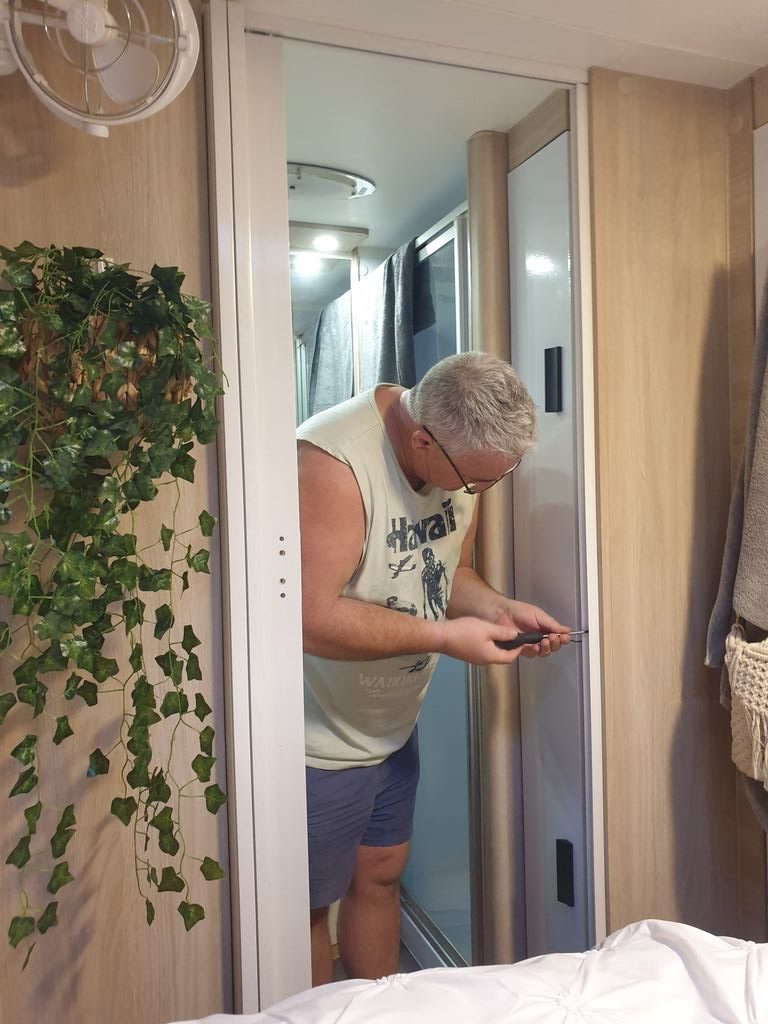
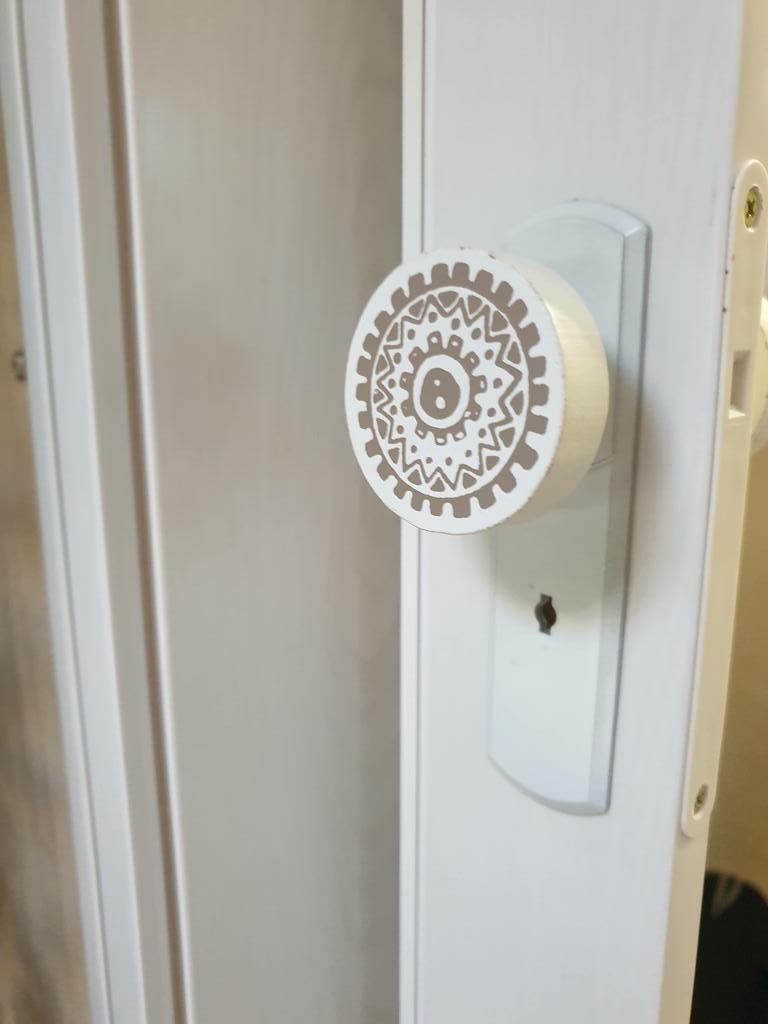
7. The Concertina door came with plastic knobs which I didn’t want to use. I sprayed the silver looking plate for the hardware white, to go with the door. Also, instead of the bulky household knobs I bought a cheap 3 knob hanger. Cutting two of the knobs off and using them to open and close the door.


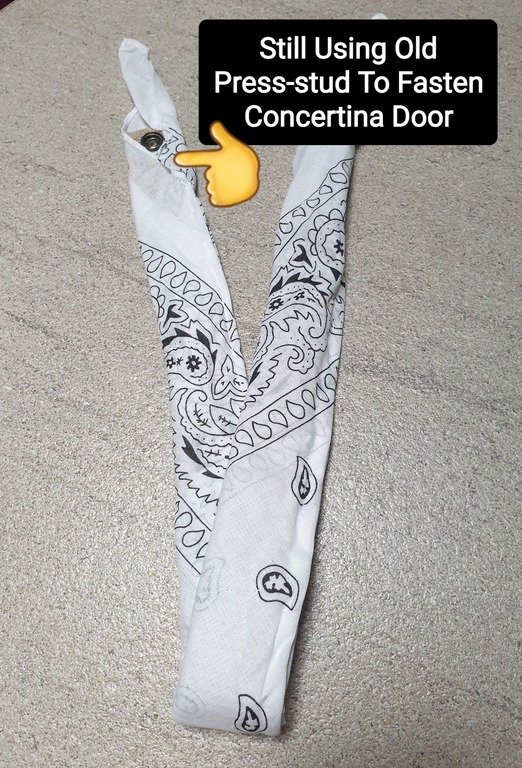
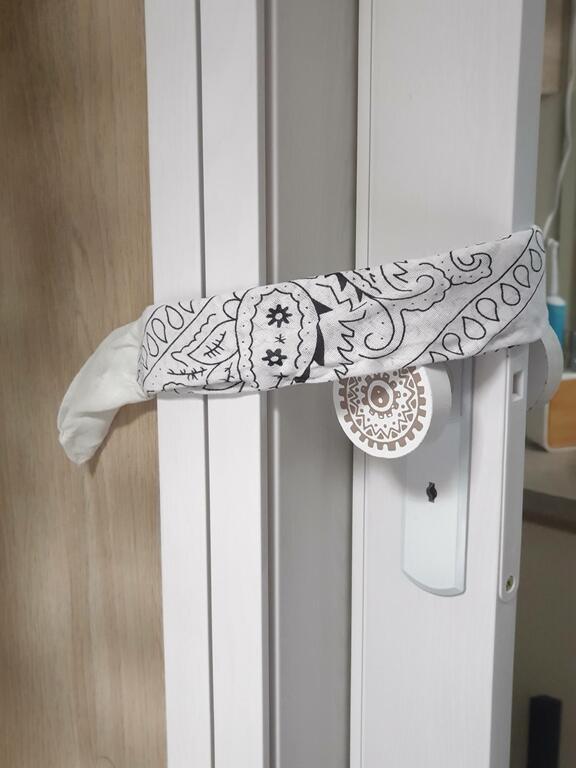
8. Lastly, I bought a bandanna which I sewed the original door fastener inside. I can still use it to fasten the door when on the move.
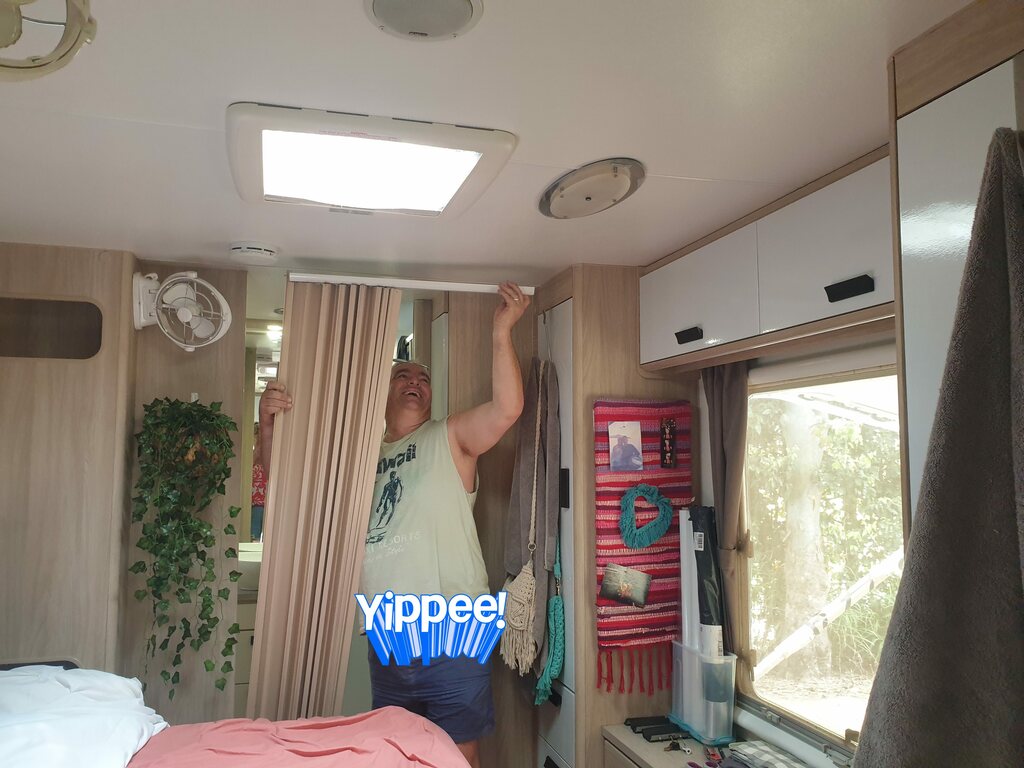
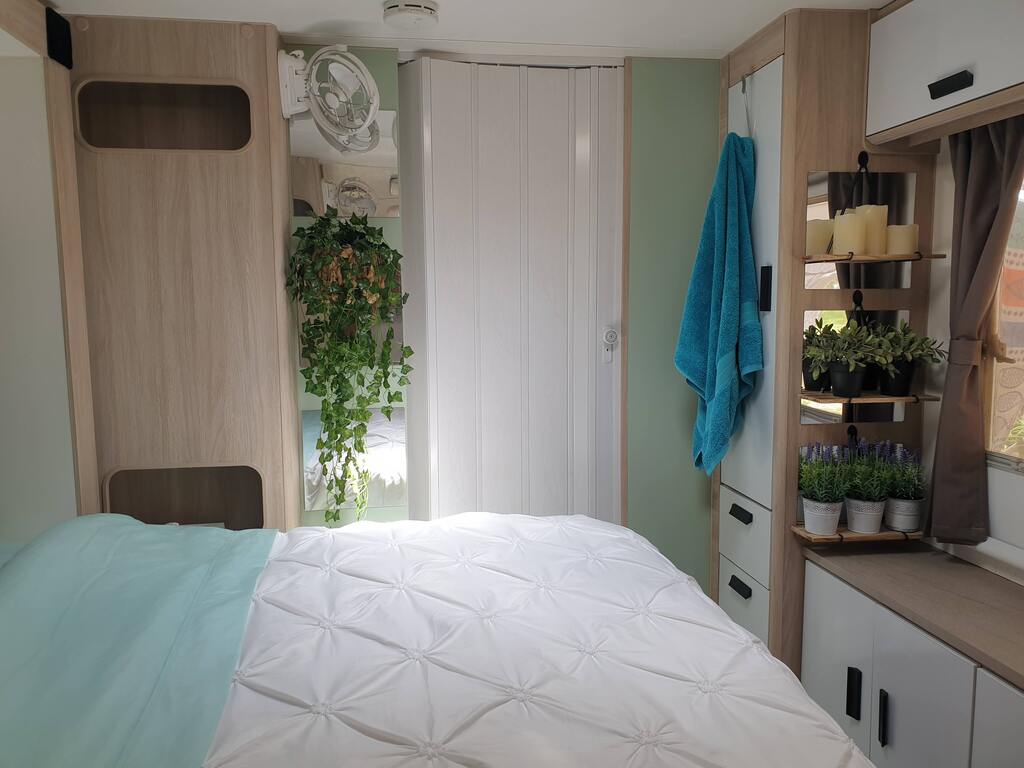
Adding A Splash Of Colour
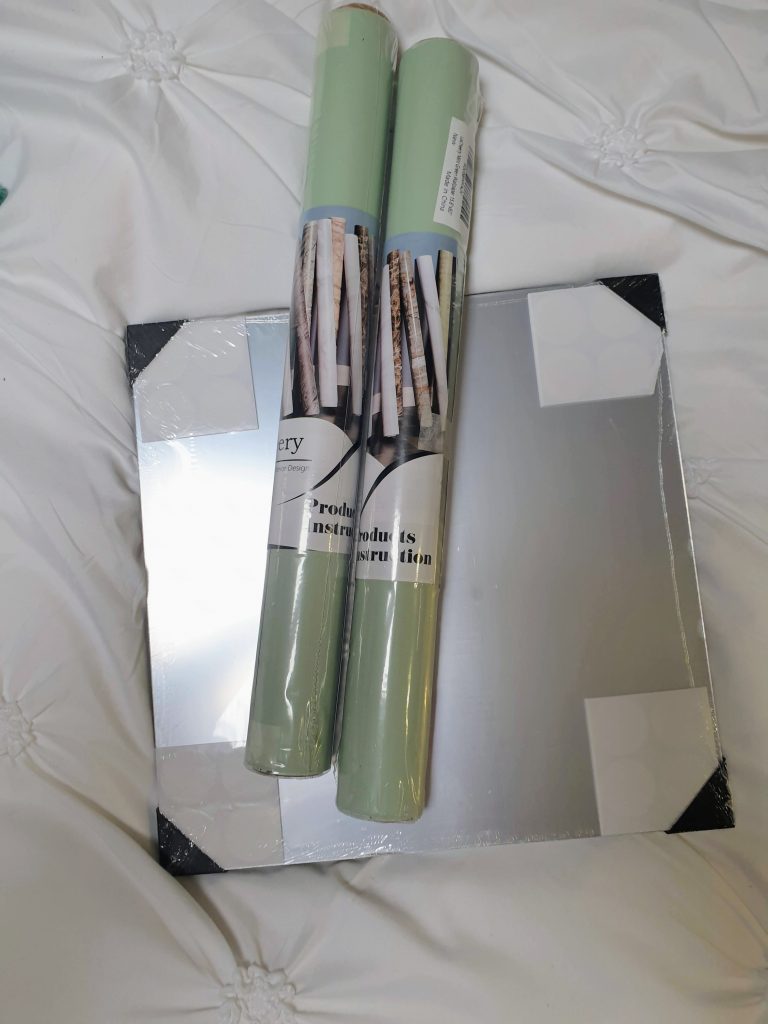
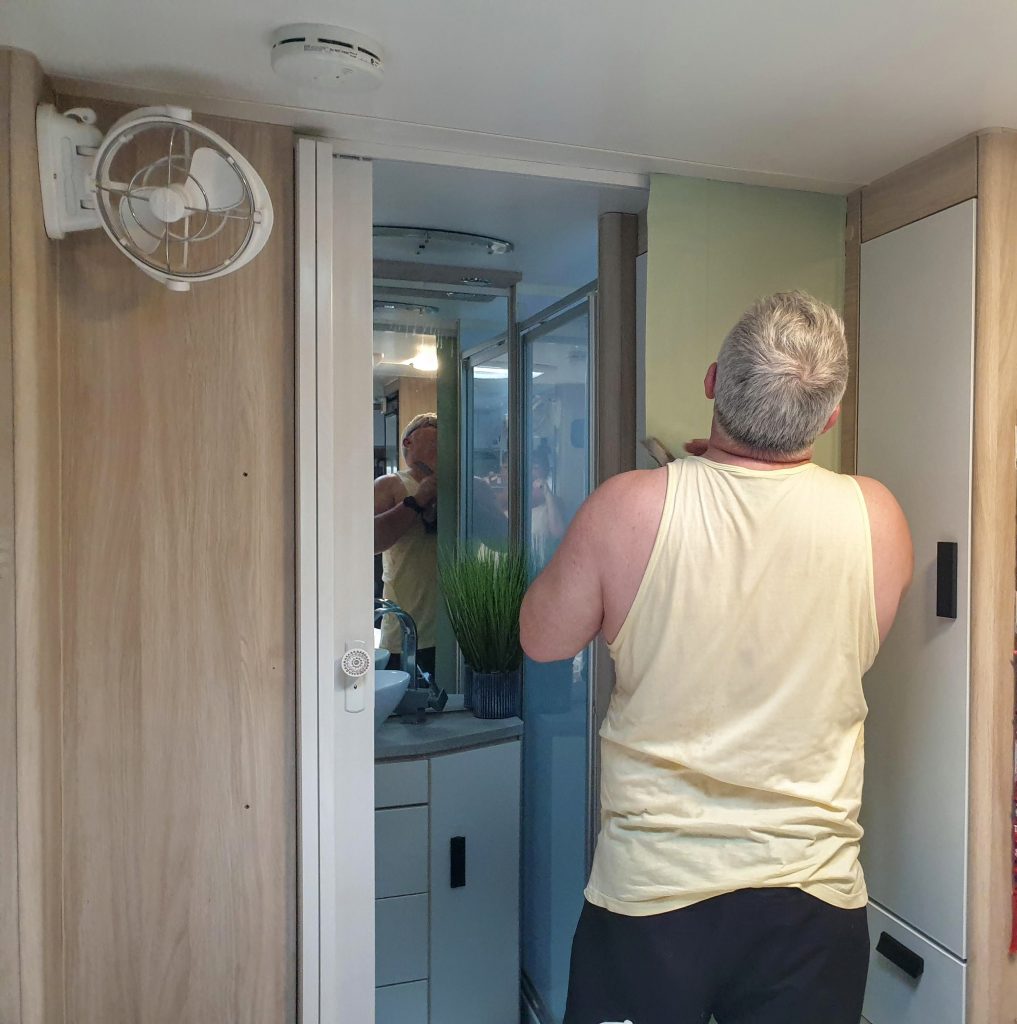
After finishing our caravan cupboards makeover I felt our home on the road needed a splash of colour. I still wanted a relaxed, calming space so decided to go for a sage green peel and stick paper. Getting inspiration from our Daisy Graze Dinnerware.
Larry also wanted to add some mirrors, to add light and maybe make the place look a little bigger. As with most of our contact paper we bought the sage peel and stick paper from Amazon. Much like the acrylic square mirrors. The mirrors weigh next to nothing and don’t break if they fall off. I tried and tested that theory when we tentatively stuck them on to see whet they looked like without the proper adhesive stickers. They fell off but were fine 😀

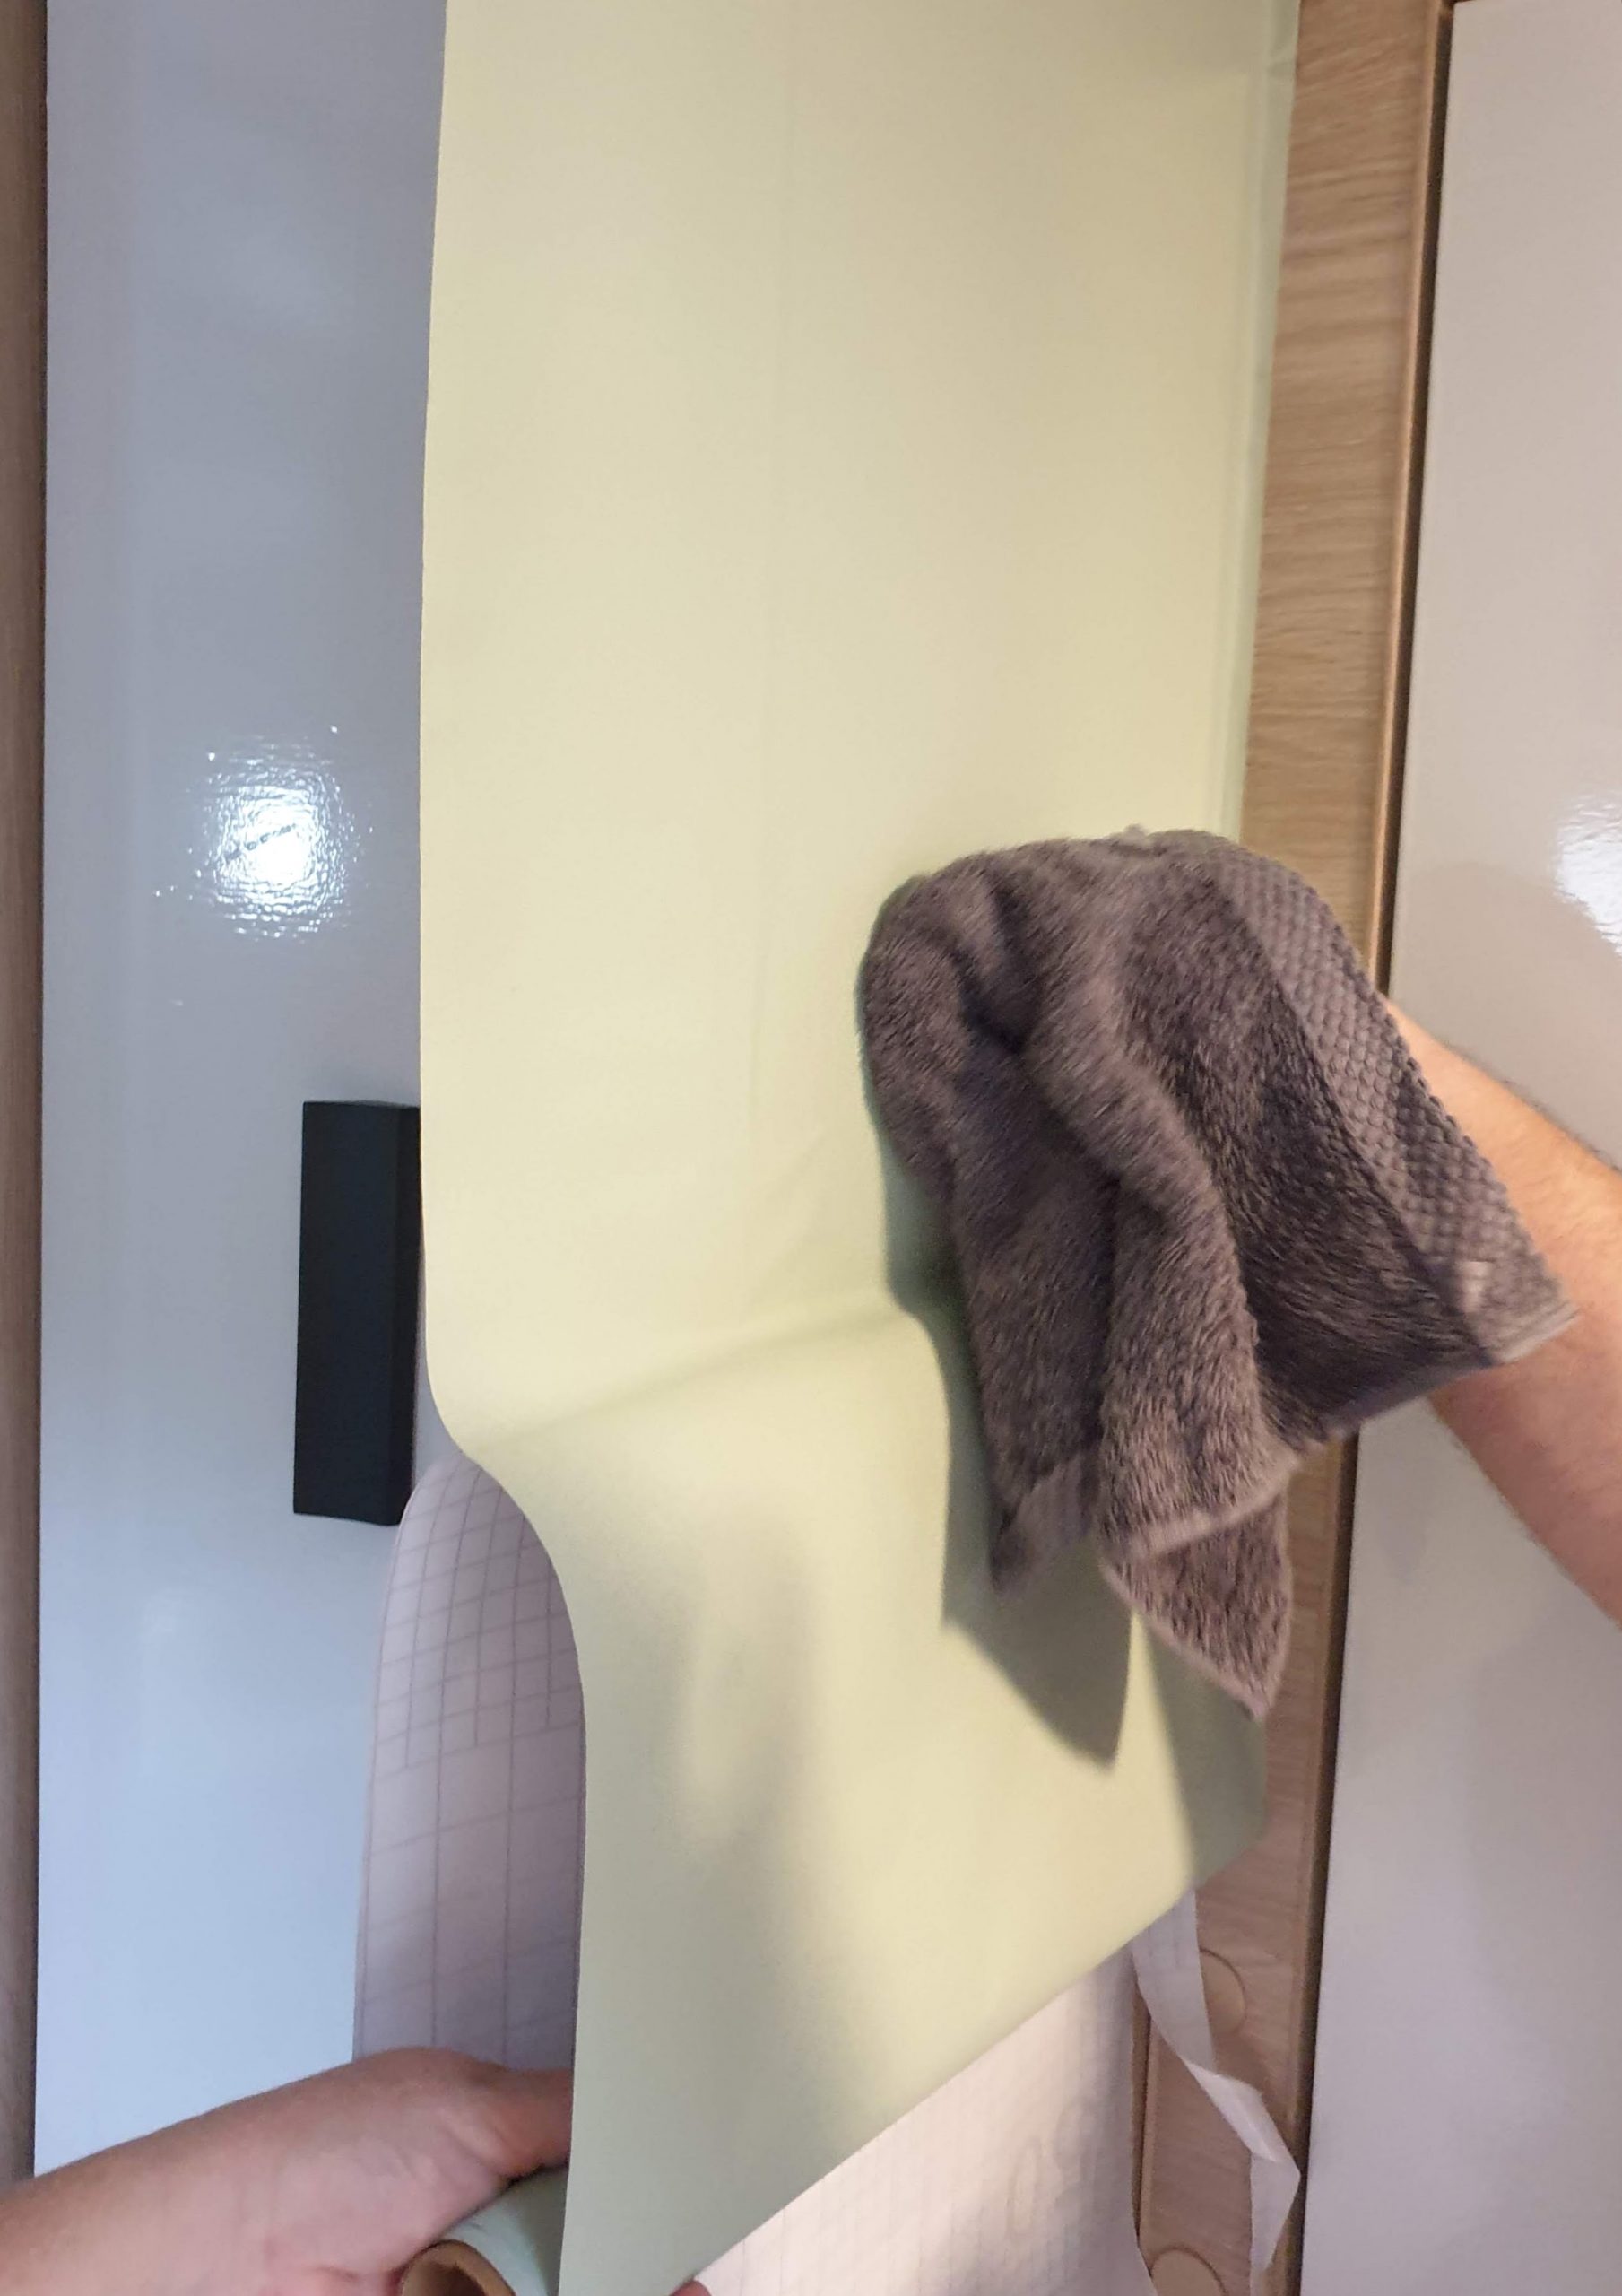
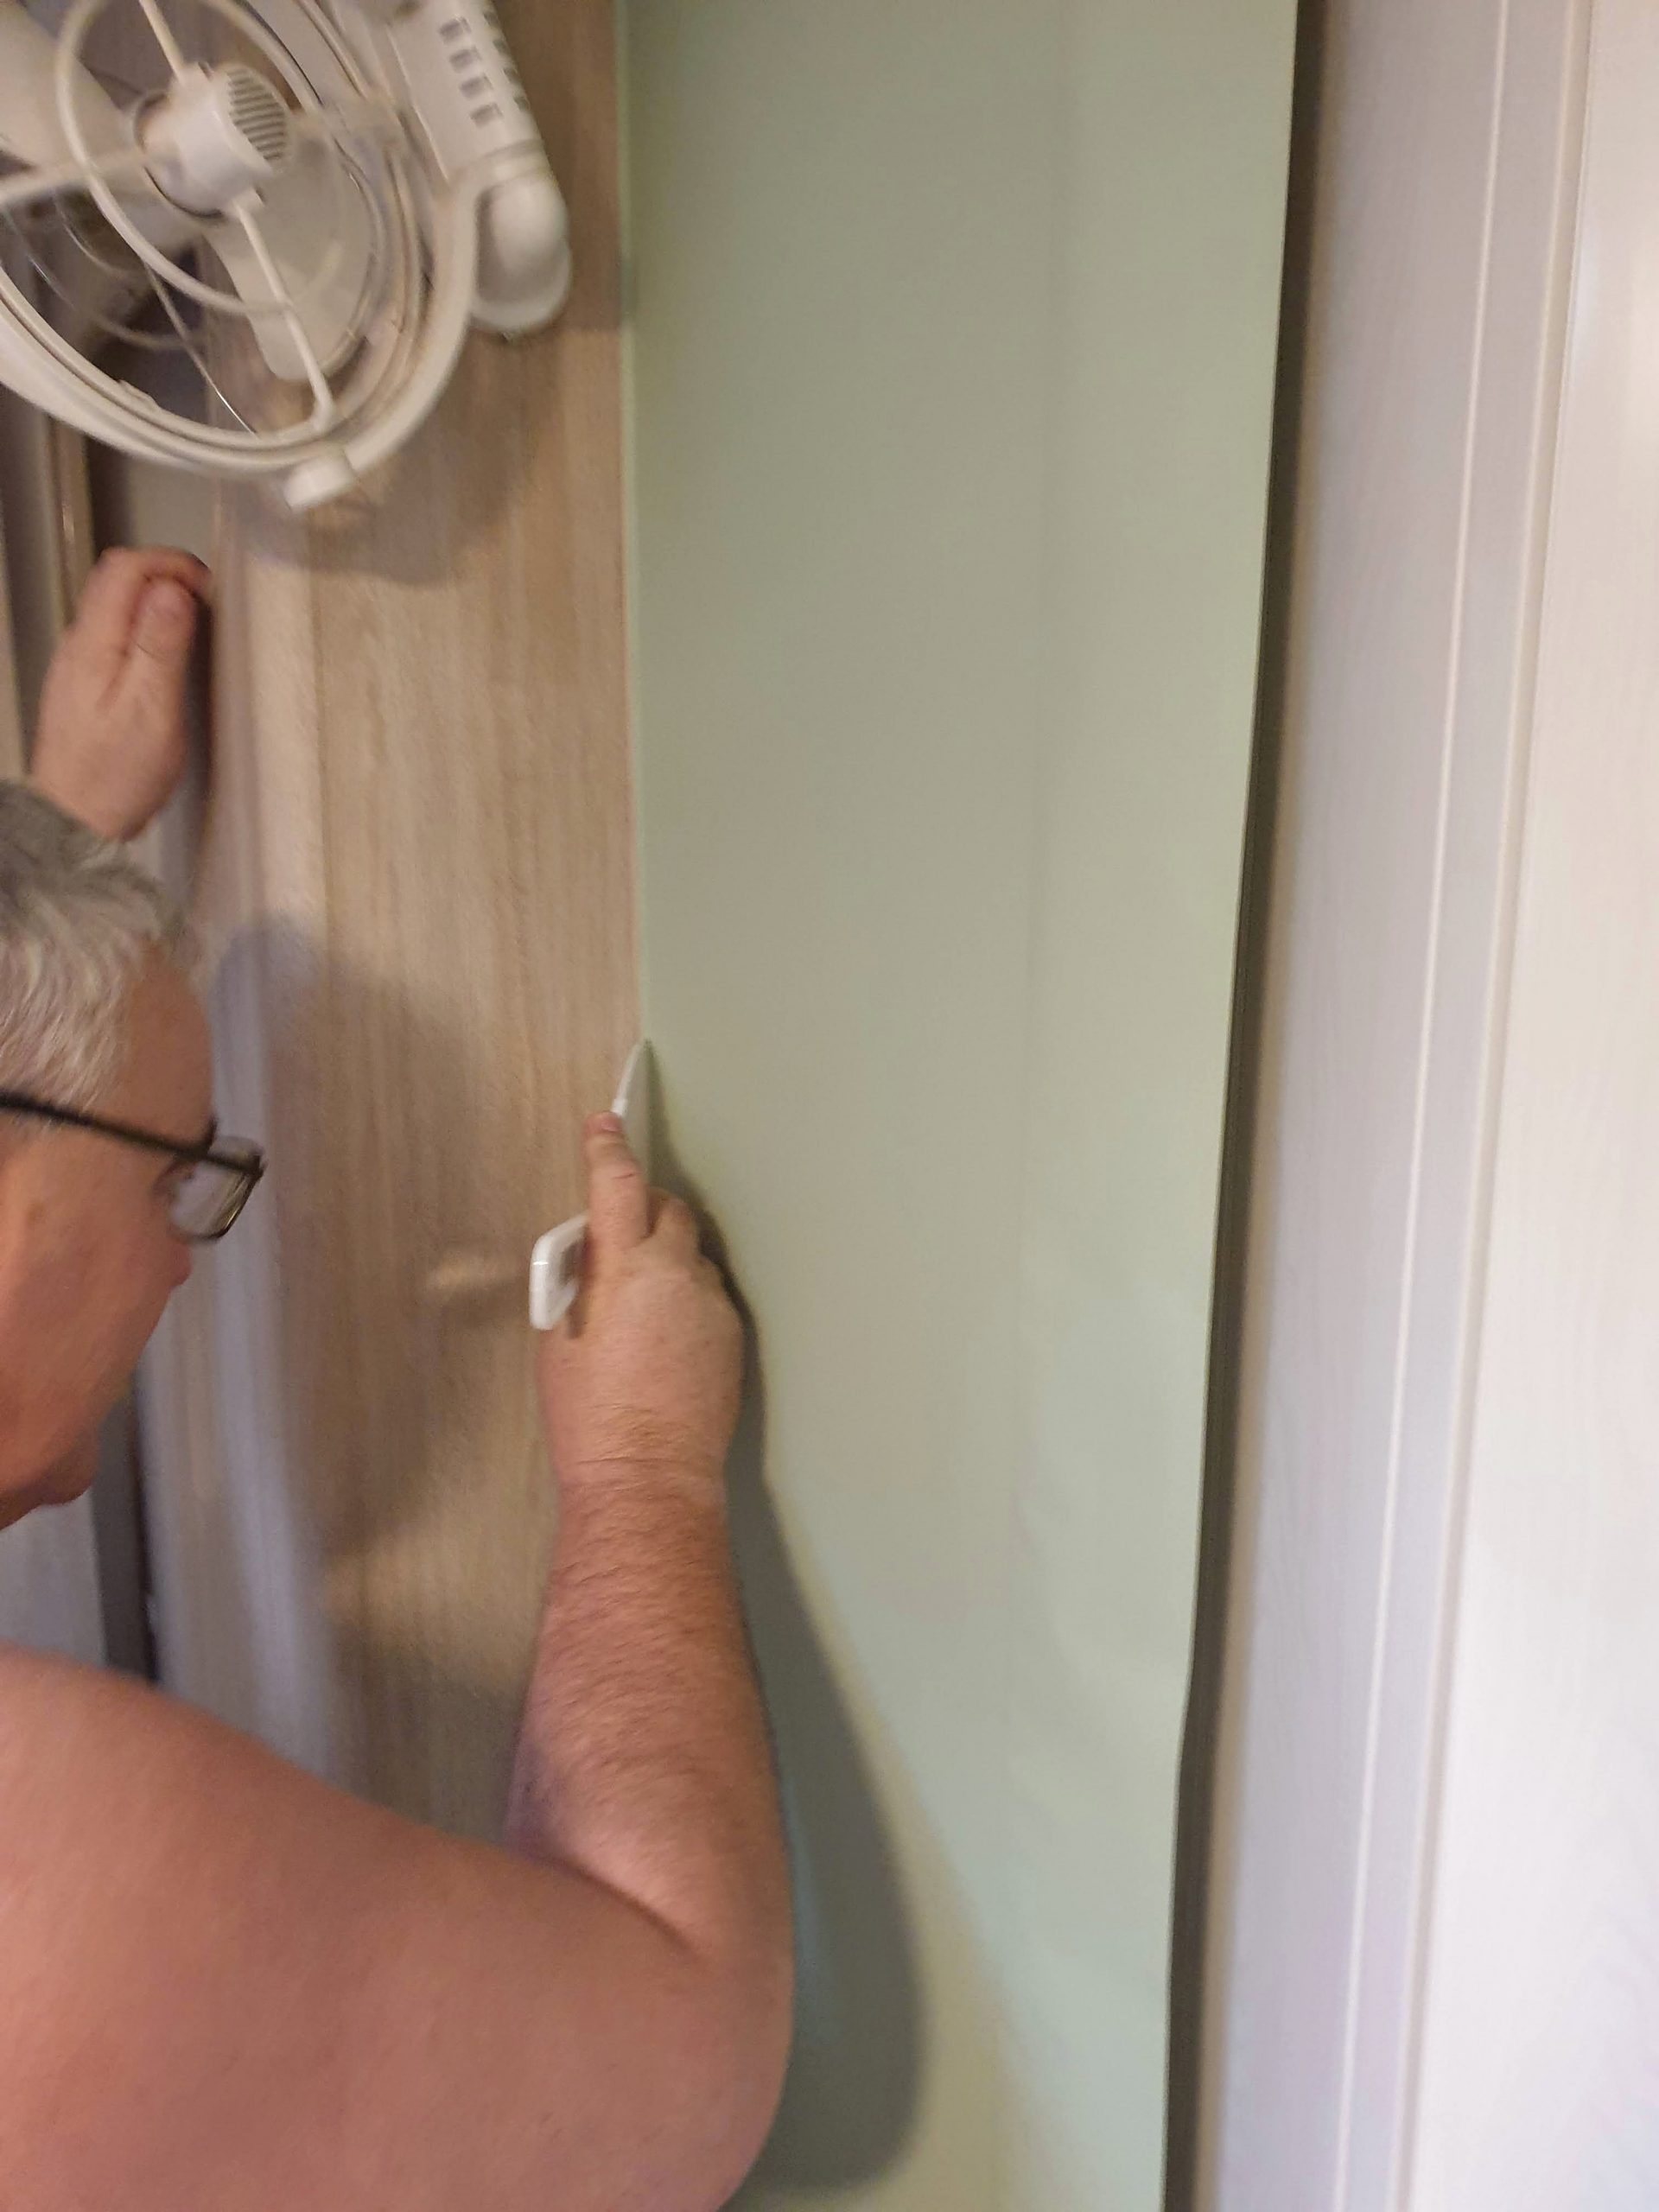
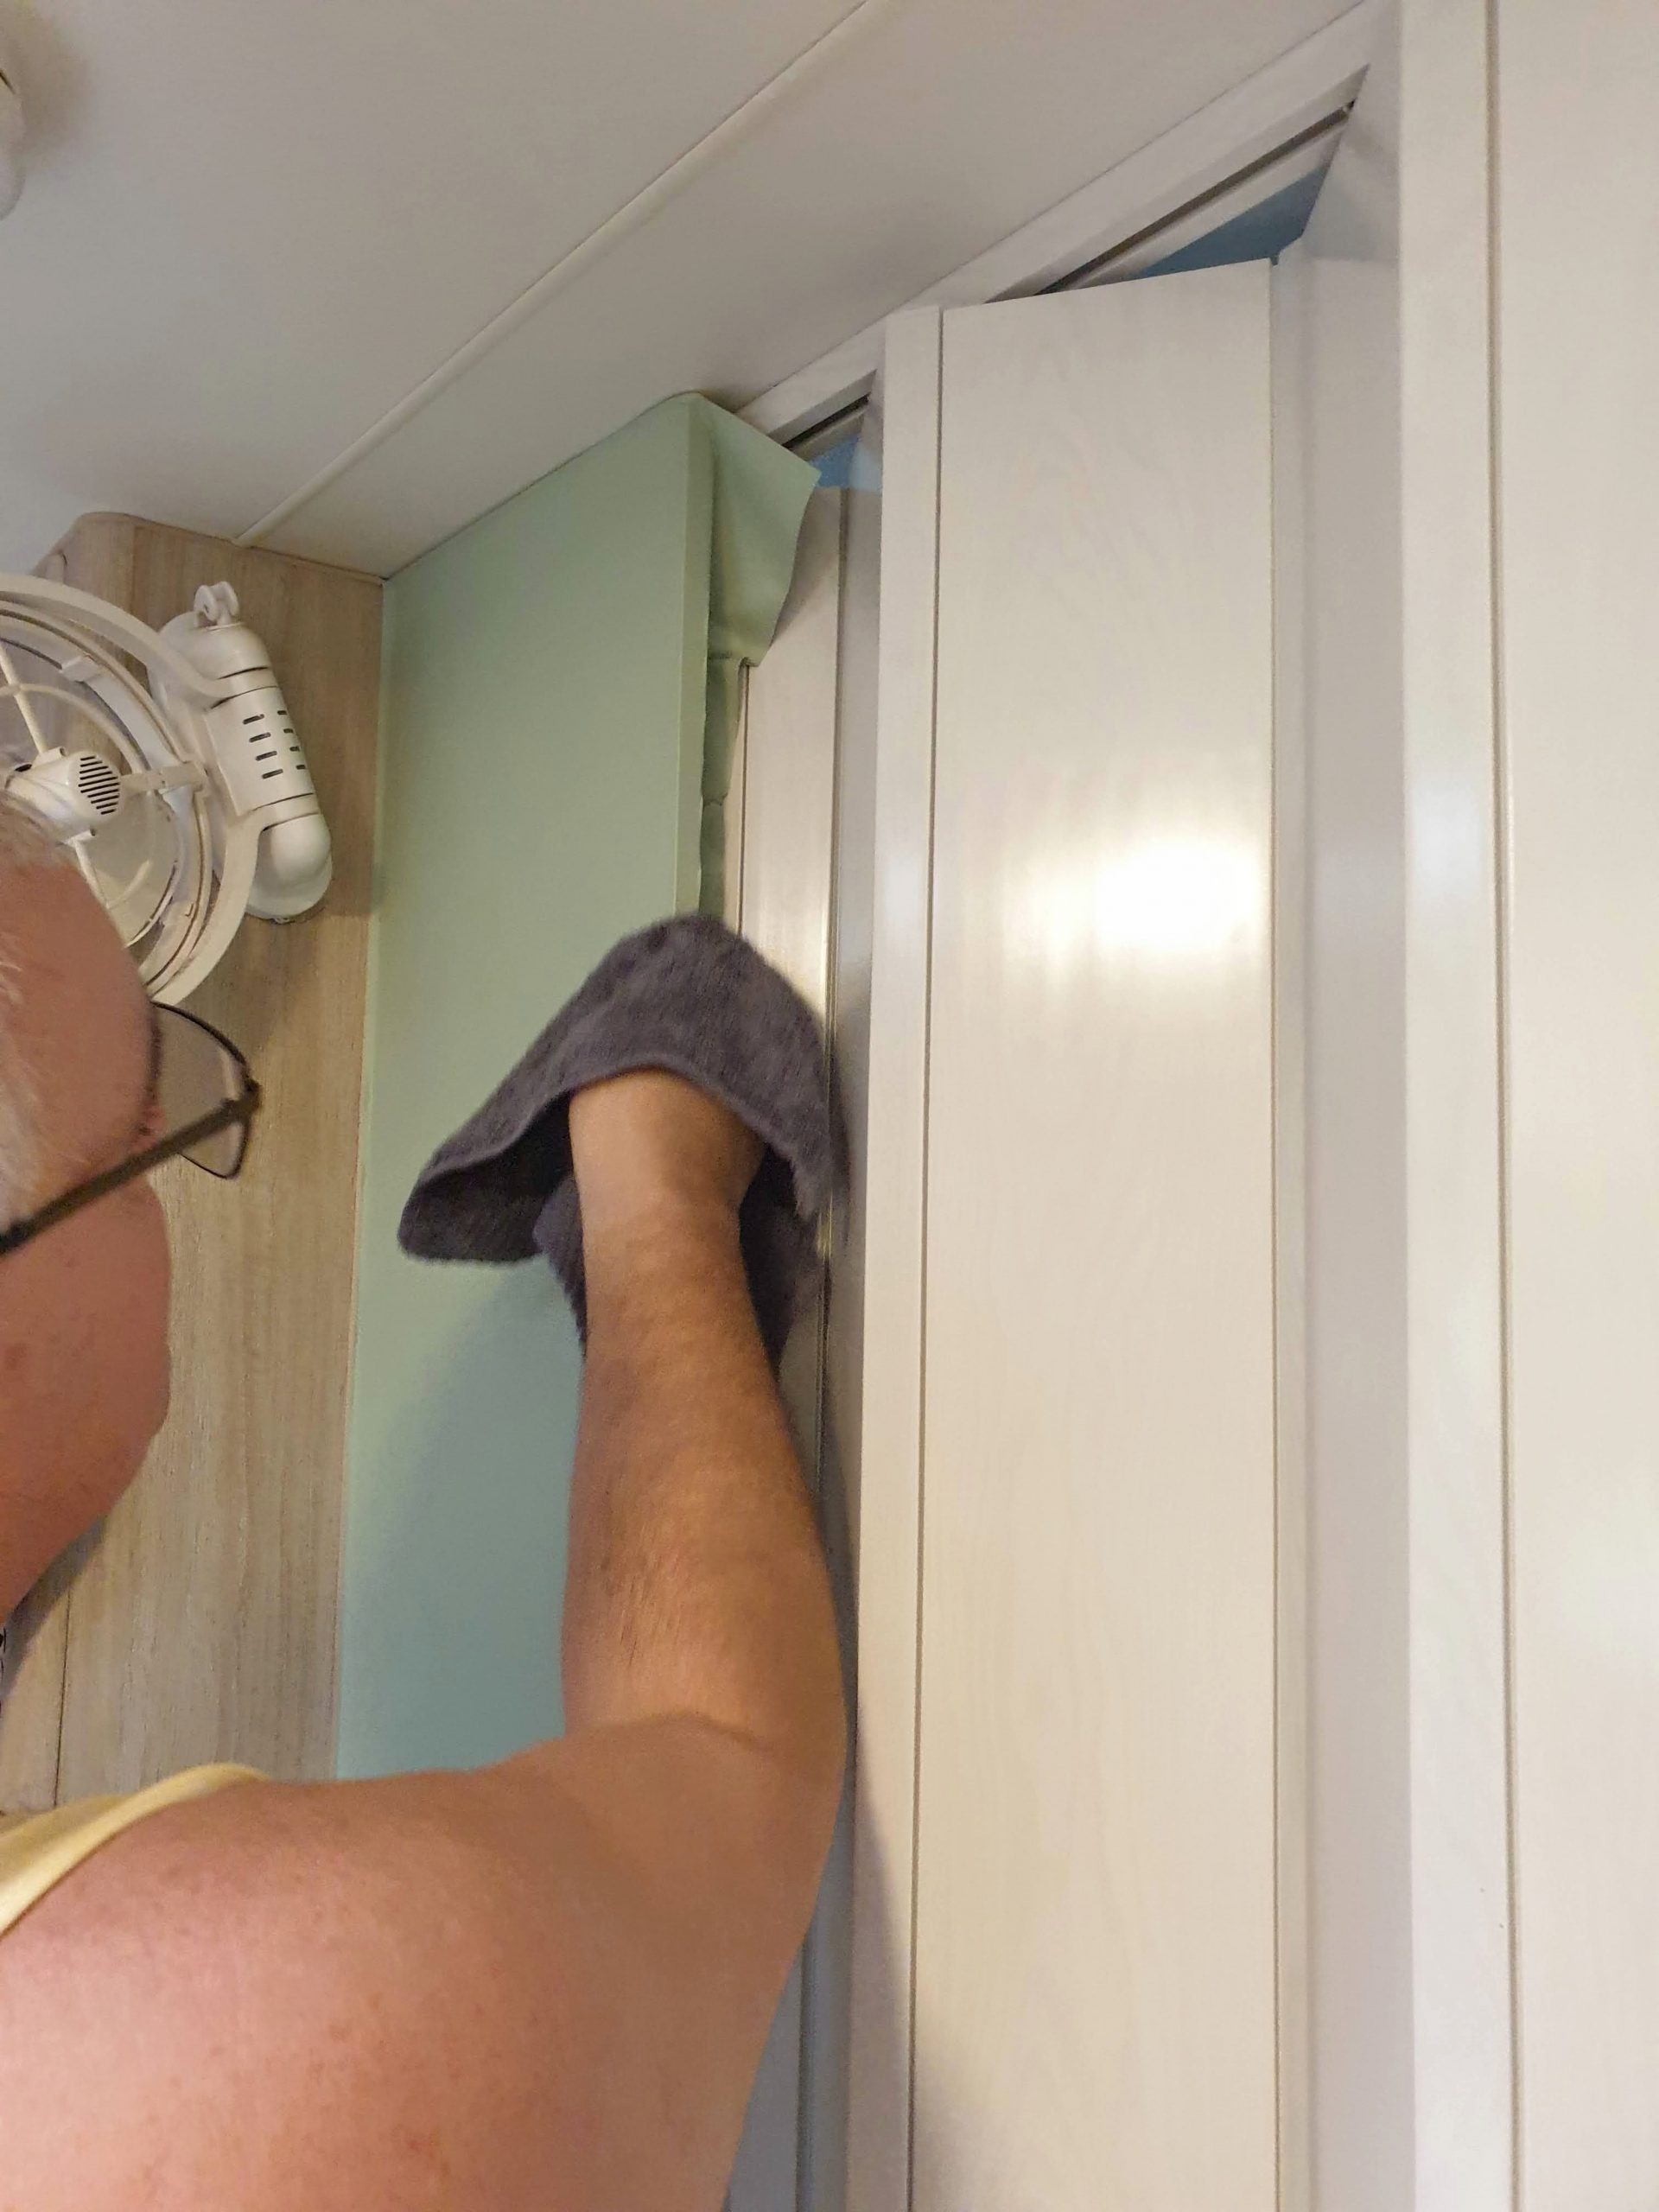
Unlike the caravan cupboards makeover where we could take off a door and have it at hand, the walls were a little different. Larry peeled back a little of the backing paper at the top of the wall, making sure to extend a bit over. This was so if the wall was out of wack, it would still be wide enough and we could just cut off the excess.
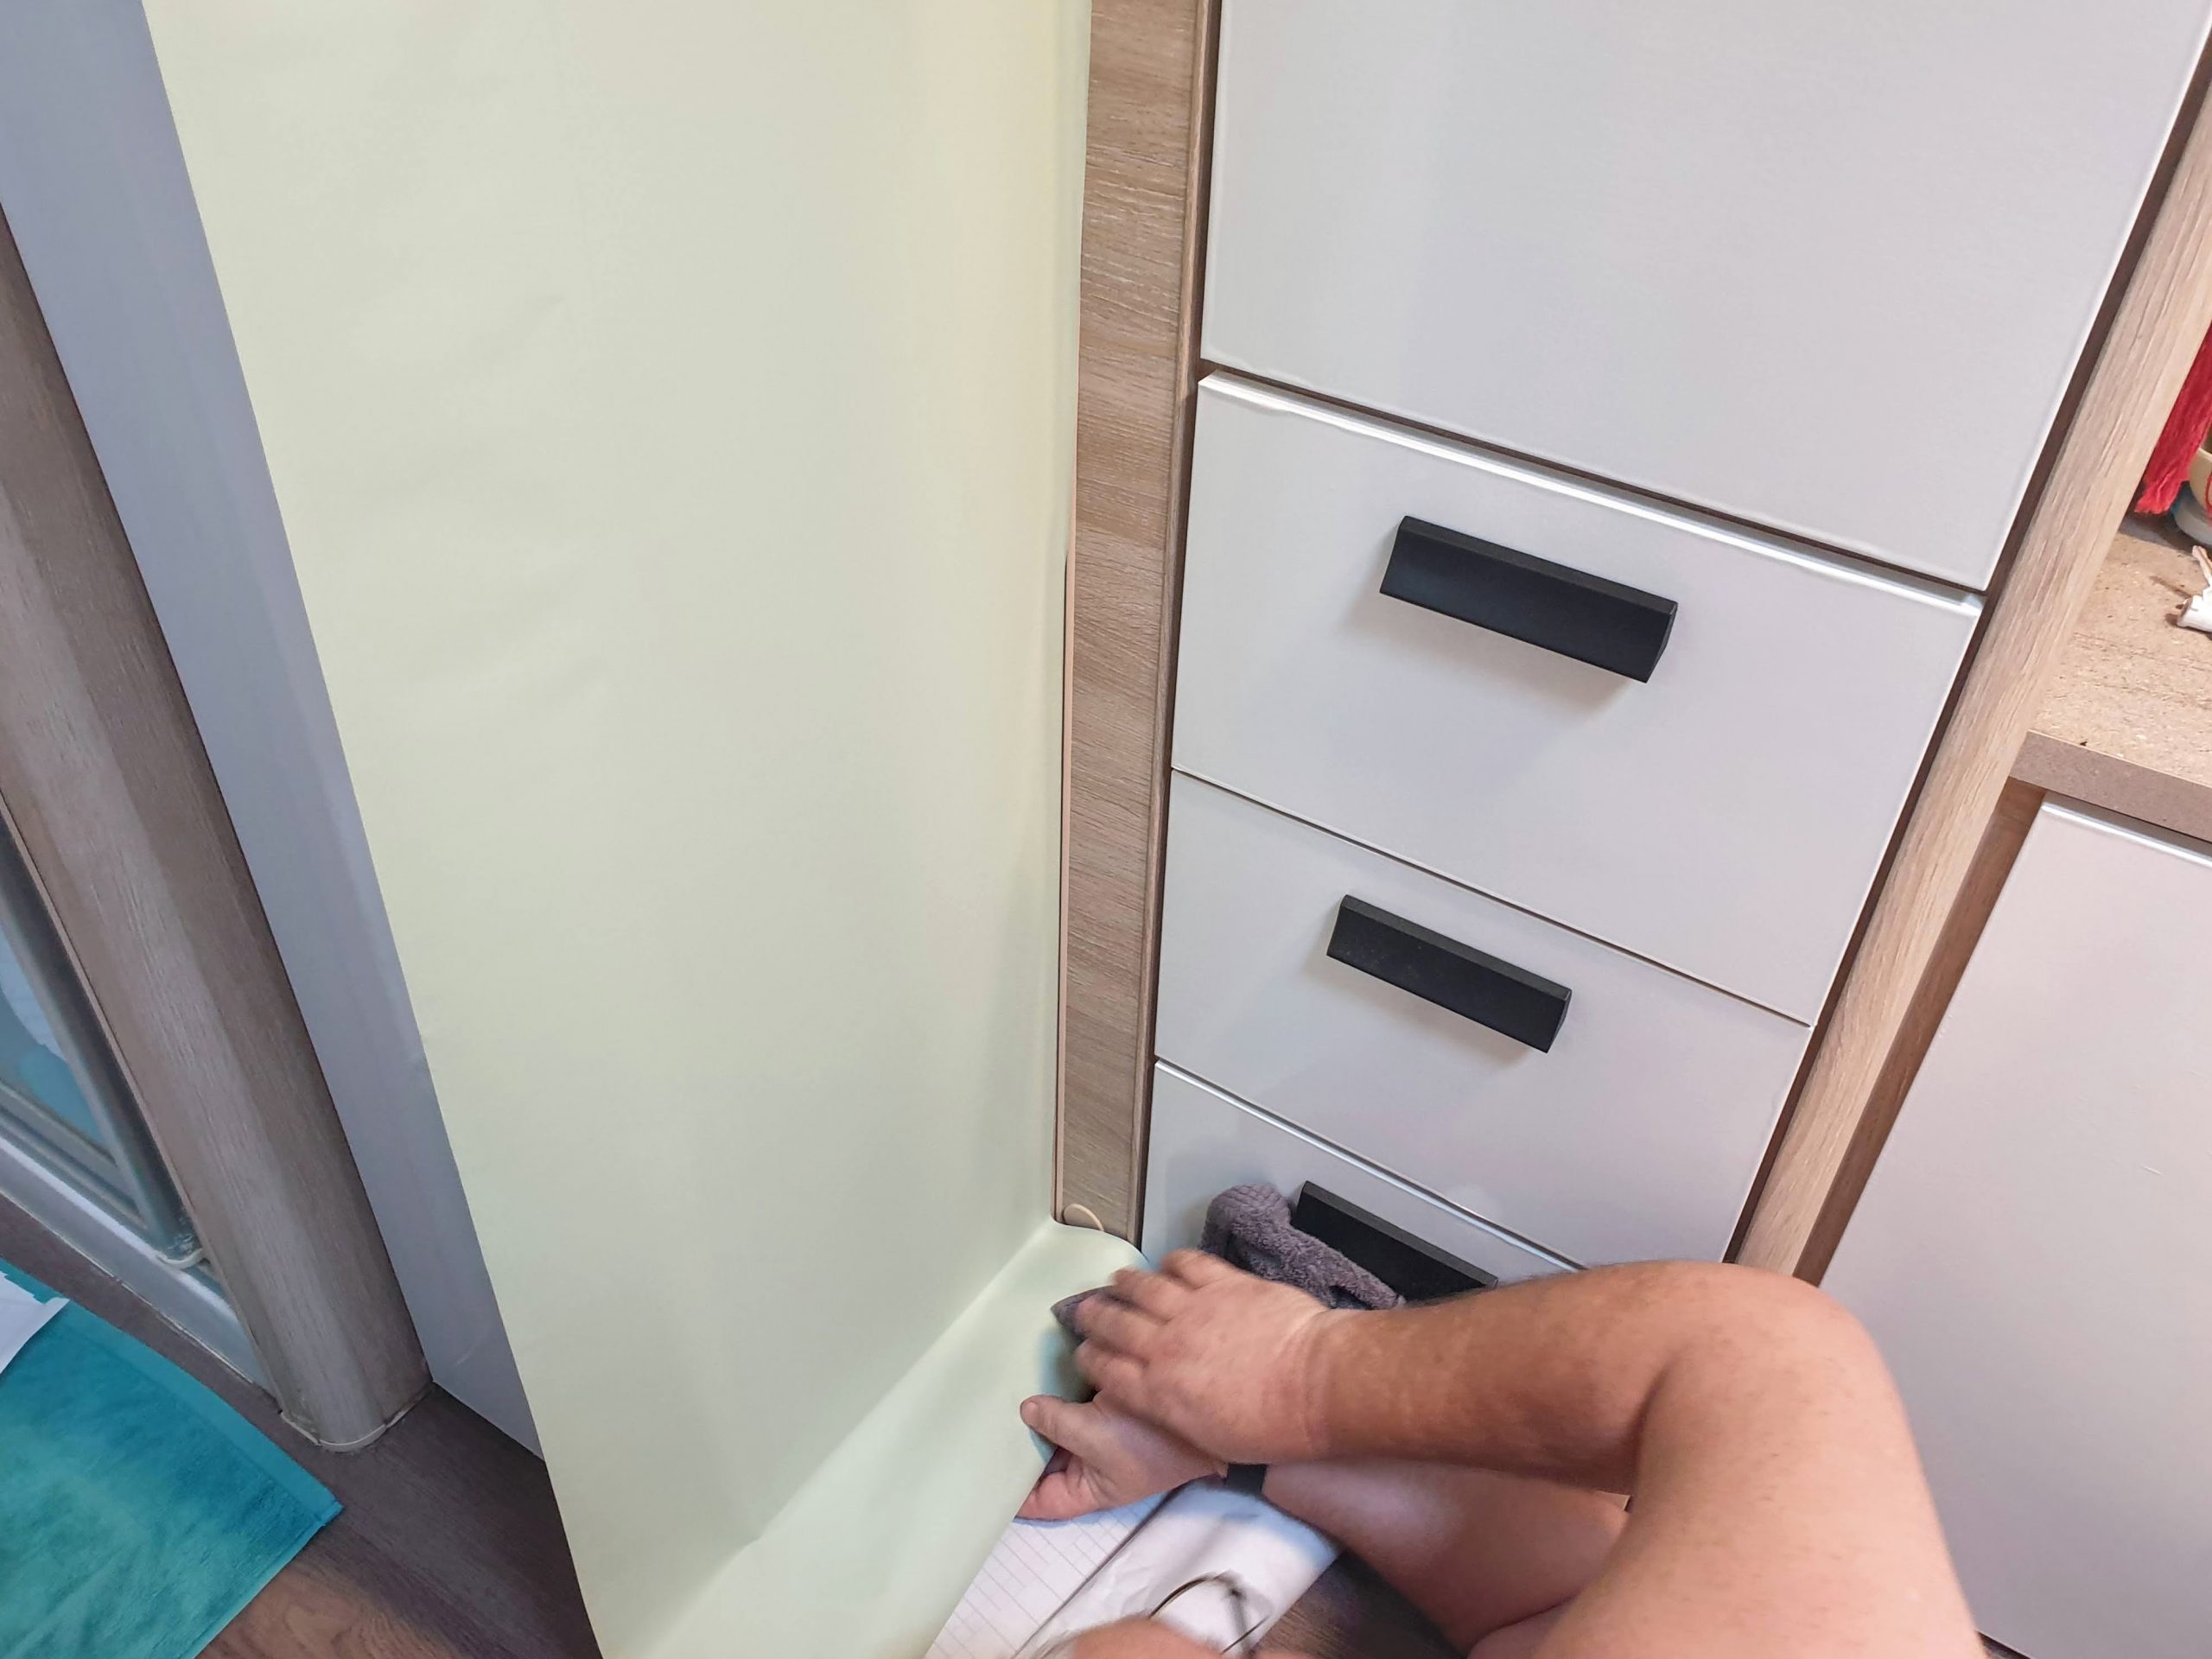
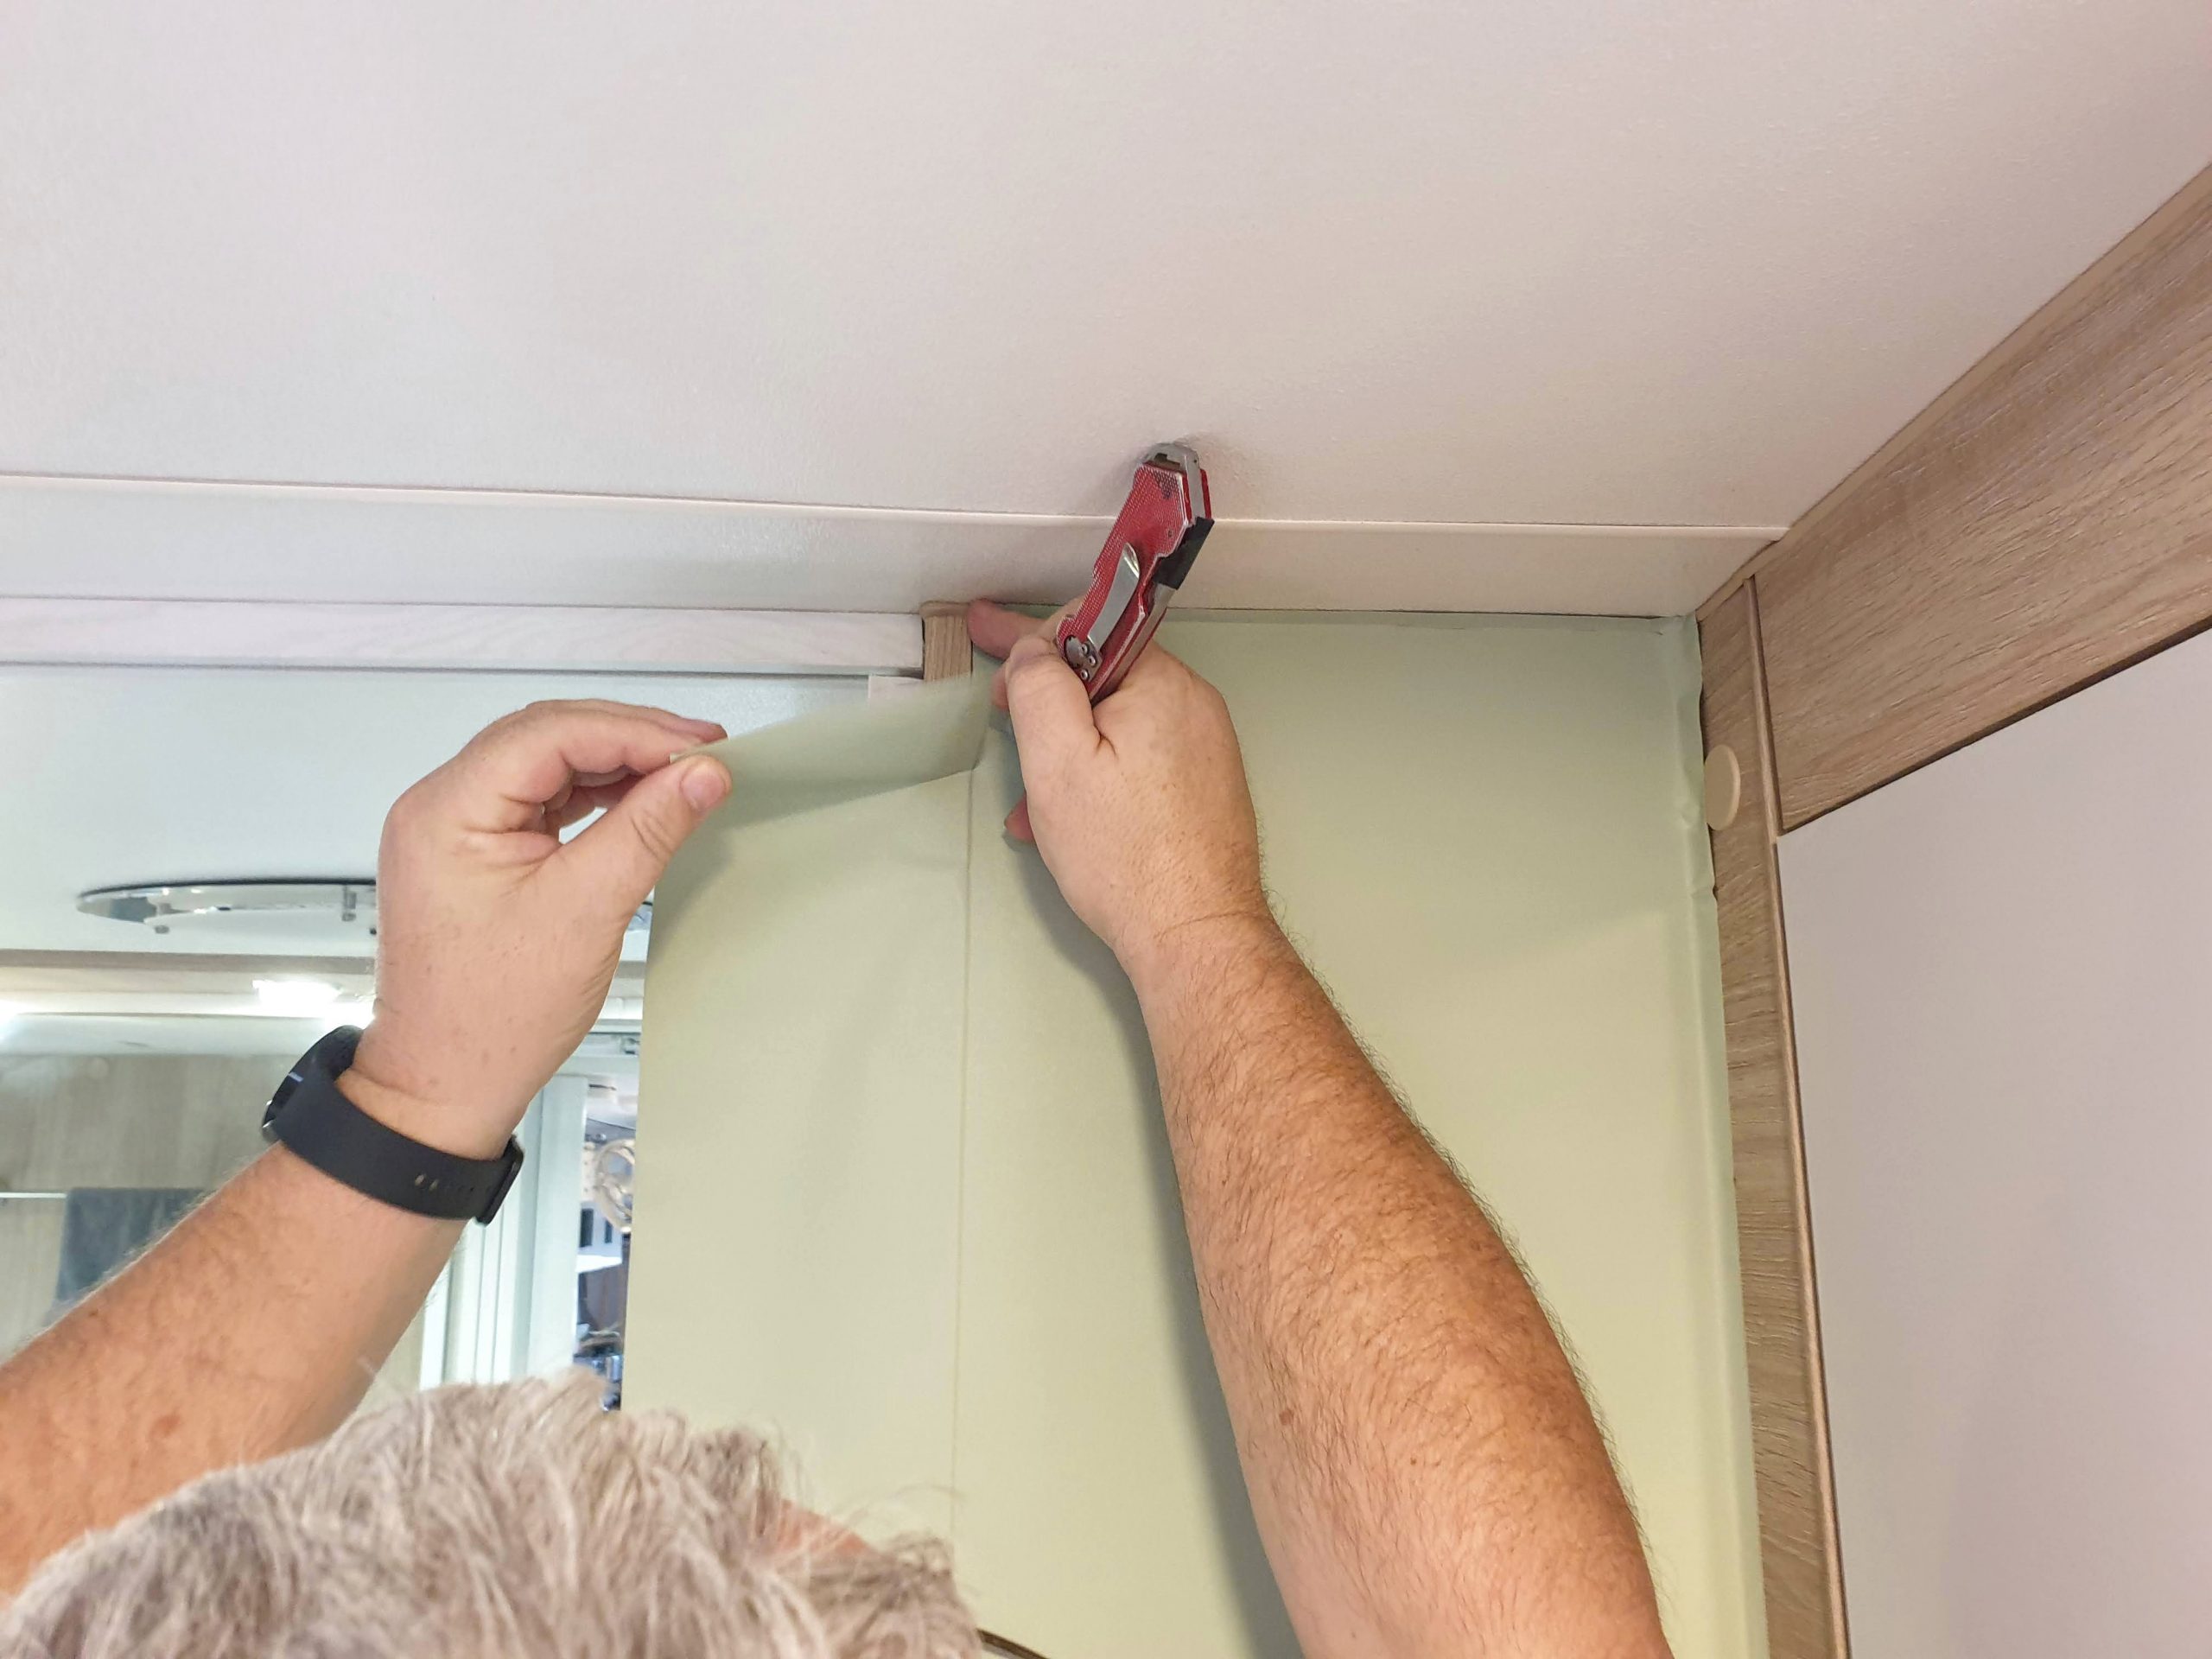
I held the roll as we applied it to the walls, while also pulling down the backing paper. Larry used the same method as he did on the doors, using a wash cloth to apply it. One roll was used on each slim wall ether side of our on-suite door. Not much was leftover as the height was almost spot on and the width was good to. Three mirrors have be added to two walls which nicely reflects more light into the van.
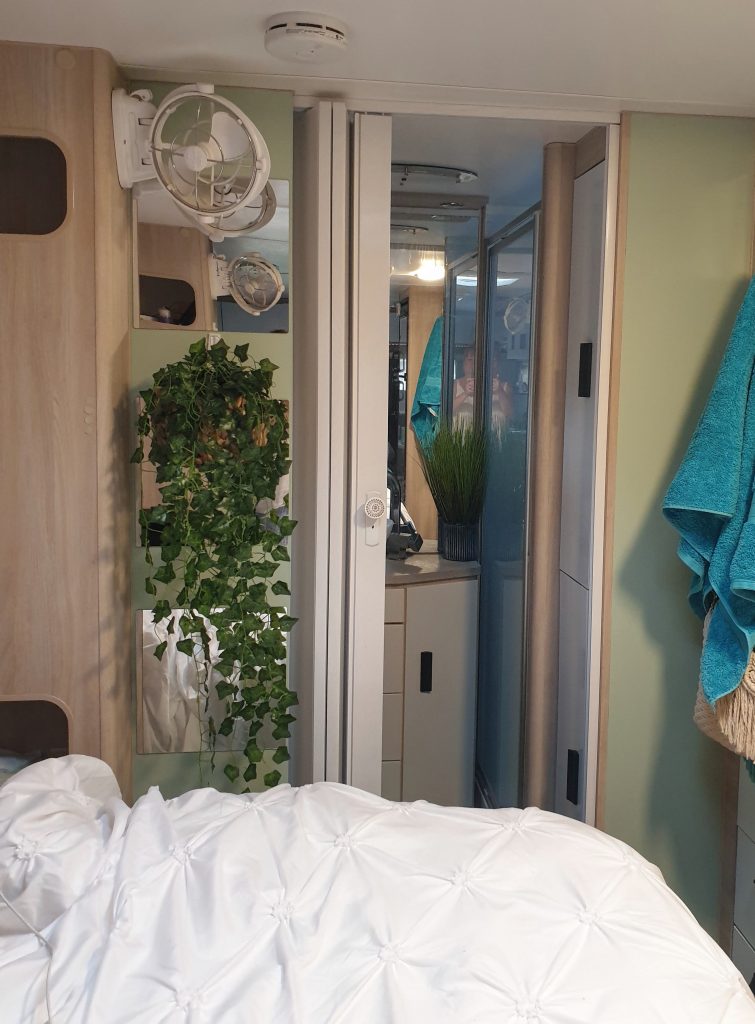
A few bits of home decor and accessories have been added to bring the place together. I got some small, light shelves, on hooks which are attached to the wall with 3M Velcro. They have candles and plants (fake) held on with blue tack. I’m not planning on taking them down when we travel.
To Conclude
Our caravan cupboards makeover was the perfect way to upgrading our van without a permanent change or major costs. So far we ended up doing 19 doors, 6 draws, some wall parts, Fridge doors & the On-suite bathroom door.
A Breakdown Of Our Caravan Cupboards Makeover Cost
- White Matt Paper x1 $36 each – Seller was Oxdigi from Amazon Au – 24×196 inches
- White Gloss Paper x 4 $64 each – Seller was Oxdigi – Amazon Au – 24×196 inches
- Sage Contact paper x2 $26 each – Seller La Cheery – Amazon Au- 15.8 x 80 inches
- Square Mirrors x8 – $40 for a pack of 4 – Amazon Au
- Brushed stainless Steel Look Contact Paper x1 $21.70 – Ebay
- Concertina Door – White Oak look – $131 – Bunnings – Width: 85cm Height: 203cm
Total cost so far is around $577
Next step in our makeover
- New material has been bought to re-cover our club lounge, watch this space! Quick update 8th November 2022 – We have now upholstered our caravan club lounge. You can see how we did it here

Stick and peel contact paper has been a good choice for us. Larry seems to have had the magic touch when applying it. He hasn’t had to much trouble considering the amount of contact paper he has used.
Obviously we don’t know what it will look like down the track. So, if you’re considering doing the same, if you’ve been inspired, remember we are not experts, we just gave it a go. I’m glad we did it as I love the new look of our home on the road.
This is our YouTube video of our makeover
If You Like Our Caravan Cupboards Makeover – You Might Also Like
- Upholstering Our Caravan Club Lounge
- 15 Lessons Learned Full Time Caravanning
- Installing Our Caravan Diesel Heater
- Jayco Slide Out Re Syncing
- Caravanning Questions & Answers
- caravan Outside & Grey Water Tank Clean
- 10 Caravan Kitchen Must Haves
- Security Tips When Free Camping
- 22 Water Saving Tip For Caravanners
- 10 Toilet Tips & Tricks
- Travel Budget Tracking Spreadsheet
- Discounted Camping Products
- Our Caravan & Camping Shop
- Off Grid & Self Sufficient Caravan
- Free Camps Around Australia
- Camps Under $20
- Crossing The Nullarbor – Our 7 Camps

Aussie House Sitters are our choice of house sitting sites. Use our Coupon Code “AHS15%off” for 15% off your joining fee