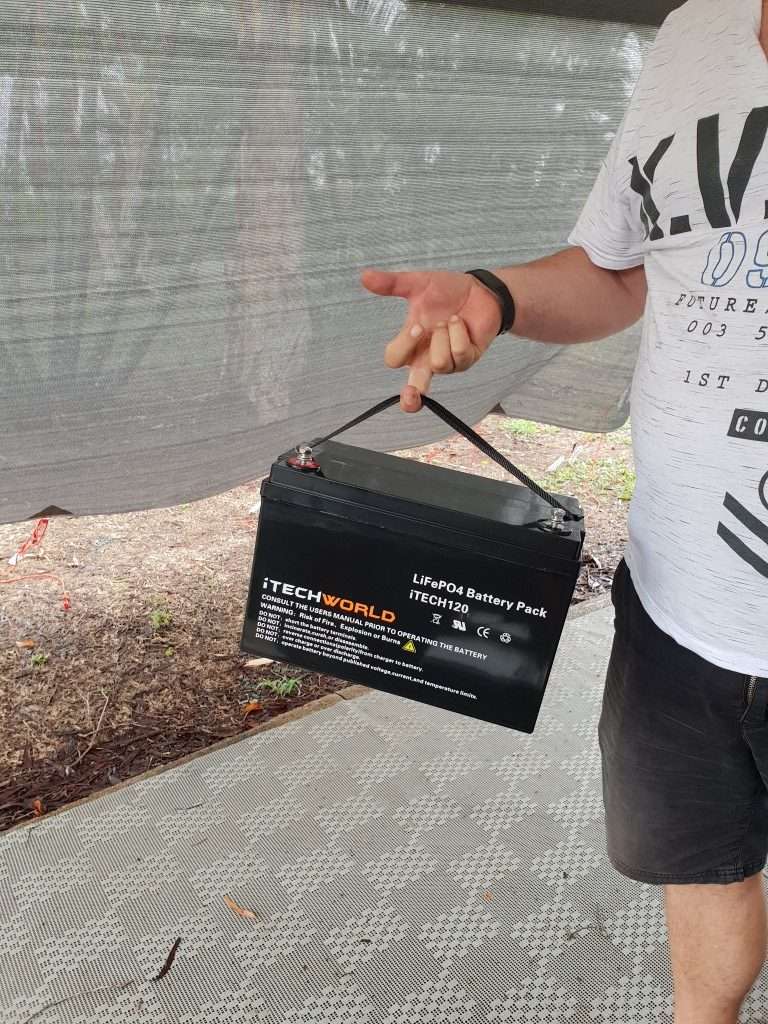
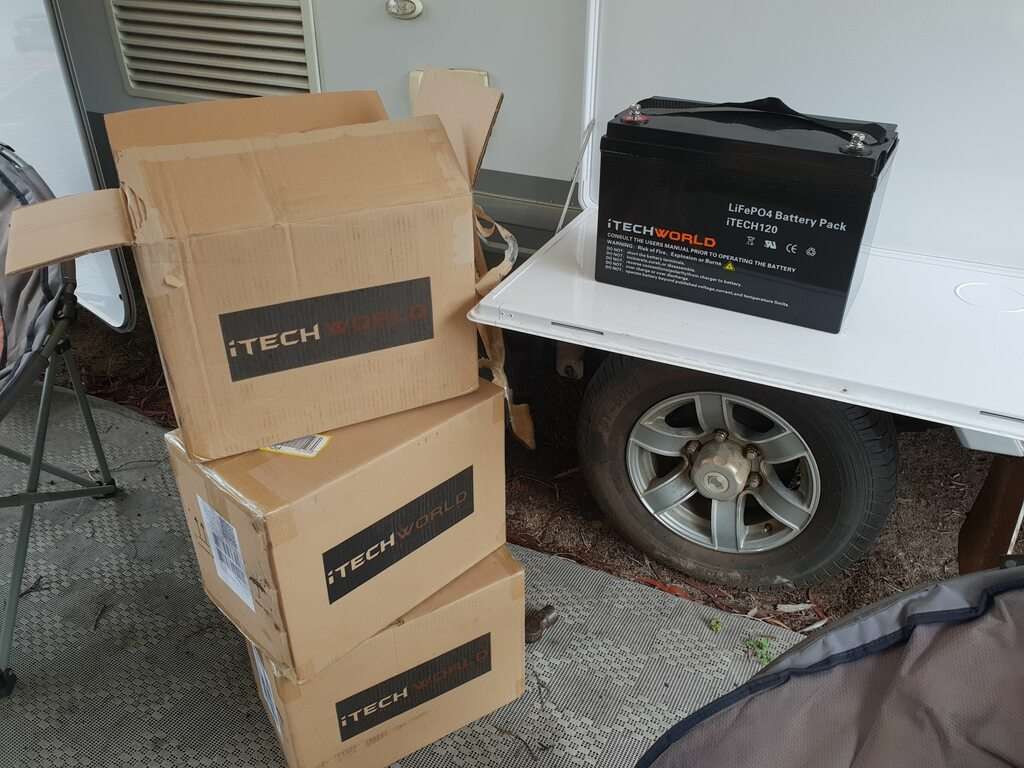
Caravan lithium batteries had always been something we wanted from day dot of starting our full time travels.
At that time, in 2016, we had saved to buy our caravan and many other important things. Lithium, we thought, were a little expensive and we would make do with the AGM’s already in the van.
We started with 3 x 12 volt, 120ah AGM deep cycle batteries. These AGM batteries can only use 50% of their available power before damaging the battery.
Like Larry, I started to look how much power we were using every day. Worrying about that %50 mark.
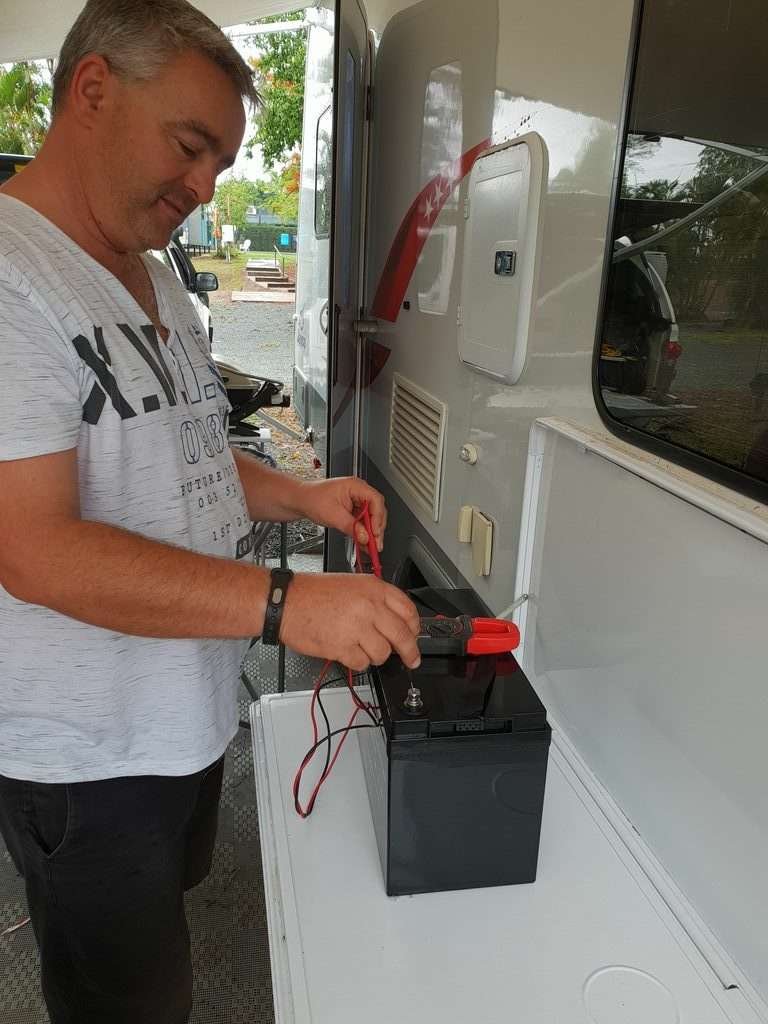
First we took out our AGM’s. Then we popped in the new caravan lithium batteries, before we switched our battery management system to lithium charging profile. Then voila
Even though it will vary for everyone! We run a 218 litre compressor fridge, inverters, phone chargers, laptop chargers, TV and lights all on regular occasions during the day.
Not to mention our smart home network (over 25 devices ) is always running and a few other gadgets 🙂
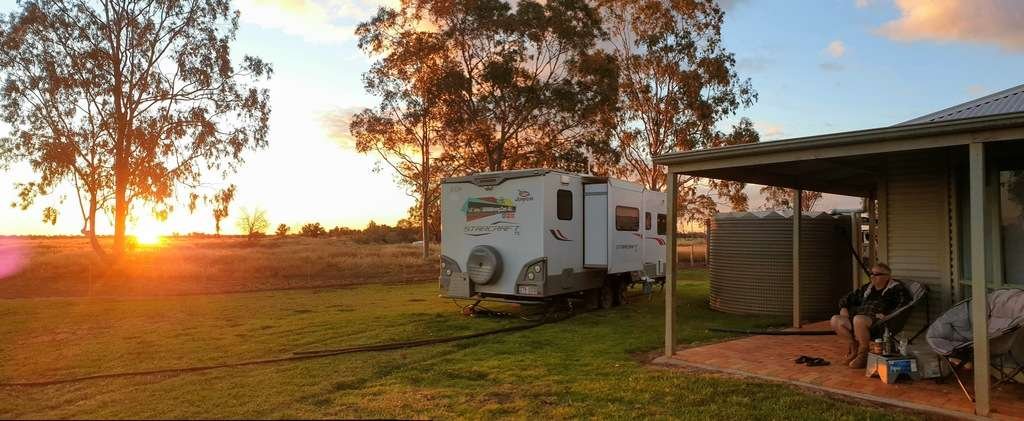
For us, being full time on the road, we could be in the bush for weeks. Having caravan lithium batteries are definitely the way to go. Along with our 600w of Solar panels on the roof we don’t run out of electricity.
Our 600w Solar Topped Up By Lithium Batteries Off Grid With Our iTechworld Lithium In Tasmania
Three months in Tasmania without having to plug in to power also says a lot! Check out our Tasmanian Free Camps here.
Larry bought some new LED headlights for the old girl recently, “the ute not me”! 😄
Larry also bought a jump starter. As we are loving our 3x caravan lithium batteries from iTechworld we chose to buy from them again.
Funnily enough, we have never had jumper leads. However, we did need to jump start the ute once. Larry jump started it from the battery we have in the back of ute battery.
Lithium Jump Starter
Why Buy One Now?
Over this last year, Larry has been asked by another caravanner if he could help jump start their tow vehicle. Which he did, with their leads and our battery.
Likewise, he needed to jump start machinery on the sheep station he was working on. While at work Larry jump started a couple of big rigs. It was time to get one!
For those interested..
It comes with:
👉 1 x Multi-function JS80 Jump Starter. 👉 1 x Heavy Duty colour coded battery clips. 👉 1 x AC 1.5A wall charger with USB-C port. 👉 1 x 12V PD 1.5A car charger with USB-C port. 👉 1 x Type USBC to USBC silicone cable. 👉 1 x DC to 12v female car socket cable.
iTechworld Lithium Jump Starter
A Few Features:
👉 You can simultaneous charge smartphones, tablets, laptops, cameras and other USB digital device. You can run a fridge in the back of your vehicle for potentially 6 hours with this unit. Not forgetting the built in 500 lumen LED torch.
Weight 1.3kg
Over-current protection.
Short circuit protection.
Overload protection.
Over-voltage protection.
Over-charge protection.
Note: Keep an eye out for our next iTechworld lithium purchase. It’s coming soon!
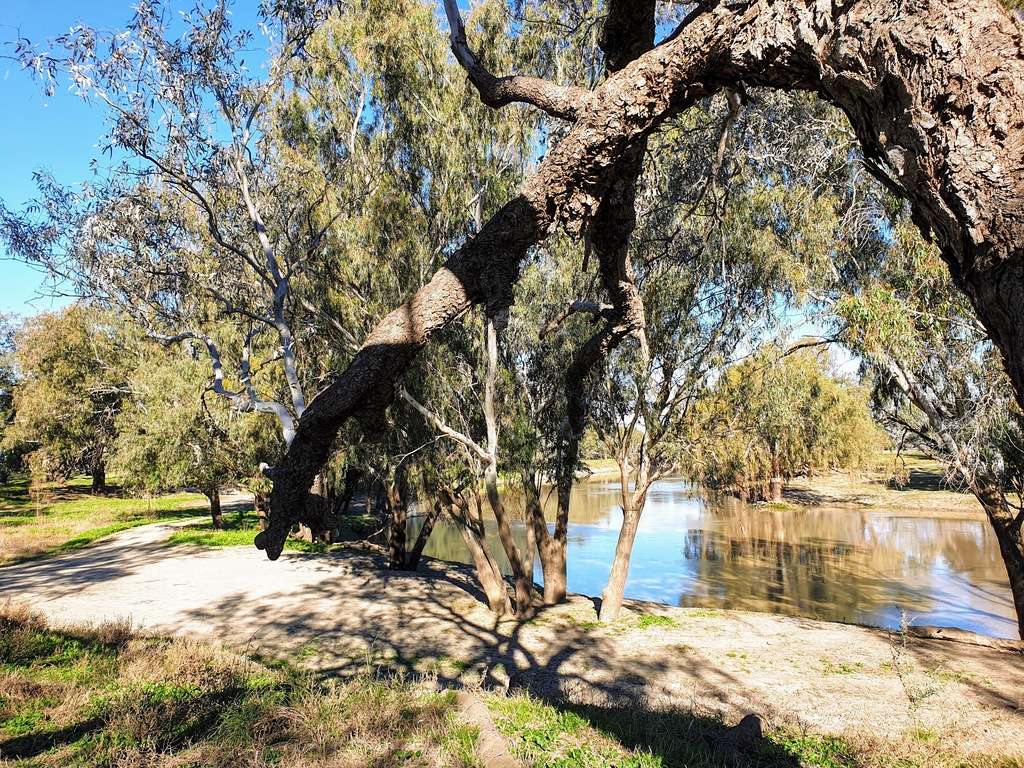
Mays Bend is a free river side camp we had a drive out to. This was while Larry was working on a station in Bourke. We had a 15 minute drive to Mays Bend. You’ll find it 1.5 hours south of the QLD/NSW border.
Heaps Of Room To Park
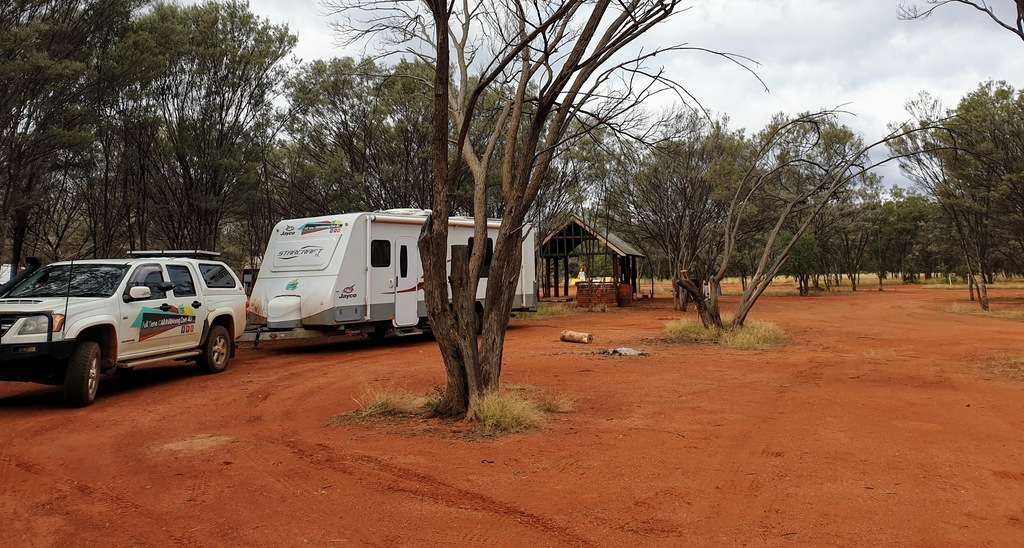
A corrugated dirt road will get you to this camp, a semi- off road van might be best? We headed here in our ute and probably would not have taken our van in.
After a few minutes of corrugation, we arrived at Mays Bend. A large open area, overlooking the bend in the river. In fact, besides the fantastic view along the Darling you wont find anything else here. Then again what more do you need!?
Park By The Water Or Overlook It.
This would be a great camp for those that bring their own power “Solar“, Toilet, Potable Water Tank etc. Then you can get away from it all as long as you like 😀
Keep warm by a fire pit and do some star gazing or just kick back with a drink and a good book.
OK When It’s Dry
I wouldn’t suggest camping here if it has or if it’s going to rain. As well as being slippy you might get bogged.
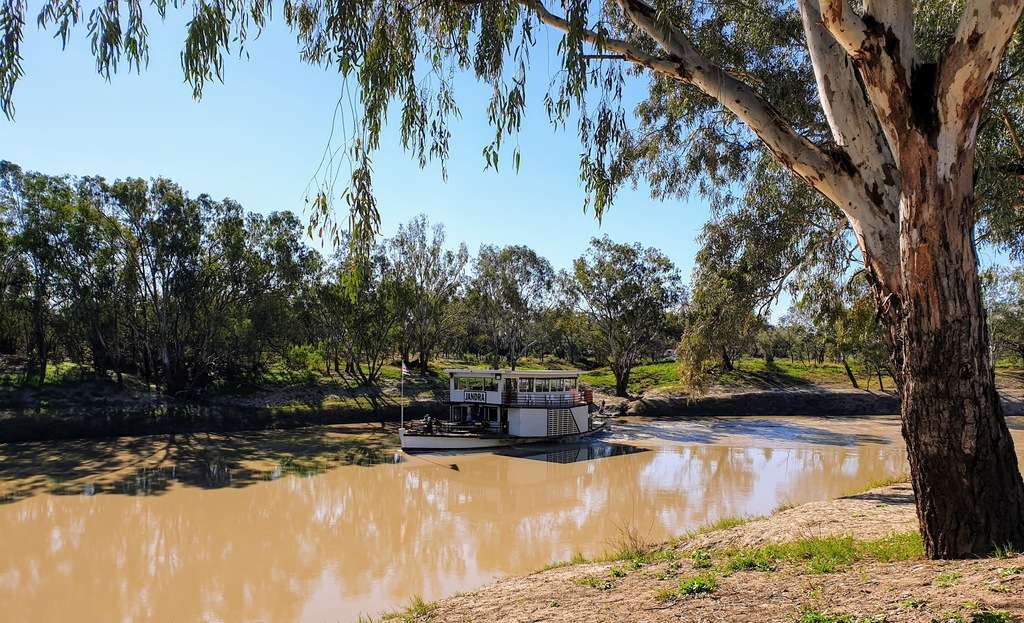
Here you can sit and watch the paddleboat pass, have a BBQ or check out the bridge. Grab some lunch from Kazzas Cafe on the way through North Bourke.
Australia’s oldest movable span bridge is also located at North Bourke rest area. Opening in 1883, it is now closed. You can still check it out from the river bank or pass under it on the paddleboat river cruise.
For boaties there is also a boat ramp for you to pop in your tinny at the same location.
Kidmans CampCountry Retreatis a 10 minute drive away, you can board the Paddleboat River cruise here. A relaxing cruise down the Darling River, with commentary. We can recommend this caravan park, if parks are more your style.
Check out Bourke Silo Art
See the Crossley Engine at the old wharf precinct
Australia’s Oldest Movable Span Bridge
PaddleboatKidmans Camp Country Resort poolBourke NSW Silo Art
Sometimes it’s the simple things in life that can amuse me. Rainwater catchment when free camping is one of them. At first we went with the simple and effective approach that many others do
Catch water into a bucket from the awning
Then tip that water from the bucket to the main water tanks
This approach achieved the task but didn’t fall into my…… “I could automate that process” approach. Also the downside was I had to swap hoses etc over when ever I knew it was about to rain, or I had to get wet to adjust something when it was raining.
Wasted Water
Sitting under the awning one day watching the rain pelt down I had this urge to automate the whole process. The following is what we have done to make our life during the wet days easier.
Basic Catchment Overview
When our 6 meter by 2 meter wide awning is extended, we can capture roughly 12 litres of water for every 1mm of rain. From the awning it runs down a hose to a 40 litre rainwater tank we purchased from Outback Equipment.
From that tank, a pump draws the rain water through a strainer to our water filters then into our main water tanks. This process is all done automatically based on electronic water level sensors and some home automation software I’ve configured.
Our Filters
The Awning setup
Every time we extend the awning I always set it up so that the front arm on the awning is extended fully and the rear arm is 3 notches lower than the front. This allows the water to always run towards the back of the van.
Awning Gutter
Also during setup, the valance on our carefree awning gets a dozen or so rain saver gutter clips attached to it. That way we end up with a rainwater catchment gutter system.
Rainwater Gutter
At the end of this gutter system we have a plastic leaf guard catcher we bought and modified from Bunnings. Theleaf guard catcher is something Bunnings sell for people to use on a household roofing down pipe. To help capture leafs from the gutter rather than blocking up the pipes.
Leaf Guard From Bunnings
All I did was to cap off one end of the leaf guard and then fitted a hose connection to it and added some wire to hang it from the end of the awning.
I also made a gutter extension from some PVC pipe to extend the gutter so that it sits nicely over the leaf guard
Water then runs through the PVC connection and gets redirected into the plastic leaf guard catcher
As the leaf guard catcher fills it has a screen which blocks the bigger junk like leaves and twigs. The smaller dirt particles that make it through the leaf screen settle on the bottom of the plastic container. While the cleaner water heads out of the hose I mounted down the awning arm. This hose is connected to our “rain water tank“
From Awning To Tank
Removable HoseRainwater Tank
Rainwater Catchment Tank
I needed someway to store the rain water from the awning side of the van if our main tanks were full. Alternatively, redirect it to the other side of the van, if our main tanks needed topped up.
For that purpose we added and 40 litre tank to the rear of the van. This tank stays empty if we are travelling so as not to add additional weight to our setup. However, if we are stationary for a while then this 40 litre tank is used to store as much rain water as we can take.
Rainwater Tank
The Rainwater Catchment tank got fitted with 3 electronic sensors that detect the water level without the need to drill into the tank. I also made them WIFI capable with some extra circuitry which is handy for what I’ll explain later.
3 Water Sensors
This rain water tank has external level sensors that read low level, mid level and full. I also fitted a water strainer to the outlet line just as a back up. This filters out any left over items from the Rainwater Catchment, before the water heads to the pump.
In addition to the tank we have a motorised valve which I also made WIFI capable and it’s mounted to the inlet hose of the rainwater Tank.
Motorised Valve
The process now is :
From the Awning rain is directed to a dedicated 40 litre rainwater tank then sent to the main tanks when needed
Rainwater Catchment Pump
I’ve always thought to myself, if we are in the middle of the outback and our water pump fails we have no backup pump. So, getting water from our main tanks would be a pain.
Therefore I bought another pump the same as our main pump which I mounted under the kitchen sink area. This pump is connected to the rainwater tank and to our main water filters.
Rainwater Pump
WIFI Switch
The purpose of this pump is to send the rain water from the rainwater tank to the main tanks when required. I installed a WIFI switch, which makes this pump WiFi capable and therefore able to turn the pump on and off remotely. Additionally it’s our backup pump should the main pump ever fail.
Filtration
We have our usual three filter system mounted to the side of the van. When using the rainwater system we connect a hose from the rainwater pump to the filters and from our filters to our main tanks.
That way we’ve done all we can to help maintain clean water going into our van before use.
Filter Before Main Tank
Main Tanks
We have two 82 litre water tanks and 1 x 82 litre grey water tank. All three tanks got fitted with the same electronic level sensors as the rain water tank did.
Only difference being, I added 4 level sensors to each tank. That being for, a quarter full, half full, 3/4 full, and full level.
The Automation
Some people like watching sport, some like knitting, some like running etc, for me I like being a closet geek :). I like to play with technology and smart home devices. However, I do it on the next level to some.
I like to do my own soldering of electronic components and write my own computer programs, all of which is self taught.
Knowing that a lot of people reading this won’t want all the technical details, I will outline just the basics of what I’ve done to make the rainwater system automated.
I have a central circuit board (Called a raspberry pi) in the van that is constantly receiving data from all the sensors we have on our van which are all connected via our WIFI. It’s all configured to work offline so no internet is needed for this process.
Raspberry Pi
The Raspberry Pi
The Raspberry Pi listens for a change in the levels of the rain water tank and based on the program I created it does the following
The Raspberry Pi listens for a signal from the rain water tank to say its at “full level”
If rain water tank is at full level it checks to see if it can fit that water into the two main tanks
If it determines it has space in the main tanks it turns the pump on and fills the main tanks
When the main tanks are full it turns the rain water pump off
If the rainwater tank is empty it turns the pump off also.
If every tank including the rain water tank is full the raspberry pi closes the motorised valve on the rainwater inlet hose so that the tanks don’t keep over flowing.
When the rain water tank level drops from “full” the motorised valve opens to start filling the tank again so it’s primed and ready to fill the main tanks when required.
Permanent Rainwater Hose
This Is An Automated Process
We don’t have to touch a thing when it rains. Other than, make sure my home automation system knows the rain water hose is connected. Accordingly it will start monitoring the levels for us.
We also have the ability to ask “Alice” ( a offline voice assistant I installed and programmed on another Raspberry PI) questions like :
How fulls the rain water tank ?
How full is the fresh water tanks ?
How much water do we have ?
Turn off rain water monitoring
Turn on rain water monitoring
All of which she will respond with the appropriate response such as “your tanks are currently half full ” or ” you have roughly 80 litres of water left”.
On a side note. I’m also making up my own display panel to replace the boring black drifter panel that currently shows our water levels. It’ll be a touch display that can control pumps and show tank levels , battery levels etc. This is it from my computer, just got to add it to a separate LCD touch display now.
Rainwater Catchment Conclusion
As I say, some people like to watch sports etc, for me I like to play with technical stuff. To most, this is probably over the top and are quite happy to collect water in a bucket… If you are, try the RSG Accessories Rain Saver Gutter Kit
Nothing wrong with that Rainwater Catchment either, however this is how I wanted to do things “cause I can” …. “so I did ” 🙂 and it’s also how I like to entertain myself during those quiet periods of our travels. Keeps the brain active 🙂
Station Water Tank
This setup has been super handy in the last year. Not because of rain events but because of thefarms we have been working on all have rainwater tanks that we usually connect to. Connecting the farmers low pressure rainwater tank to our rainwater tank allows our system to constantly keep the main tanks topped up, without having to manually turn things on and off.
When your washing work clothes constantly and showering every day its been real handy for us.
Back when we worked on the cattle station in WA. Each week we had to fill 20 litre containers of water from across the station and manually fill the tanks. That was about 8 x 20 litre containers worth of water. Never again I say 🙂
Our Caravan BBQ Swing Arm came about when we seen the great invention of the BBQ Arm. I asked Larry if he could make something similar for us. Of course he could! We had used tables over the years but storage was an issue.
Over a few weeks we had a chat about how and where we wanted it. Deciding on the materials for the swing out as well as the table part.
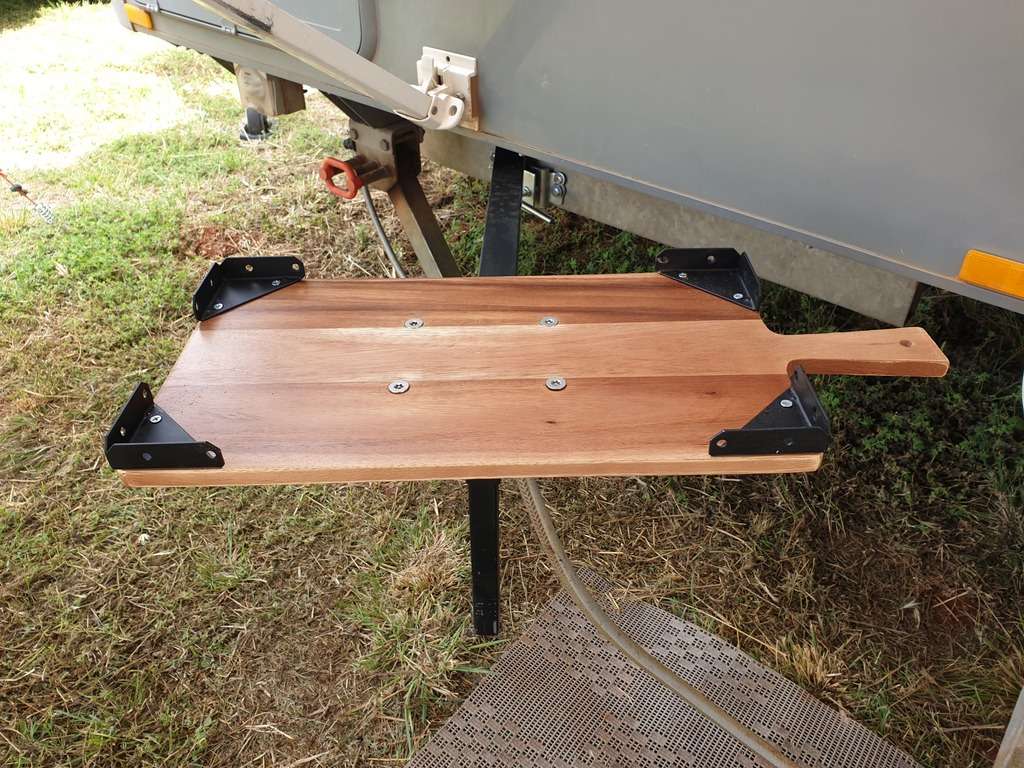
We decided to use wood for the table as it was easy to attach and looked nice in my opinion.
Wooden table top
BBQ Swing Arm Materials
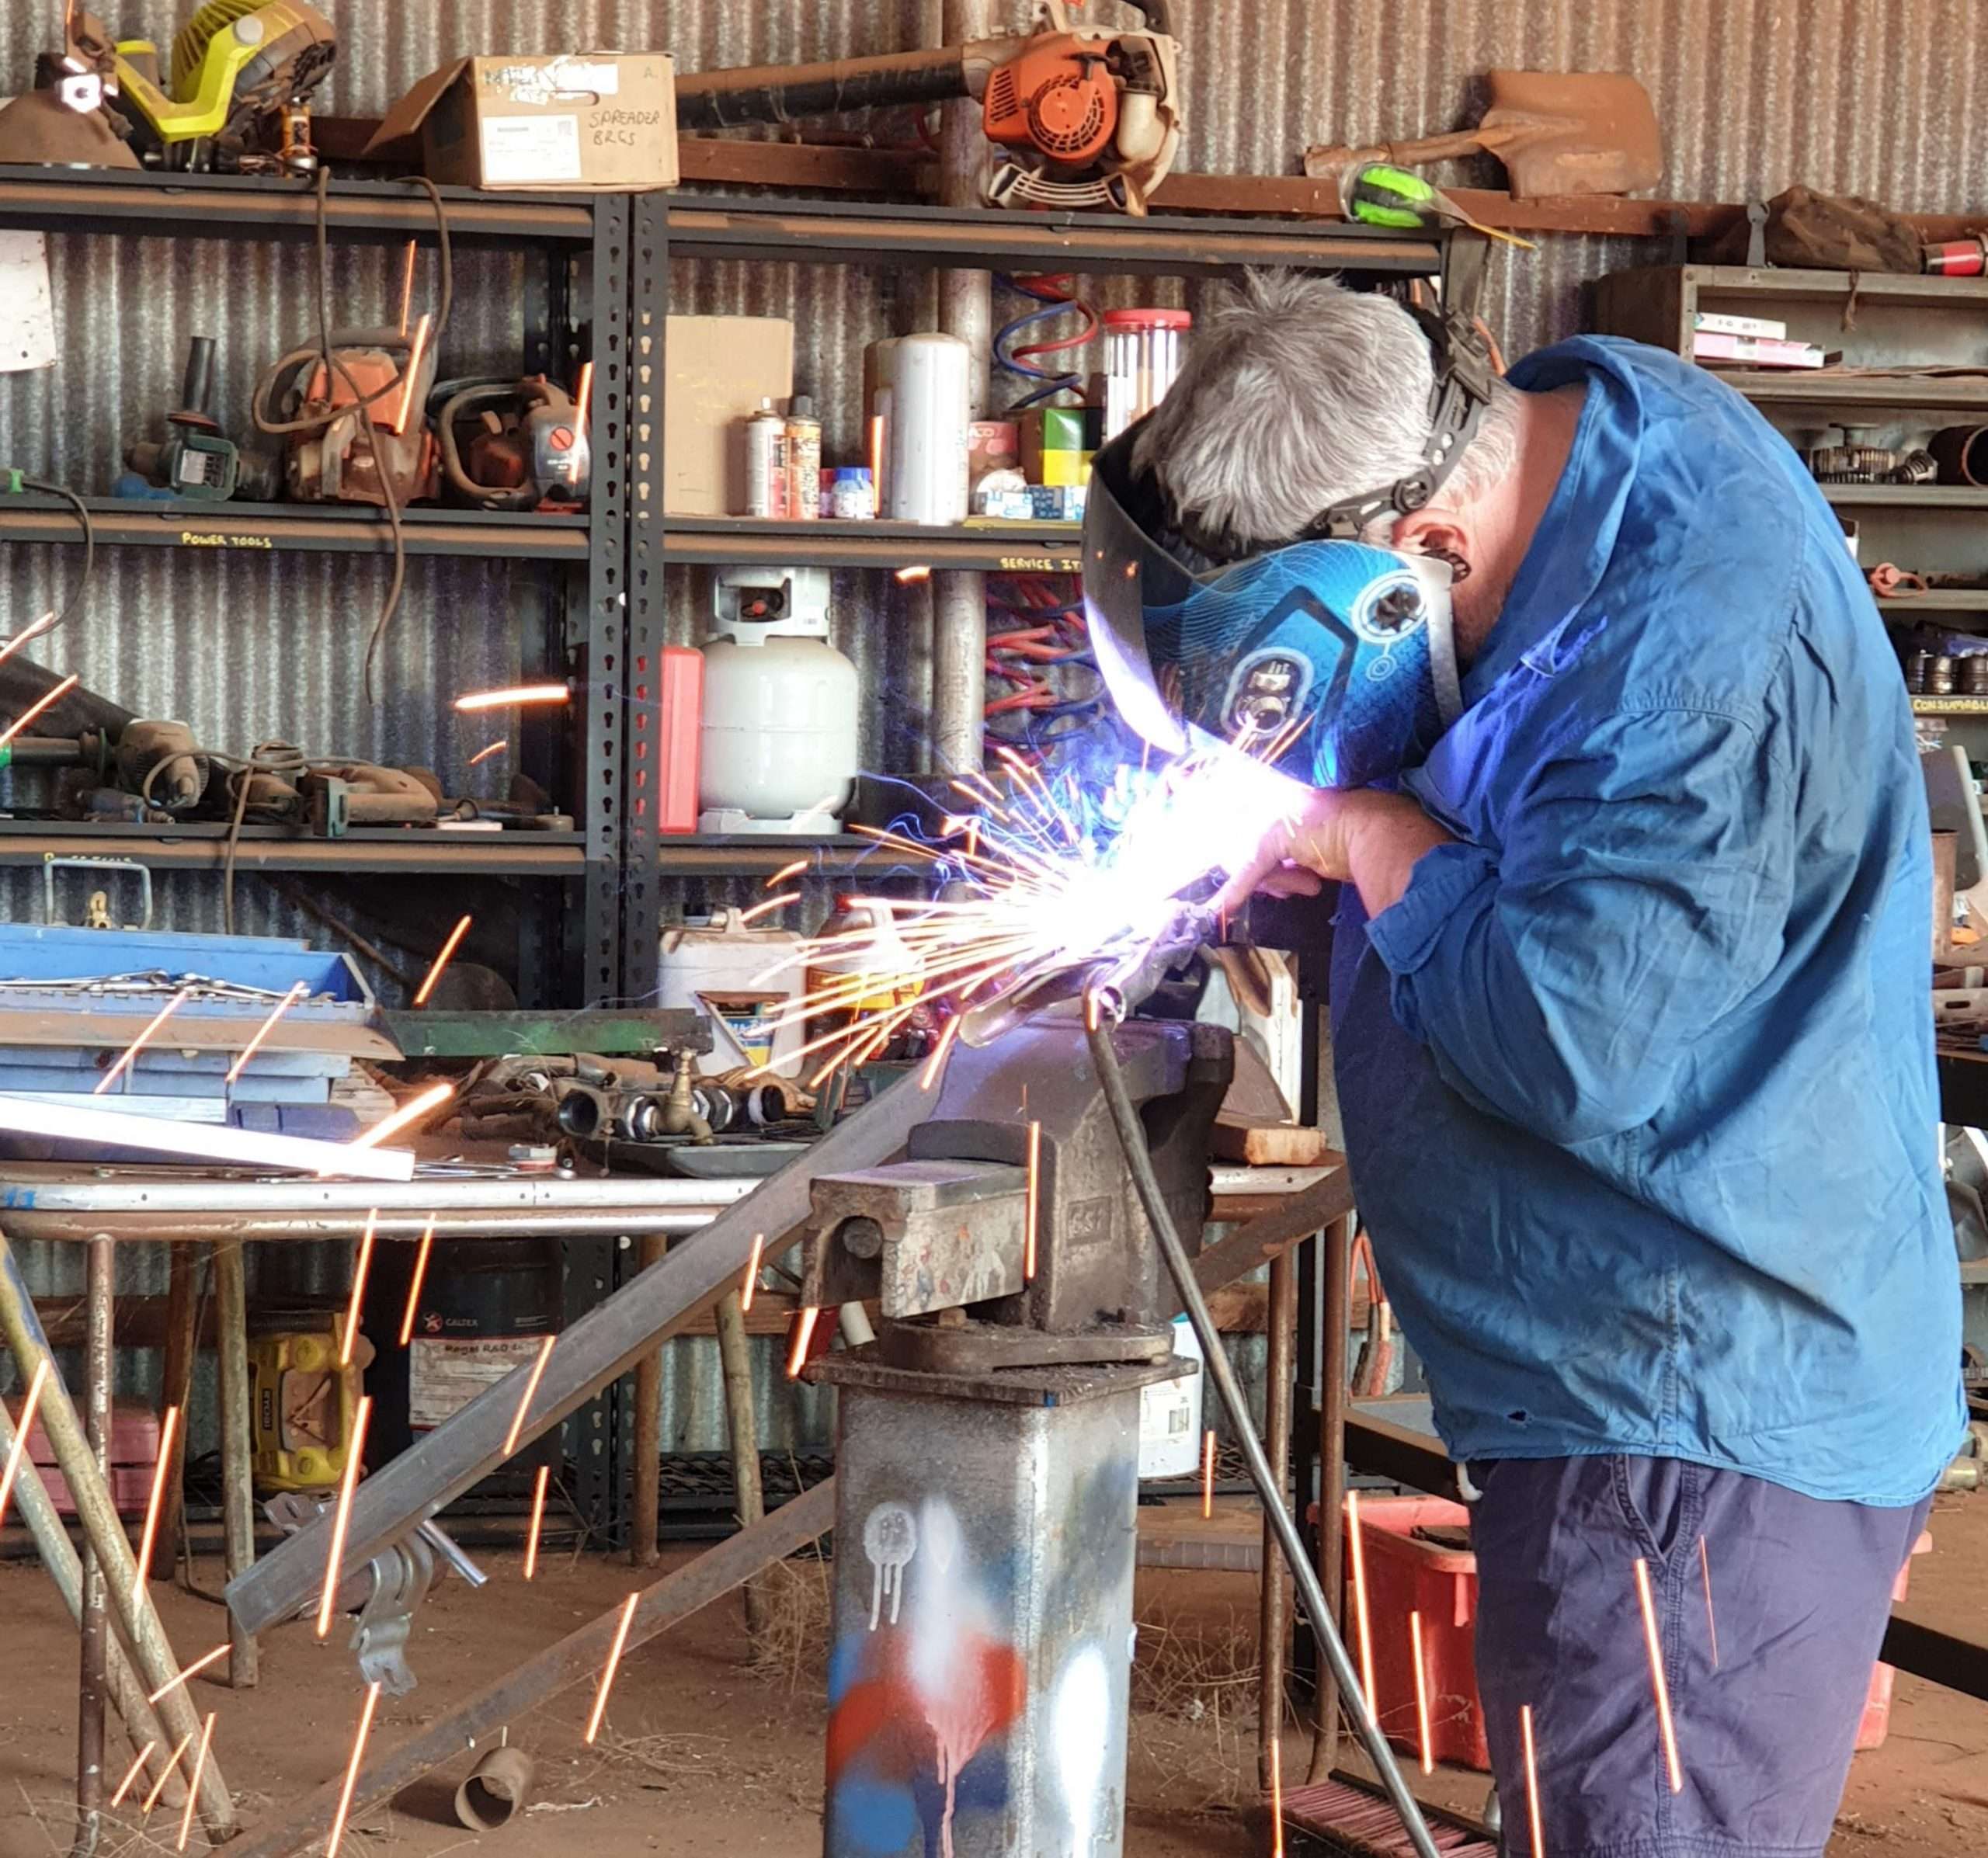
Being on a farm and having the use of a welder and grinder obviously made the job cheaper and easier. Larry also found a couple of pieces of scrap metal around the farm that we were able to use.
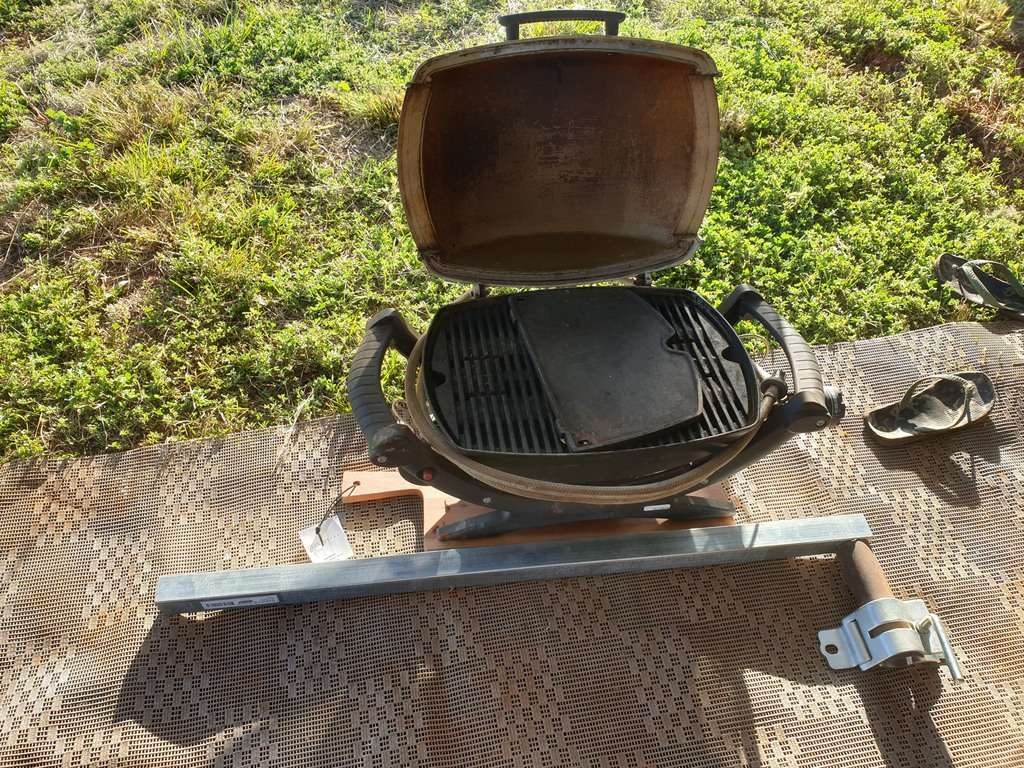
First though, was a trip to good old Bunnings. A couple of different size galvanised square tubes were needed for our main swing arm.
Lastly, spray paint, as I wanted it all sprayed black so it looked a bit more sleek. Oh’ yes, also, we got some furniture oil, to keep the wood table looking nice outside.
Chopping Board Table
BBQ Table
Larry decided to buy a nutsert set to attach the bbq swing arm to the A frame of the van. He will also use this set for other things he has in mind in the future.
On the other end he welded a small piece of 25mm steel. The table will slide in and out of this when needed.
Galvanised Square Tube
3. For the table part, Larry found a flat square of metal. He welded this to a short bit of 20mm steel. Eventually this would be screwed to the table.
Table Base
Table Base
4. After all the parts were welded together. Certain parts were ground to make it look and work right.
On To My Small Part
After Larry had put all the pieces together, we hung them on a tree. I gave all the parts a couple of coats of black paint. Then on to sanding and oiling theBBQ table.
Steel Sprayed Black
Oiled Table Top
Once the parts were dry I screwed the four corner braces to the table. Lastly, I also screwed the square metal table base plate to the table underside.
Base Of Table
Corners On Table
BBQ Swing Arm Table
Larry then used his drill and the nutsert gun so we could attach the wheel clamp to the van’s drawbar, without welding it. For more strength we decided to attach the clamp in four locations instead of the normal two.
Swing Arm
Finally, the BBQ swing arm was attached to the caravan and the table was slid into place. Our Weber Baby Q was then plugged into the Jayco gas bayonet fitting and the BBQ was sat on the table.
I personally think it looks bloody great! we can move it either side of the awning arm.
We can also use it as a side table without the Barbie on it if we want to. Handy if we have guests over.
Side Table
Now, please, if you’re thinking of making one, remember we are not professionals. We are just showing you how we made it. There are many ways to make one and different places to put your BBQ swing arm.
Sadly this is no longer a camp.I’m leaving the post here with alterations as you can still use this area in the daytime to break up your journey. The nearest free camp is May’s Bend.
You will pass North Bourke if you’re heading to or from the QLD/NSW border (border closures permitting).
We decided to grab some lunch from the local servo and have a picnic by the river.
Overlooking The Darling River.
Rest Area
When we first passed here we noticed quite a few vans lined up for the night (when you could camp) just the long sealed area you see from the road. At first glance it looked basic, but after having a drive down to the river, pass the toilet, we came to river, old bridge and picnic area
Toilet On Sealed Road
Once you arrive, you will see a large sandy/soil area, big enough for any size rig. Adjacent to the river there are lots of picnic benches as well as small wooden BBQ’s. In addition, a couple of bins are in this area as is the boat ramp for you to pop your boat in.
Room For Any Size RigHuge Area To ParkWood Fire BBQ’s
Attractions
While having lunch here, we were lucky enough to see the Jandra paddleboat pass by. Not only can you have a relaxing cruise down the Darling River but the captain tells you about the history of the riverboats in this area. Additionally they tell you about the flora and fauna in the area.
Jandra Paddleboat
You can book a trip on the paddleboat at the near by Bourke Information Centre. In fact the Information centre is also worth checking out if you would like to know the history of Bourke or need to use the dump point.
Jandra Paddleboat
Besides spotting the Paddleboat, Australia’s oldest movable span bridge is located here. Opening in 1883, the bridge is now closed. However it’s interesting to take a look at think about it’s history.
Australia’s Oldest Movable Span Bridge
Bourke Alternative Camps
As you can no longer free camp here the nearest caravan park is Kidmans Camp. This might be an option for those wanting to connect to power and water. In contrast there is another Free Camp, great for the self contained at May’s Bend river camp.
We use Boost as it has 3G & 4G coverage on the Telstra Mobile network. You can see where we have Boost phone and internet coverage at the bottom of each of our posts.
The Mulga Creek Hotel is one of those classic Aussie pubs that you go to spend the night but end up staying longer. You’ll find it 1 hour south of Bourke or 1.5 hours north east of Cobar.
Mulga Creek Hotel Camp
Arriving at the pub, we asked staff about camping for the night. Both powered and un-powered sites are available, we chose powered. Heading around the back of the pub and into the huge bush camp, we had a look around, before we chose a spot.
Power boxes are scattered around the place with two power points in each. A few water taps are also around the place for you to fill your tank.
Being the only one’s at the Mulga Creek, we chose a spot near both power and water.
Our second nights stay was on a Saturday and a few more campers turned up. In addition to the caravans, trailers and tents a group of guys on bikes stayed. Obviously on their annual get together by the writing on their tops. Definitely a good place to stay if there are a heap of you as lots of open spaces are available.
Around Camp
Undercover seating areas are located around this bush camp. One of which has an old fridge which I loved. Unlike most fridges, this is more a piece of rustic memorabilia. Clearly not to keep your beer or wine cold but it still looks cool.
Old rusty farm machinery, tools and vehicle parts are around the place. Also a piece of history and reminiscent of a time gone by in Mulga Creek.
A couple of wood BBQ’s are available. Along with plenty of twigs and branches that are scattered around the place. In addition to the BBQ’s you can use the wood for the fire pits.
Apart from discovering whats around the camp, you can head out and see whats on the bush walk.
Amenities
Toilet & shower blocks are on one side of the camp. You’re not far away, where ever you choose to park.
The Mulga Creek Hotel
After setting up we headed to the pub for lunch. Larry had a good old pie and I opted for chips and gravy. Of course we had a game of pool and a beer or two while we were there. It would be rude not to right 😉
Obviously I had a look around and checked out the bar. It’s a cosy place! I loved the wood burning fire and their solid wood furniture. As well as these, looked up to see all the signed hats stuck to the ceiling. A little reminiscent of our stop at Daly Water pub in the northern Territory.
In the evening we went back for dinner. This time we both had lamb chops witch is a treat for us. The pub was much busier due to workers coming back to their dongers and vans.
Outside The Pub
Outside the Mulga Creek there are parking meters. I should mention that they are not used for that purpose. Nevertheless they are there for your money. A great idea for collect donations for the Royal Flying Doctors.
At the side of the pub is a playground for the little ones.
The Mulga Creek Hotel is a basic, rustic camp but it has heaps of character if you take the time to look around.
Other : Seating, bush walk, Wood BBQ’s, Fire-pits, Power, water, bins, Fuel, Gas, Swags or big rigs welcome, Pub, food, playground, Pool Table, Open fire place, cool quirky old rusty stuff 😀
Travel around 1.5 hours east from Cobar and you will find Nyngan. This was a handy town to stop for us as we needed to use the dump point. Nyngan was only around 30 minutes from ourPub Camp At The Hermidale Hotel. If you watched the 2021 season of “Farmer Wants A Wife”, you would have seen one of the farmers here in Nyngan, having a photo by the Big Bogan.
Nyngan 24 Hour Rest Area
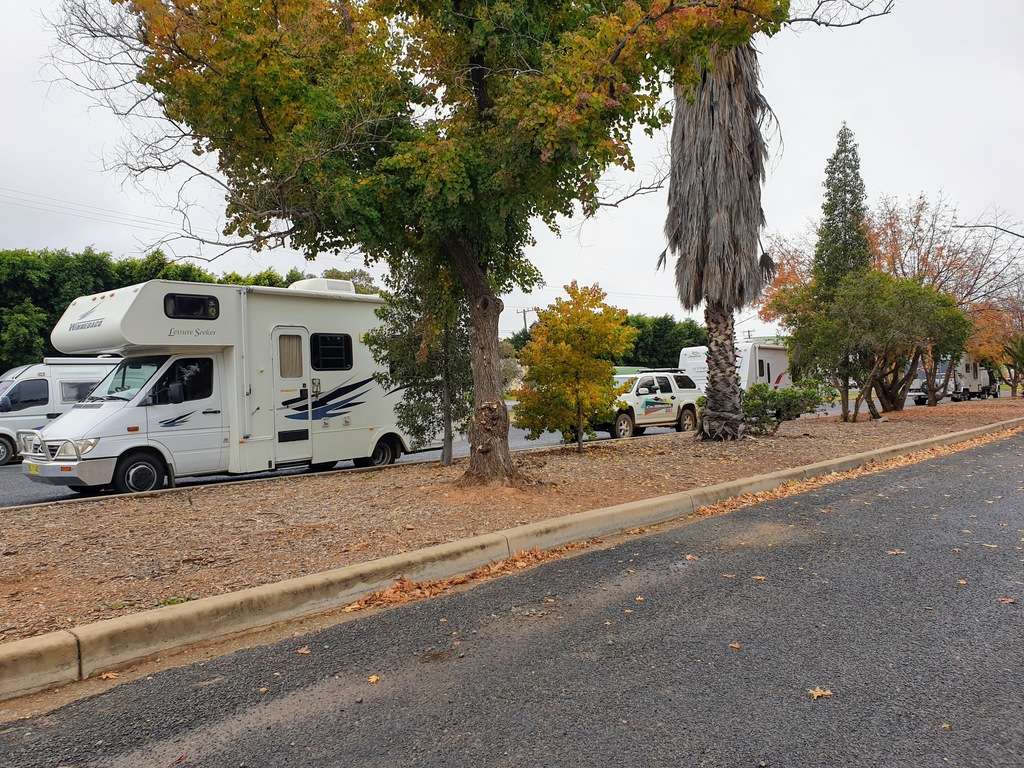
You’ll find two long areas of flat bitumen you can park. Rows of trees and grass verges make this 24 hour stop a little nicer. The trees also separate the parking areas from the main road.
Pulling up, a few vans were already parked here and before we left a few more had arrived. It’s a busy place and I can see why. The location is handy for a walk to the shops as well as the Big Bogan.
Nyngan Amenities
A couple of toilets and a bin are next to the dump point as is a table and benches. In saying that, you do have to be self contained to stay here.
Near By
Nyngan 24 hour stop is also the location of the mid state shearing shed museum. This used to be an old train shed but has been transformed by retired shearers and locals. Amongst other things, shearing equipment is on display as is local art.
A short stroll away is the RSL for meals and a drink. You can also have a walk to the shops and cafe’s and of course the Big Bogan.
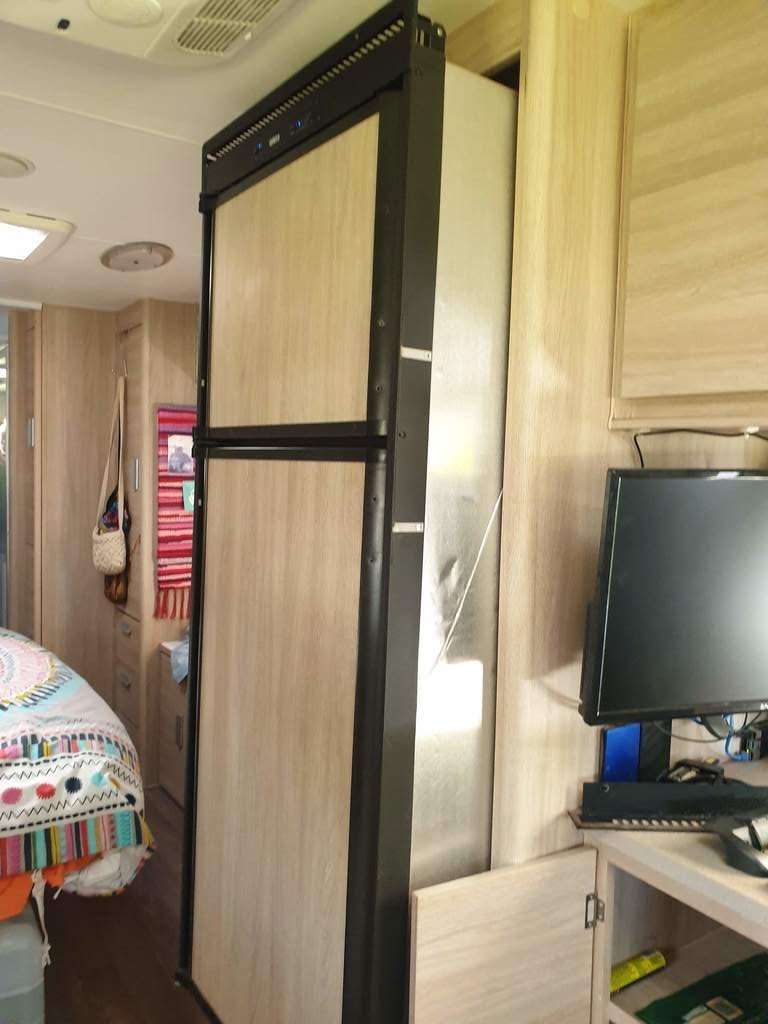
Our Caravan Fridge Repair was for our 218 litre Waeco RPD218 compressor fridge. We noticed that it wasn’t cycling as much as it used to. Only turning off for short periods over night.
As we freedom camp most of the time we were noticing our batteries were dropping a lot more than usual. We have 3x 120ah lithium house batteries and 600W of solar we knew something wasn’t right.
Note: This was meant to be published in May 2020 but I forgot 🤦♀️
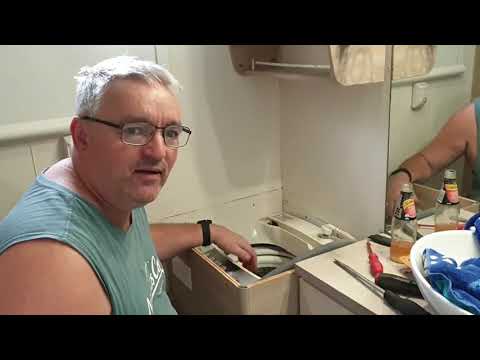
Caravan Fridge Repair
Covid19 was affecting so many businesses when our fridge needed looking at so we had to take the fridge out ourselves. Taking it to a Dometic service agent as we new he specialises in caravan fridge repairs.
Wow! The B&S8 12v power cable was clipped to the top of the back wall. This meant we couldn’t just take the fridge out, Larry had to cut the wires. The condenser was also full of dust. You can’t get to any of the main refrigeration components as they are at the top of the fridge. The vent holes are at the bottom and on the roof.
Vent To Low For Components
Refrigeration Components At Top
Larry always thought the wire for the fridge wasn’t heavy duty enough. When he traced where the wire went, it wasn’t a direct route to the batteries. Instead of being around 5 meters long it was more like 9 meters. This could also have given a voltage drop.
Jayco Fridge Wiring & New Ones
Upgrading Wiring & Insulation
On looking at the Waeco website it states the wire should be at least B&S6 in size for the distance required. Larry decided to re-wire, with the correct size wire, directly to the batteries.
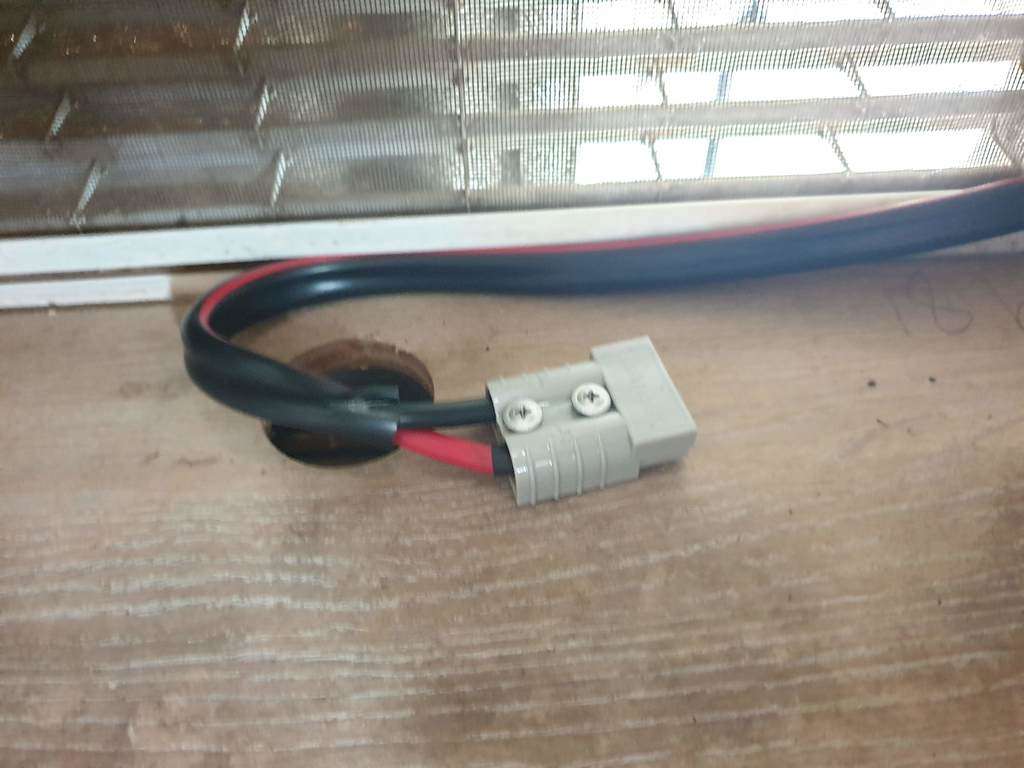
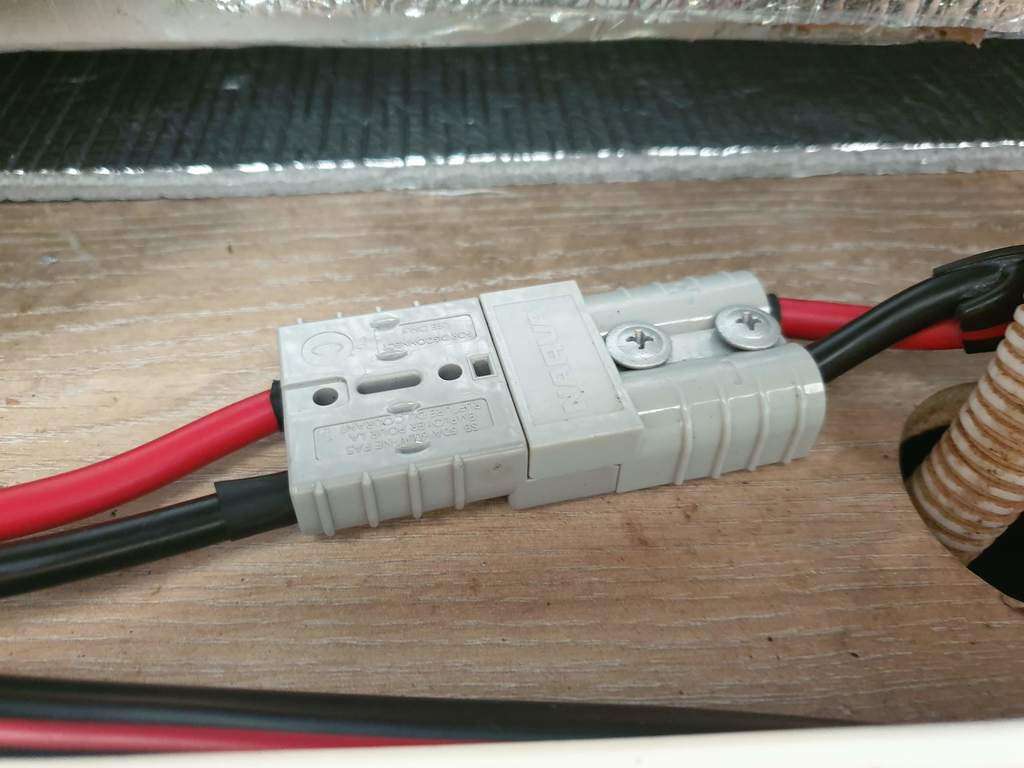
He also decided to connect the wire with a couple of Anderson plugs. This way if it has to be taken out again it will be simple!
Anderson Plugs
Lastly he bought some insulation to wrap around the fridge just to be double sure .
Larry Cutting Insulation
Insulated fridge
Caravan Fridge Re-gassing
The gentleman doing our Caravan Fridge Repair told us one of the compressor lines had been modified and filled up with solder. We’re not sure why? The repairman took out the old gas and re gassed the fridge. Also checking for leaks (none were found)
After running the fridge at home for a few days it looked like it was going great. cycling much better than it was. Then we purchased temperature sensors. One for the fridge and one for the freezer section. The fridge section was at the right temperature but the freezer was randomly going between -3 and -13. I was not willing to use the freezer for fear of food poisoning. We use the freezer a lot!
What Now?
Larry called Dometic and explained the situation. They think the Dometic service man may have added to much gas to the fridge. They said even the smallest amount of gas makes a big difference. So, we took the fridge back to him. He told us he had added the amount specified by Dometic. He ended up taking some gas out which worked. Our caravan fridge has been good since.
At the end of the day, we are glad we chose this size compressor fridge as we live in our van full time and have the battery capacity to run it.
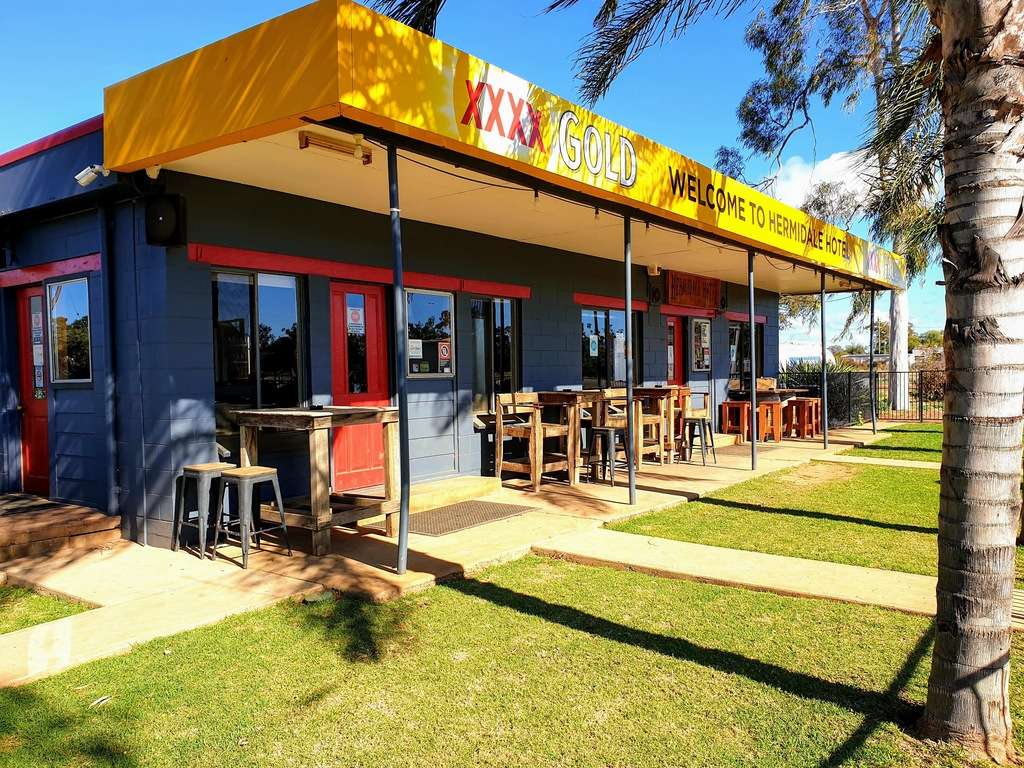
The Hermidale Hotel is about 1 hour east of Cobar. Located on the Barrier highway so it’s easy to find and stop for a break or for the night.
Hermidale Hotel
Hermidale Hotel
We headed into the pub when we arrived to ask about staying the night. You can connect to power for $20 or un-powered is free with patronage to the pub, we chose power. At the side of the pub are a couple of power points and a dirt area you can park on.
Powered Site
After parking the van we checked out the pubs menu boards and decided on beers and burgers. Larry’s burger was huge! Holly cow 3 meat patties! I had a regular burger and it was very tasty.
Menu
Menu
Now That’s A Burger!
The pool table was calling our names so we had a few games, as usual, Larry won ( I do win now and again ) It was good to see an old arcade game which big and little kids would enjoy. The Hermidale is cash only at the moment but don’t stress they have an ATM.
Arcade Game
Pool Table
Bar
Outside the bar is a nice grassed area with seating and a couple of fire pits. In the evening local workers staying in the onsite dongers brought a bit of atmosphere to the place.
Pub Fire Pit
Hermidale Hotel
Hermidale Hotel Outside Garden
Facilities
Showers and toilets are available as a Gas Bottle exchange. A couple of fuel pumps are also next to the pub. We didn’t use any of these but they’re certainly handy if you need them.
fuel & Gas Bottle Exchange
Driving 30 minutes east from here, you can pop in to Nyngan. A handy place for shopping, dump point (located at another free camp) and you can see the Big Bogan.
Besides this pub camp, we have stayed at many more. Not only is it a cheap option for camping but you support the local community.
After Larry finished his job on the Riverina Broadacre farm, we spent a couple of nights at Meralda Station. This 400 acre property is close to Cobar town centre yet it’s far enough away to be quiet and peaceful.
The road is bitumen so you don’t have to worry about getting here.
Photo: Meralda Station Entrance
Meralda Station Camp
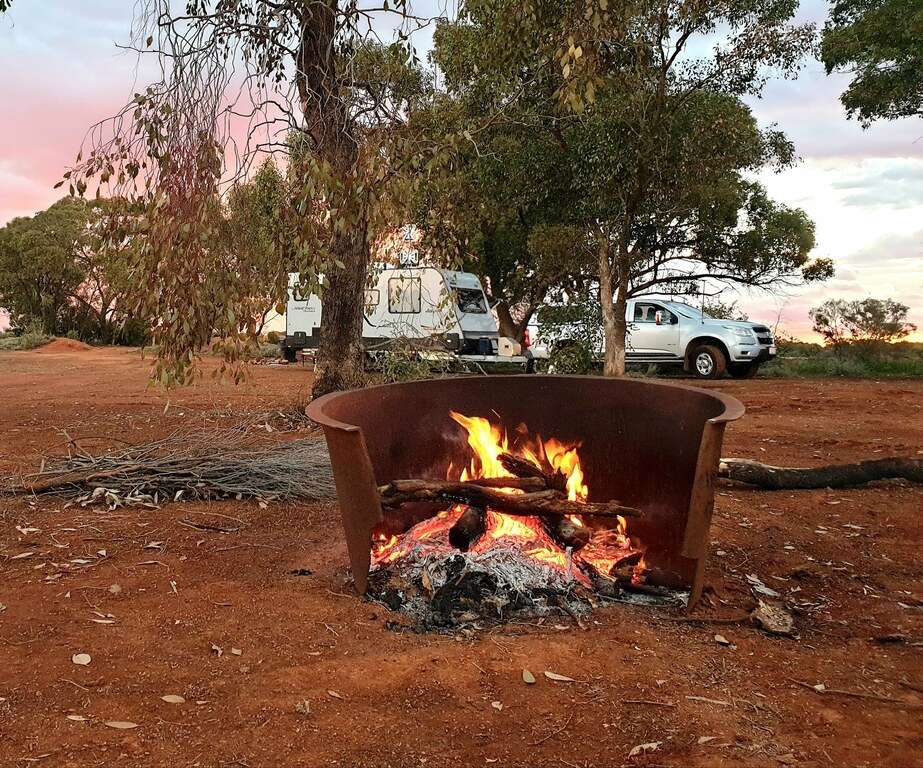
The station camp is located in a bush setting and is surrounded by gum trees. We had sheep in the next paddock. It’s the kind of camp you head to when you want to be under the stars with a camp fire. Fire pits are available and you can buy firewood.
Photo: Sheep In The Next Field
Sheep In The Next Field
You’re parked near a couple of dams which you can have a swim or kayak in if you have one. If you have a bike you might like to ride into town on the bitumen walking and bike track. A courtesy bus is available to the nearby golf club if you would like to go out for dinner and drinks.
Dam On The StationPhoto: Relax By The Dam
Relax By The Dam
Meralda Station extras:
This station stay has heaps more you can do for an extra fee:
Meet the goats
Women’s healing circle – well being circle – meditation & energy 🧘
Kids art & well-being workshop
Generator – per day hire
Firewood bundle
Yabbies for Bait
Art class
Resin workshop
Currently no amenities are here, so campers will need to be self sufficient and leave no trace. That includes having your own toilet, shower, power and water. A bin is provided and pets are welcome.
Note: Since our stay some amenities and eco “Glamping” have been added to Meralda Station. Please head to Hipcamp for any changes.
Photo: Beautiful Sunsets
We had a great happy hour with other couples by the camp fire on our second night. The sunset was stunning as a storm was brewing.
Photo: Firepit With Fellow Campers
A Short Drive
We had a drive to Fort Bourke Hill Lookout & New Cobar Open Cut Mine. You have a great view down to the mine at the surrounding areas. When you pass through town you might spot the Big Beer Can at the Grand Hotel.